Dirt Tea Cakes
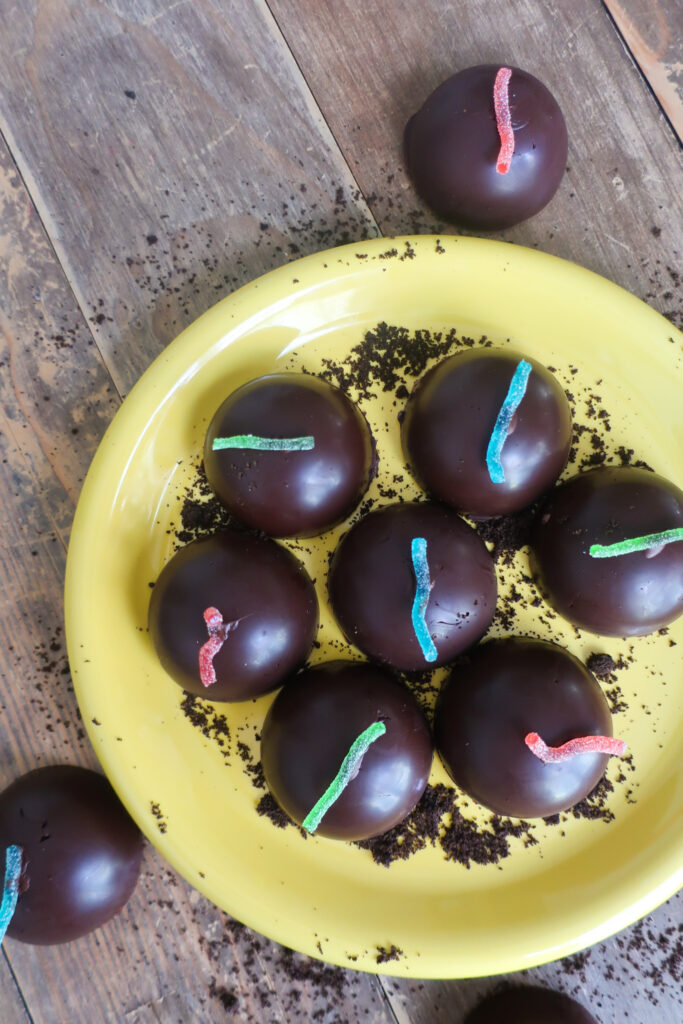
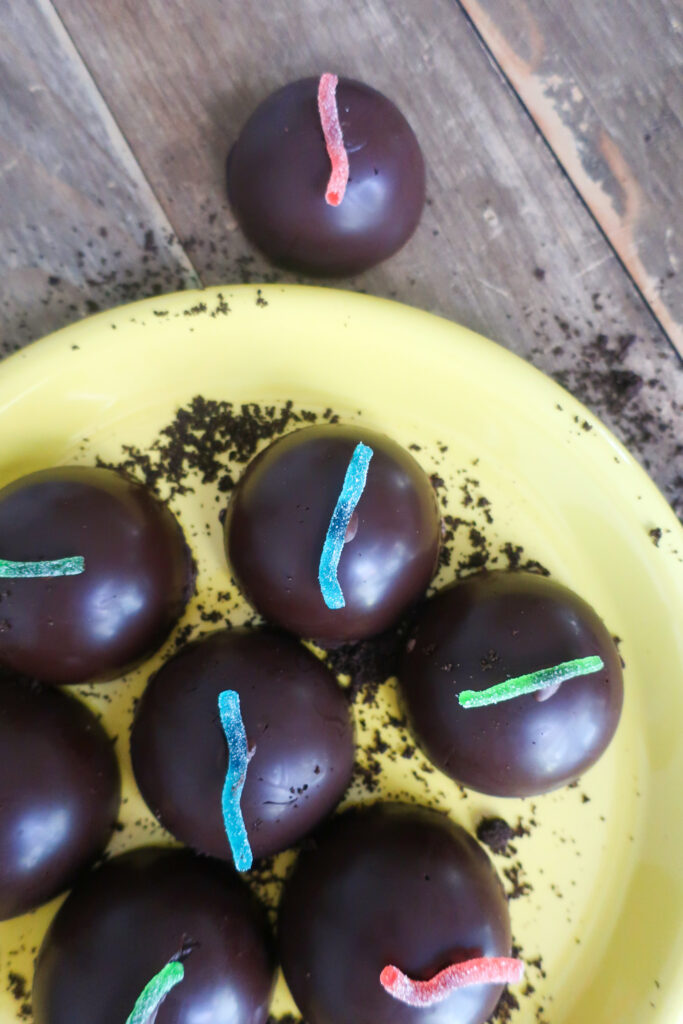
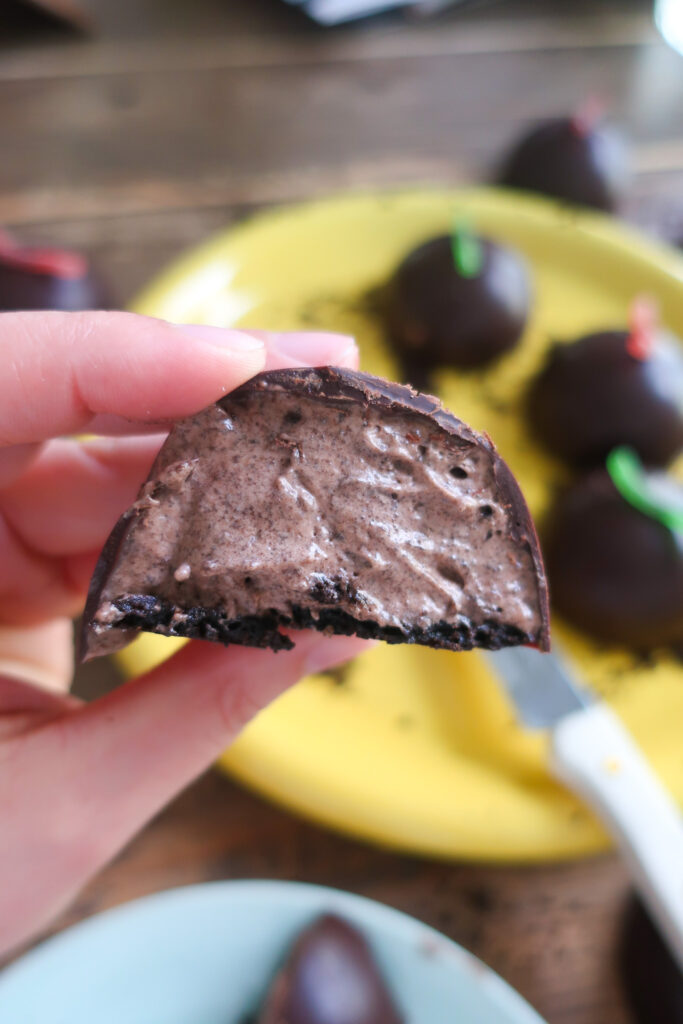
This recipe combines my childhood sweet treat dreams with my love for a classic British tea time into one. There is something about dirt that is so easy – to make and to eat – that I figured, why not make a tea cake version that just blows all of our proverbial minds? If you don’t know, a traditional tea cake has a tempered chocolate shell and is filled with a marshmallow-like filling, sometimes a touch of fruit compote (not for this gal), and has a biscuity base. Honestly, I devour them on sight. For this take, we still have that shiny, tempered dome (watch your chocolate temps closely my friends!) but we’re filling it with a classic dirt recipe and making an Oreo cookie base.
I will say, even though I am a sour gummy gal, I always hate when people put the gummies in the dirt because it messes up the flavor (plus the gummies get hard from the cold of the whipped filling). You can omit the gummy touch on top altogether (though I think it adds a cute hint as to what might be inside) but definitely don’t add it to the filling. Gross.
Are you ready to have a chocolatey dome filled with absolute deliciousness?

WHAT ARE DIRT TEA CAKES?
(sorry, coming soon with a website update – full recipe available at the bottom!)
How to: (sorry, coming soon with a website update – full recipe available at the bottom!)

INGREDIENTS
- (sorry, coming soon with a website update – full recipe available at the bottom!)
(sorry, coming soon with a website update – full recipe available at the bottom!)
HOW TO MAKE DIRT TEA CAKES
(sorry, coming soon with a website update – full recipe available at the bottom!)
3 reasons you’ll love these chocolatey tea cakes
TIPS & VARIATIONS
MAKING AHEAD & STORING
(sorry, coming soon with a website update – full recipe available at the bottom!)
MORE CHOCOLATEY RECIPES
(sorry, coming soon with a website update – full recipe available at the bottom!)

Equipment
- Silicon half-dome molds
- Offset spatula
- Spatula
- Pot
- Whisk
- Bowls
- Rolling Pin
- Mini Food Processor
- 2-inch circle cutter
- Baking Sheet
- Parchment Paper
- Measuring Cups
- Digital Scale
- Piping Bags
Ingredients
- 240 g bittersweet chocolate chunks
- 60 g bittersweet chocolate finely cut
- 120 g Oreo cookies 18 cookies, crushed
- 4.5 tbsp 46g unsalted butter, melted
- ½, 16 oz package Oreo cookies
- 2 cups cold milk
- 1 package chocolate instant pudding 4-serving size*
- 1 tub cool whip whipped topping, thawed (8oz)
- Gummy worms or sour spaghetti
Instructions
CHOCOLATE MOLDS
- Cut your 60g of chocolate into fine bits, you can also use a food processor for this step but just do short pulses so you don’t accidentally melt the chocolate
- Put about an inch of water into a pot and place it on the stove over medium-low heat. You want it to steam but not get too hot.
- Place your 240g of chocolate (cut into smaller chunks or in pellet form) into a metal or glass bowl and place it over your pot of water on the stove.
- For dark or bittersweet chocolate, you will need to melt it in your bain marie and heat it to 122F (50C) in temperature and then immediately remove the bowl from heat* (your bowl may be hot so make sure you have a dry towel or mitts on when you do this).
- Quickly dump the 60g of finely chopped chocolate into the bowl and use a spatula to incorporate it. This is called “seeding” and helps cool the chocolate during the tempering process. From here you want the temperature to drop to no lower than 82.4F/28C – this will take a bit of time, so be sure to stir and lift the chocolate within the bowl to help it cool quicker – before briefly (depending on your stove, this could be just a few seconds) returning it to the heat and exceeding no more than 90F/32C.
- Once the temp has been reached, add your chocolate to a piping bag and squeeze a rim of chocolate around the tops of each mold, allowing it to drip to the center. Only do 6 molds at a time, so your chocolate doesn’t begin to harden before you smooth it out. Once you’ve rimmed six molds, shift the molds around to coat evenly. Place a piece of parchment paper down and tip molds upside down over it and shake off any excess. Use an offset spatula to scrap off any chocolate from the top of the molds. Repeat the process with the final six molds.
- Place molds flat in the fridge for a maximum of 10 minutes. Remove and leave in a cool place while you prepare the filling. If not using soon, wrap them with plastic wrap.
OREO BASE
- Preheat your oven to 350F.
- In batches, place the Oreo cookies into the mini food processor and pulse until very finely ground.
- Place the oreo crumbs into a bowl with the butter and combine.
- Line a baking sheet with parchment paper, the place your x-inch cutter and spoon in 1 tbsp of your Oreo mixture, then press down with your tablespoon to evenly spread across the bottom of the cutter. Make sure the mixture is flat not slanted up the sides.
- Repeat until all the crumbs are used, you will have some leftover oreo mixture. Refrigerate for 10 minutes.
- Bake for 8 minutes. The circles will have spread a little in the bake so use your cookie cutter as soon as they come out of the oven to cut out twelve shapes. Cool completely.
DIRT FILLING
- In batches, place the Oreo cookies into the mini food processor and pulse until very finely ground.
- In a large bowl, add your milk and pudding mixture and whisk for 1-2 minutes until blended. Let stand for 5 minutes.
- Stir in whipped topping and half of the crushed cookies.
- Pipe filling evenly into cool chocolate molds, about ¾ full (leaving space for your Oreo bottom)
- Place the cooled Oreo base into each mold, cover it with plastic wrap, and place flat in the fridge for at least one hour.
- Carefully remove each tea cake from the molds and plate. Enjoy! Store in the fridge.

