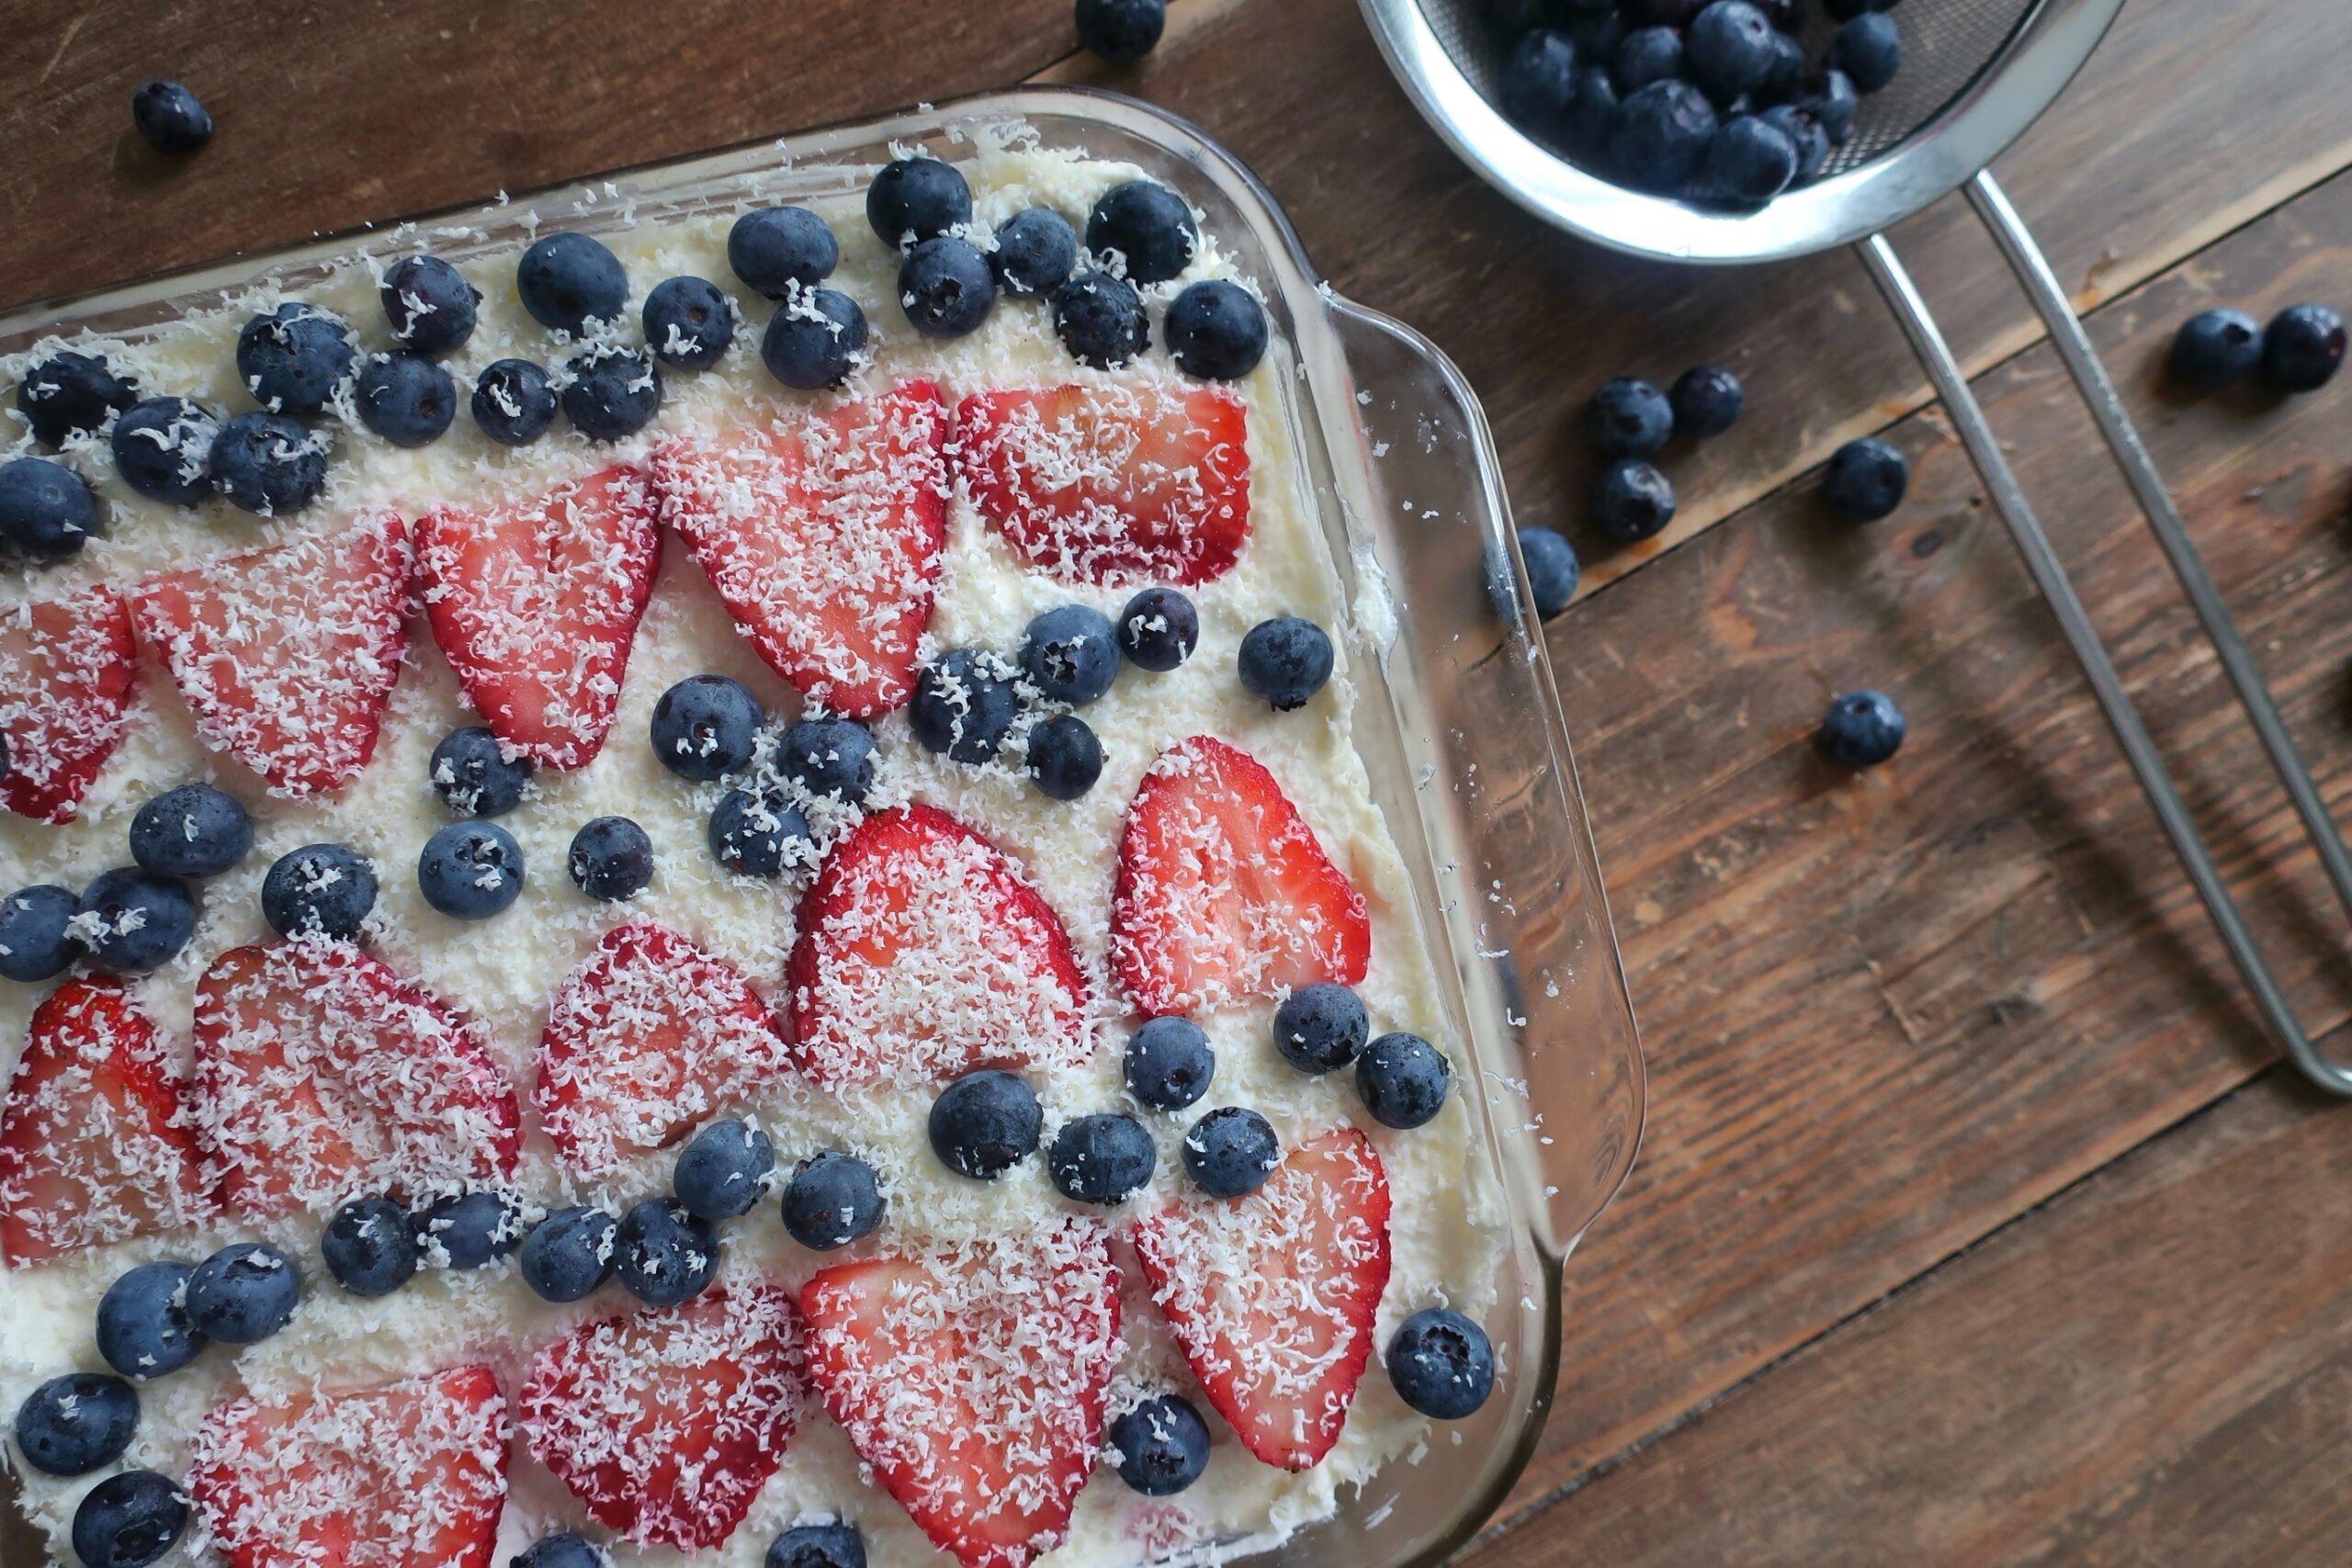
Very Berry Tiramisu
Does anyone else hear Michael Scott’s voice when you see “tiramisu”? I can’t not hear him coughing over the cocoa powder in his throat. Anywho, I made the statement a few months ago that I hate tiramisu. But let me be clear, I am NOT a coffee gal, and classic tiramisu is dunked in it (well at least the lady fingers are). Do I really enjoy the smell of coffee? Yep. Hate the flavor? Absolutely. After making this statement, someone suggested I try a fruity tiramisu and here we are.
You really can’t go wrong with homemade lady fingers (which are basically cookie air), fresh mascarpone whip, and all the juicy mixed berries. This omits the coffee completely – YAY – and makes it a perfect warm-weather treat especially as the heat is COMING for us (if only the humidity would stay away).
Bring it to your next picnic or eat it by the spoonful standing at your kitchen island. No judgment here, you do you, my friend.
BERRY TIRAMISU
(sorry, coming soon with a website update – full recipe available at the bottom!)
How to: (sorry, coming soon with a website update – full recipe available at the bottom!)
INGREDIENTS
- (sorry, coming soon with a website update – full recipe available at the bottom!)
(sorry, coming soon with a website update – full recipe available at the bottom!)
HOW TO MAKE VERY BERRY TIRAMISU
(sorry, coming soon with a website update – full recipe available at the bottom!)
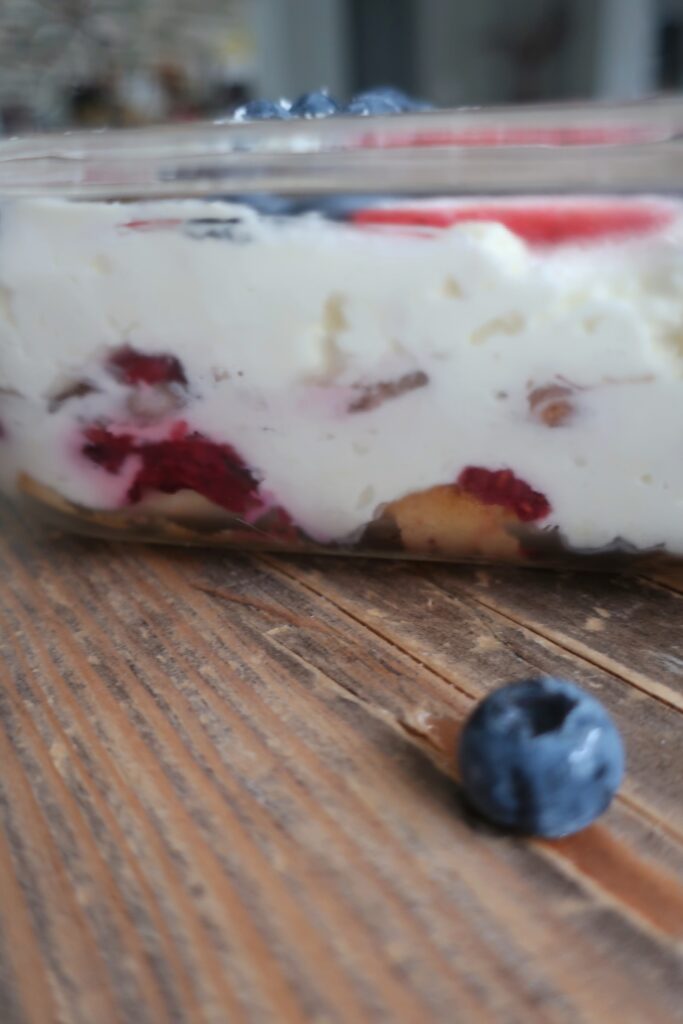
3 reasons you’ll love this layered dessert
TIPS & VARIATIONS
- (sorry, coming soon with a website update – full recipe available at the bottom!)
MAKING AHEAD & STORING
(sorry, coming soon with a website update – full recipe available at the bottom!)
MORE LAYERED DESSERT RECIPES
(sorry, coming soon with a website update – full recipe available at the bottom!)
Equipment
- Mixer (hand or standing)
- Spatula
- Parchment Paper
- Baking Tray
- Metal Spoon
- Digital Scale
- Measuring Cups
- Measuring teaspoons
- Piping Bag
- Pot
- Fine Mesh Strainer
- Pitcher
- Microplane
- Whisk
- Mixing Bowls
- Cooling rack
Ingredients
- 4 eggs separated
- 60 g Granulated sugar
- 40 g Granulated sugar
- ¼ tsp vanilla
- 1 lemon zested
- 100 g all-purpose flour
- 30 g cornstarch
- 2 tbsp coarse sugar for sprinkling
- 1 ½ cups of heavy whipping cream
- 8 oz container mascarpone
- ⅓ cup granulated sugar
- 1 tsp vanilla optional
- 3 cups frozen berries baker’s choice!*
- ⅛ cup lemon juice
- ⅓ cup water
- ⅛ cup granulated sugar
- Fresh fruit*
- White Chocolate
Instructions
LADY FINGERS
- Preheat oven to 356F CONVECTION; line two baking trays with parchment paper.
- Separate your egg whites into a big bowl and your yolks into another.
- Using a mixer, beat your egg whites until frothy, and then add your 60g of sugar in, one-third at a time. Mixing in between until all are added. Once all the sugar is added, beat until stiff peaks form.
- In your bowl with your egg yolks, add your lemon zest and vanilla. Once you are ready* add your 40g of sugar and whisk for approx. one minute until the mixture becomes pale yellow.
- Add the yolk mixture to your egg whites and use a metal spoon to lightly fold together. Don’t fully combine at this stage, it’s important not to over-mix this mixture and risk losing too much air.
- Sift your flour and cornstarch into the mixture and fold through until just combined. Again, do not overmix.
- Place mixture into a piping bag*
- Pipe half-inch fingers about 3-4 inches long. Give them a little space on the tray and they may spread slightly as they bake (but they won’t spread too much).
- Sprinkle piped fingers with coarse sugar.
- Bake for 8-10 minutes, flipping your trays halfway through, until lightly golden in color.
- Place fingers, you can keep the parchment, onto a cooling rack immediately after removing them from the oven.
- Cool completely.
WHIPPED MASCARPONE CREAM
- Pour your heavy cream and vanilla into a bowl and beat with a mixer (or whisk by hand, you go!) until slightly thickened. Add your sugar and then beat until you have stiff peaks
- Add your mascarpone and fold in until combined
- Set aside or place in the fridge until ready to use
BERRY SIMPLE SYRUP
- Add your frozen berries to a pot and place on your stove over medium-high heat. Allow the juices to release from the berries a little.
- Once the pot starts to look juicy, add in your lemon juice and water, stir, and bring to a boil.
- Once boiling, add sugar, reduce heat to low, and stir to combine
- Keep on low heat until all the fruit is relatively soft – doesn’t have to be a pulp but if you have fruit like strawberries, they take a little longer to warm through.
- Strain the mixture over a bowl through a fine mesh strainer. Place your berries in a separate bowl.
- Allow to completely cool before assembly (or risk melting your whipping cream! I placed mine in the fridge for at least an hour)
ASSEMBLY
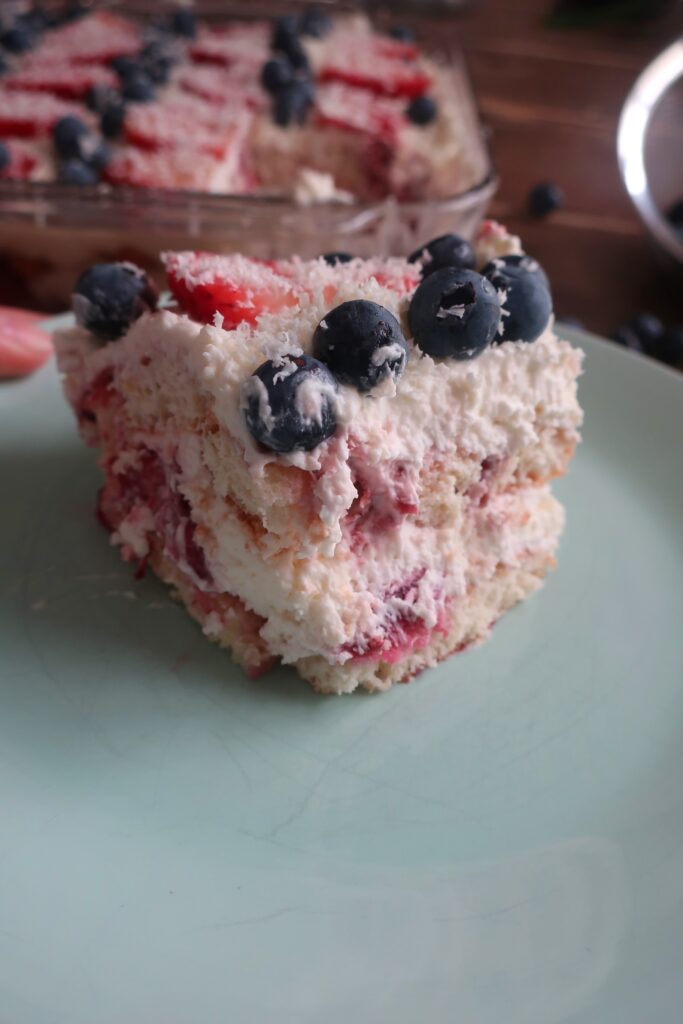
- Quickly dip one side of your lady’s fingers into your berry syrup and place it dipped-side up on the bottom of your 7×7 baking dish. Do only a quick dip – no lingering! – of the lady’s fingers otherwise, they will disintegrate.
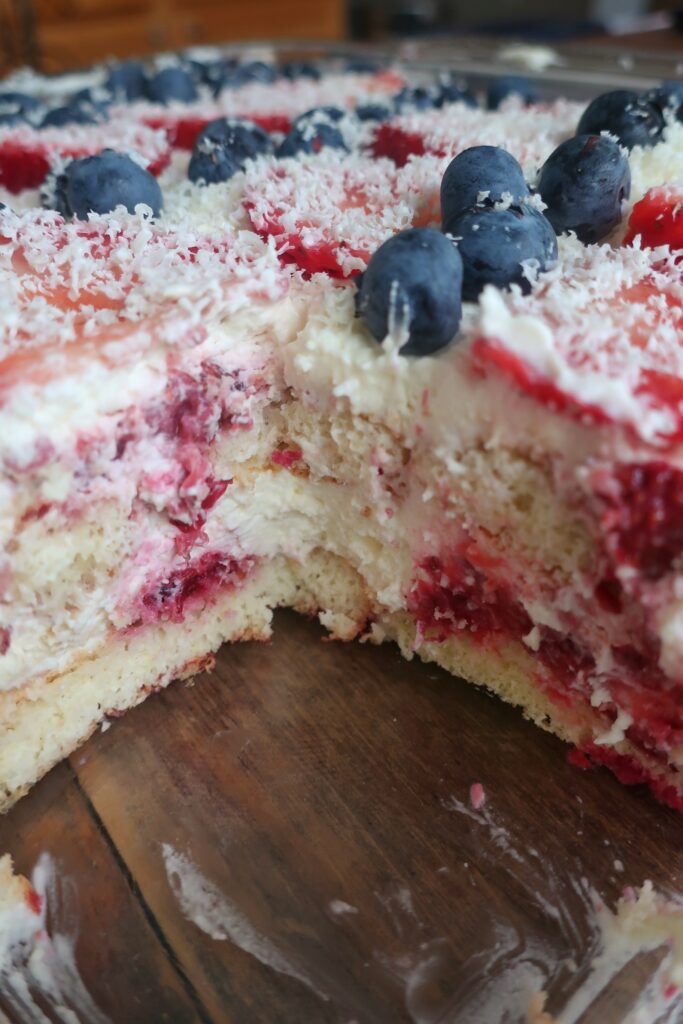
- Once the bottom is lined with fingers, top with half of your mushy berries – spreading out as best you can. They won’t completely cover just dot them around evenly!
- Top the berries with half of your whipped mascarpone mixture and gently spread over evenly.
- Repeat the layering process one more time until all your ingredients are used up, ending with the whipped mascarpone
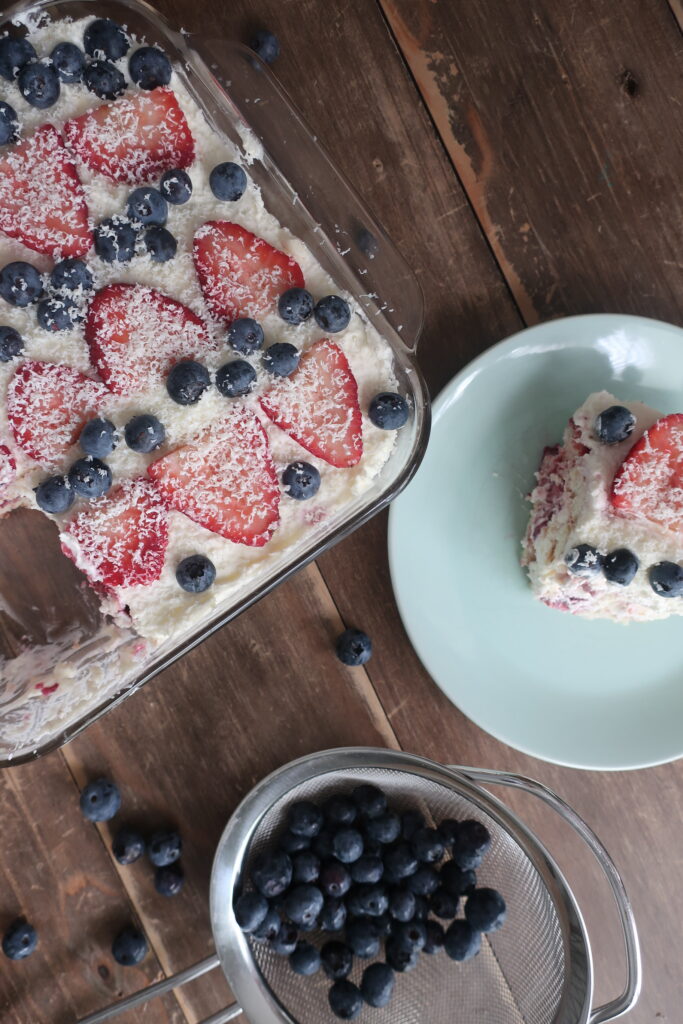
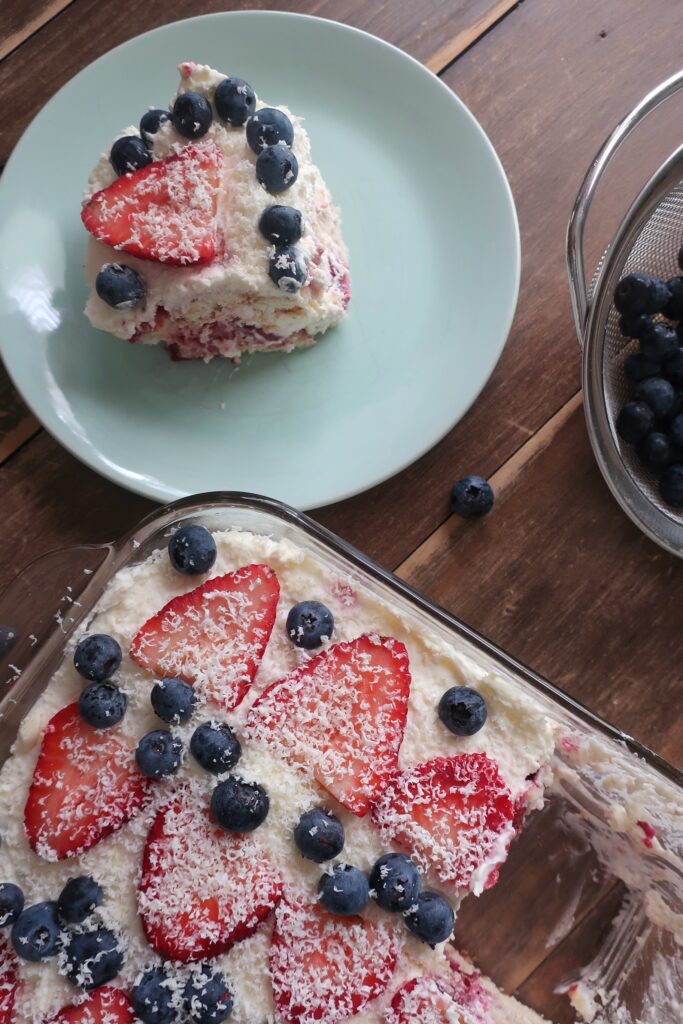
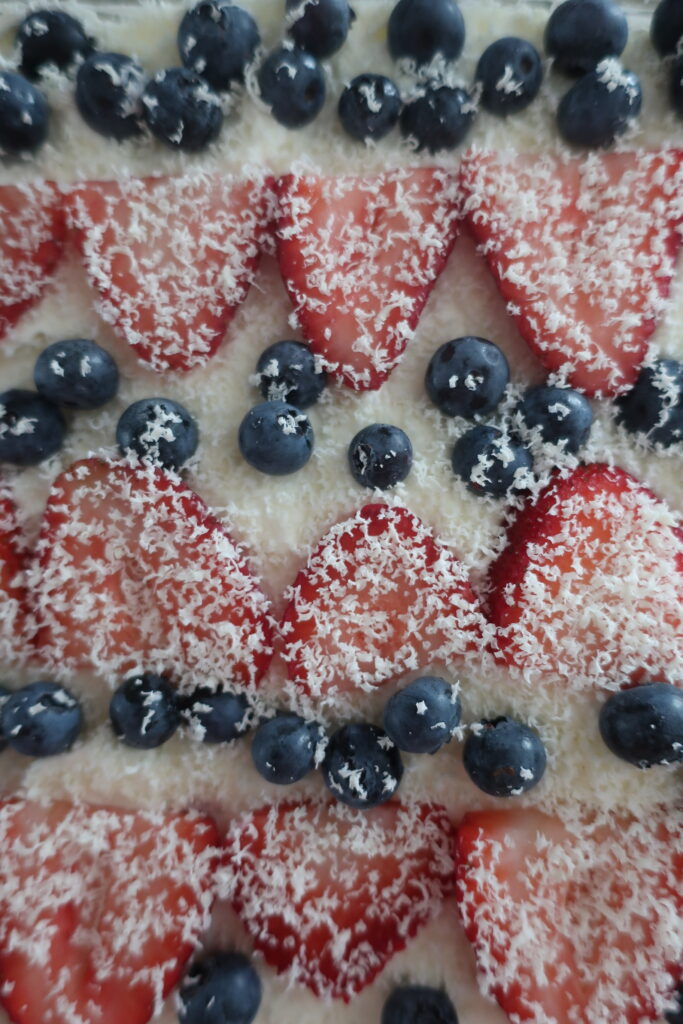
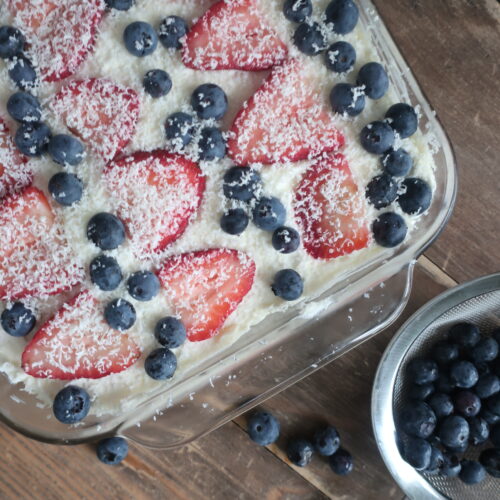
- If desired, top the whipped layer with fresh fruit and shavings of white chocolate
- Cover with foil and refrigerate for a minimum of 2 hours before serving

