Lemon Earl Grey Buttermilk Scones
Big Earl Grey fan over here. I drink a London Fog almost every afternoon (sometimes in the morning too) and it’s just my favorite, cozy drink. The combination of the black tea and bergamot oil, gives that rich but floral tang… OH EM GEEE she is a beaut. I especially love a lavender Earl Grey tea blend, which I think when made into a London Fog is called a Victorian Fog? I just call it delicious.
Additionally, I love a scone. Basically, I was born British in an American body (to be clear I’m not British but if anyone wants to marry me and give me dual citizenship I will happily accept). Between my love of afternoon tea and my forever desire to live in London, plus having had the most epic of travels around Scotland and Ireland, I’d say *cough* send one up to the universe *cough* that it’s bound to be destiny. Right?
Ok, back to the scone-age. Now, we’ll get into what makes a scone a scone (versus say a biscuit) below, but one thing I love best about them is their versatility of flavor. While I love a simple, plain scone, give me one of these Lemon Earl Grey ones or my Rosemary White Chocolate versions ALL DAY.
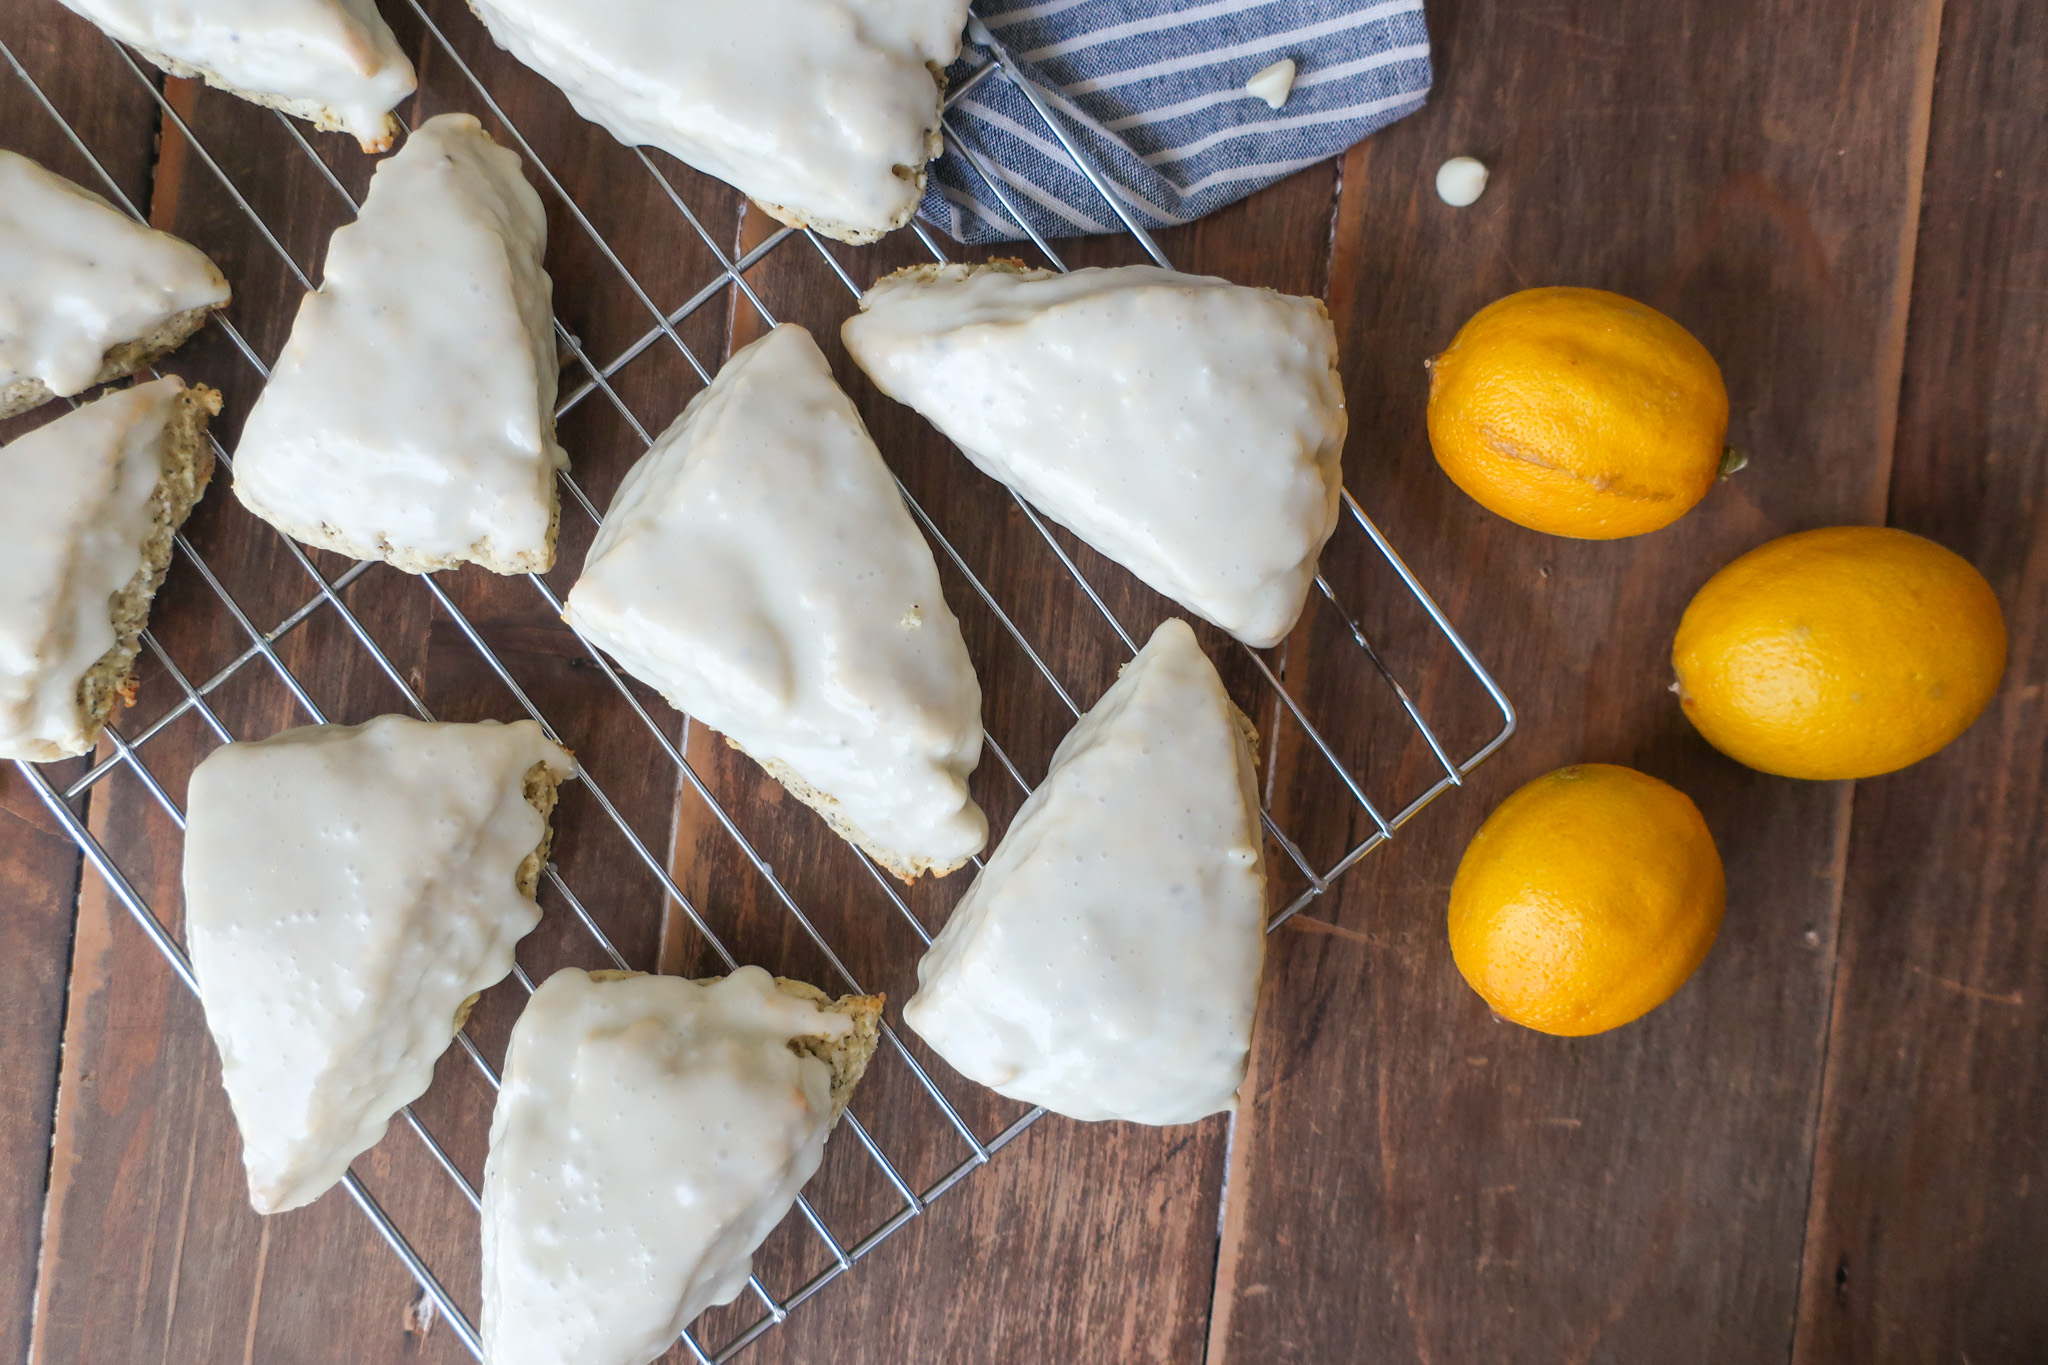
This tart and aromatic scone blends together the sharp sweetness of lemons with the floral, rich flavors of Earl Grey just, quite frankly, beautifully. Plus, dipped in a delicious lemony-white chocolate glaze? I mean come onnnn. These are about to be the star of your next brunch spread, I guarantee it.
WHAT MAKES A SCONE A SCONE?
A scone is a baked good often served at breakfast, brunch, or with an afternoon tea that leans on the drier side. Not to say it is dry but it’s kind of like the difference between a birthday cake and pound cake, ya know? When compared to say an American biscuit (because in the UK, a biscuit leans more towards a cookie), a scone tends to be a little more dense, often sweeter, and/or filled with a fruit. Whereas a biscuit leans more savory and flaky.
Depending on where you’re from, scones can be shaped into triangles (my preference), circles, or squares/rectangles. I prefer the point of a triangle though my second choice would go to the square shapes, simply because this wastes no dough and requires no re-rolling, which is the case when using a cut-out for a circular shape.
How to use Earl Grey tea in a recipe: Fairly easily. If you drink Earl Grey (if not, you should) and it comes in packets/sachets this recipe calls for the equivalent of two of those, though definitely measure it, and you simply dump them in when directed. If you use leaves, give them a good pulse in your food processor to make the tea fine, as you don’t want large bits of tea leaves in your bite of scone.
INGREDIENTS
- Flour – A key binding ingredient to bring your scones together
- Baking powder – The rising agent that will puff them up nicely on their tray as they bake
- Sugar – As mentioned above, scones have a subtle sweetness to them, making sugar a key ingredient
- Salt – As always, used to bring out the various flavors inside a bake, making these scones even more delicious
- Lemon – We use all elements of the lemon for this recipe. The zest is a key player in the lemon flavoring of the scones themselves, while the juice lends its tartness to the glaze. Just be careful to only zest the skin of the lemon, not the white underneath (called the pith) which can add a bitterness to your bake. As lemon is a key flavor here, always use fresh lemons!
- Butter – When mixed with the flour, butter helps to stunt any extra gluten development as well as releases those delicious pockets of steam helping with the rise and texture of the bake
- Earl Grey – I mean they’re Earl Grey scones, so we need that flavor!
- Eggs – The perfect binding agent while also adding necessary fat and moisture to the dough
- Buttermilk – Offers fat, liquid, and acid which affects the texture and rise of your scones!
- Heavy Cream – An important liquid to help melt and blend your glaze into, well, a glaze. You can sub for whole milk if needed but heavy cream adds a delicious richness
- White Chocolate – Quite possibly my favorite chocolate and also because Earl Grey and any chocolate are best friends in the flavor department (in case you didn’t know). The creaminess of the white chocolate also helps to offset the tang of the lemon
- Powdered Sugar – For the purpose of glazes, where we’re looking for a smooth, sweet finish and, besides the quick chocolate melt, we aren’t heating, powdered sugar blends seamlessly into a glaze versus a granulated sugar
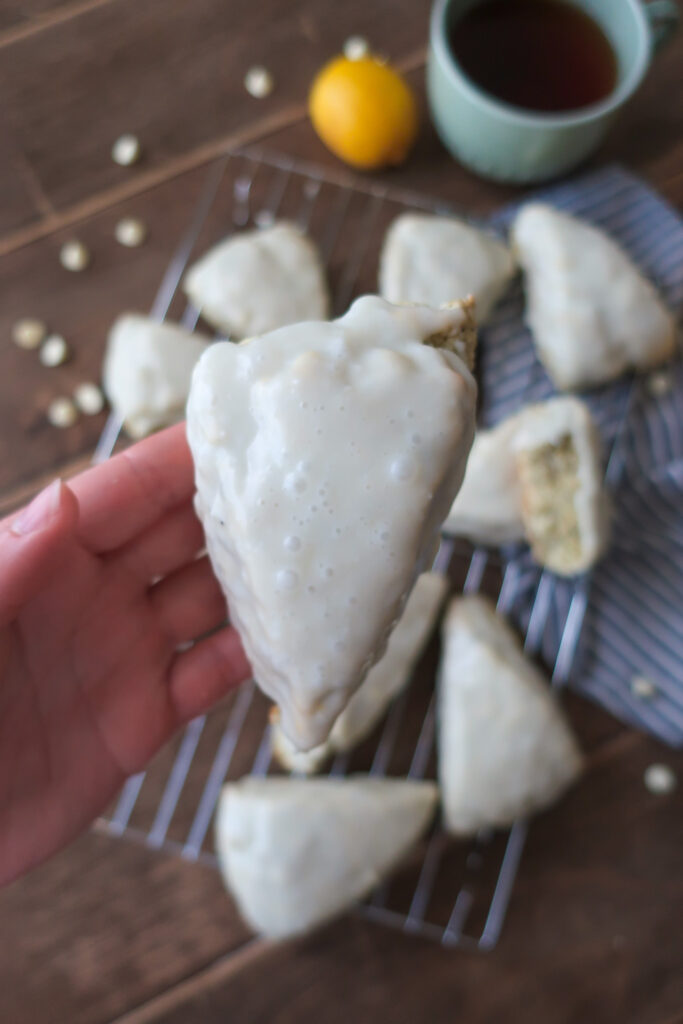
Do you need to let the glaze set: Yes! As you dip your scones in the glaze, it will run off slightly, but after a few minutes it will begin to set, forming an almost delicious “skin” (which sounds trés weird to say) over your scones. Letting it set will also dry it out making it so your fingers aren’t coated in glaze when you go to eat one.
HOW TO MAKE LEMON EARL GREY SCONES w/ WHITE CHOCOLATE LEMON GLAZE
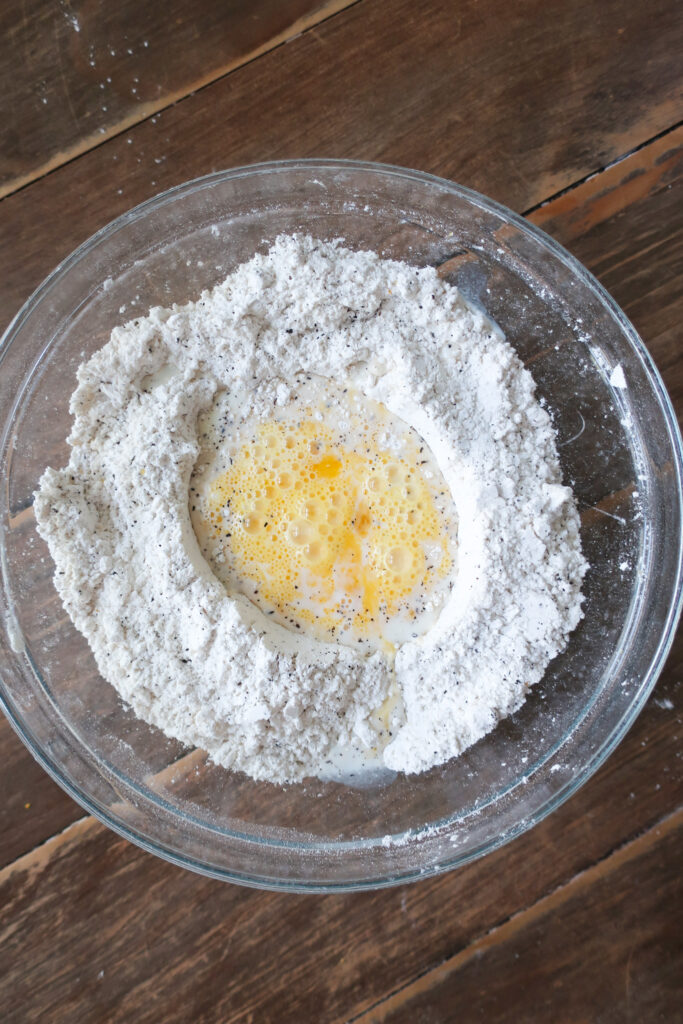
You’ll start by making your dough. Combine your dry ingredients – flour, baking powder, sugar, and salt – into a bowl. I always sift dry ingredients, to make it easier to mix them in later without overworking my dough and potentially affecting the final texture of my bakes. From there, add in your cold, cubed butter, and lemon zest and rub your butter into the dry ingredients, breaking it up until fine and there are no large bits of butter remaining. You can also use two knives for this, hold them like an “X,” and cut your butter into the dry ingredients. Pour in your Earl Grey tea and stir to combine.
In a small bowl, beat together your eggs until homogenous (aka there are no chunks of egg white or yolk). Make a well in the center of your dry mixture and pour your beaten eggs and buttermilk into the well. Using a dough scraper or a spoon, cut your dry mixture into the wet until mostly combined. This technique helps to ensure that you evenly mix your dry and wet ingredients together, without overworking the dough.
When there is just a little loose flour at the bottom, begin to use your hands to squeeze and compress the dough, to bring it together. Be careful not to stretch the dough, as you don’t want any excess gluten building up (remember scones are deliciously dense). Dump (gracefully) your dough onto a piece of plastic wrap and lightly press it into a square. Doesn’t need to be perfect, we’re just flattening it briefly at this stage. Wrap tightly in the plastic wrap and place in the fridge for 30 minutes.
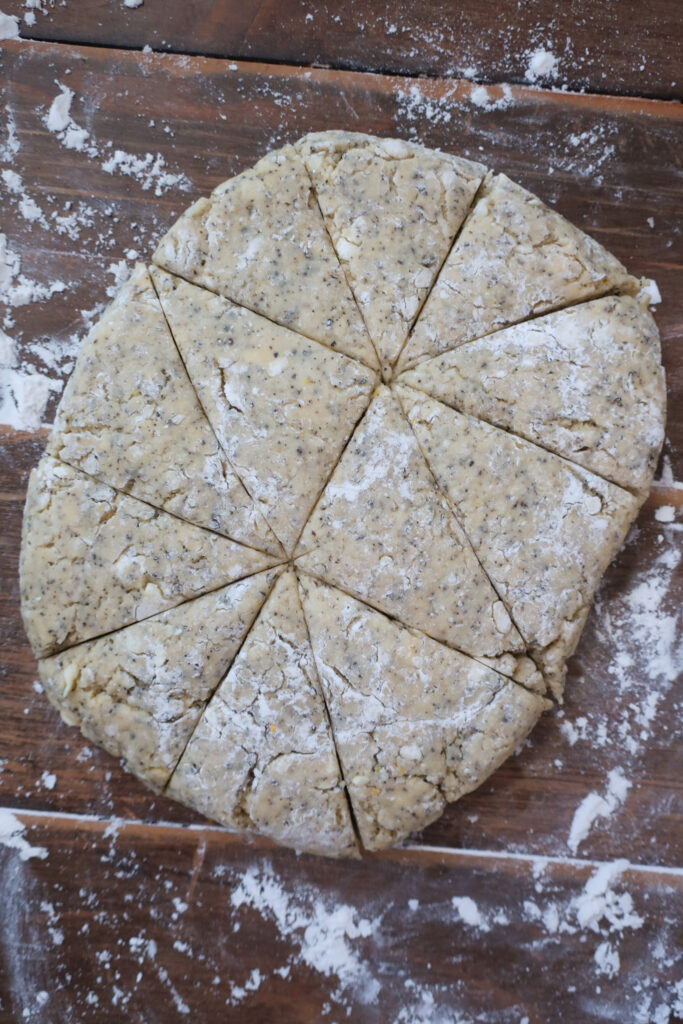
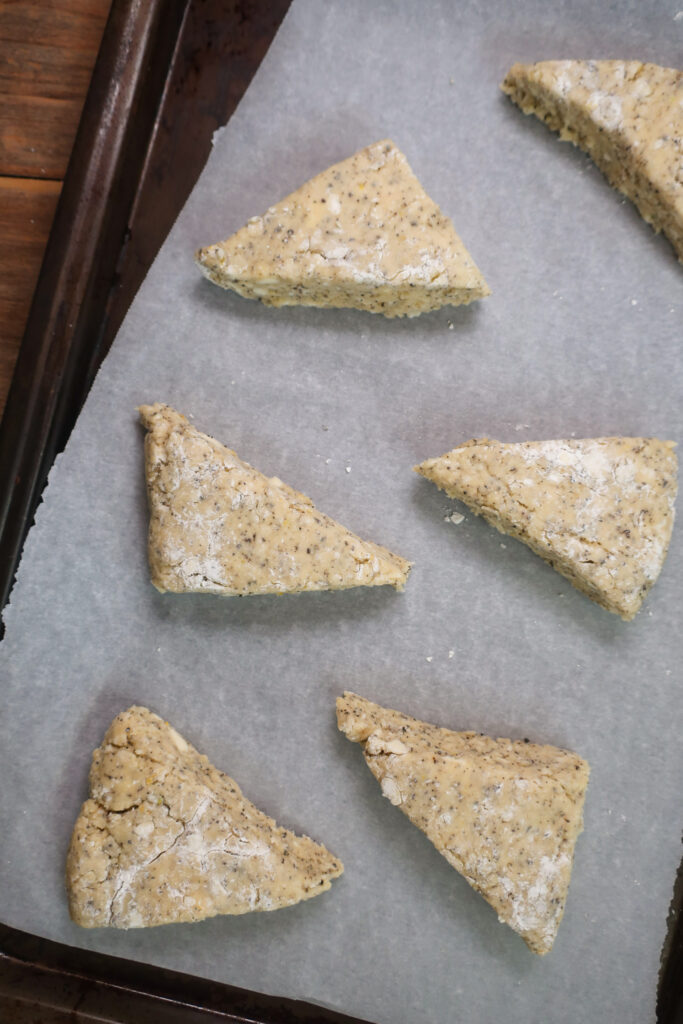
Once chilled, very lightly dust your counter with flour, remove your chilled dough from its wrap, and place it on the counter. Dust the top lightly with flour – be very minimal with your flour usage at this stage as you need it for rolling but you don’t want the scones to pick up any excess flour and dry out too much. Roll your dough into a rectangle, just under an inch thick. Then, with a knife or a dough scraper cut your rectangle in half vertically. Then cut each half into three, relatively equal, squares before diagonally cutting each square into two triangles.
Place six scones on a baking sheet lined with parchment paper and bake at 350F for 10-12 minutes. You should rotate the pan once, at the halfway mark, before continuing to bake until you just barely see a golden tint in some spots. The scones won’t likely develop a uniform golden color, so keep a close eye out for the first sign of browning and pull. Again, we don’t want to make these more dry by overbaking them. Once out, immediately transfer to a wire rack to cool.
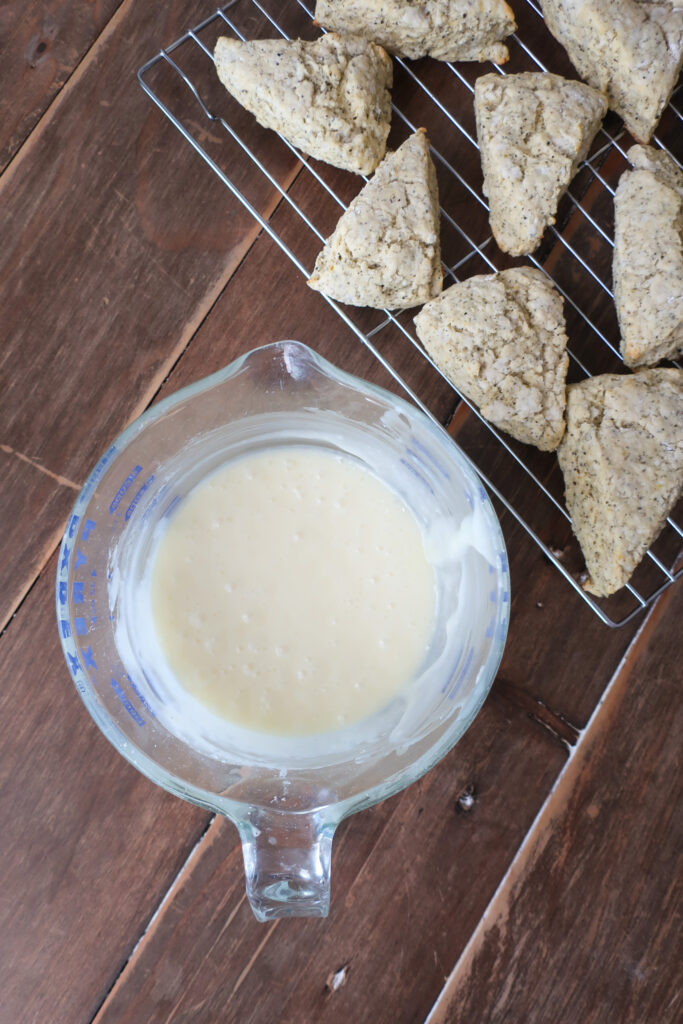
As your scones chill out on their rack, you’re going to make your easy lemon and white chocolate glaze. Add your white chocolate and heavy cream to a microwave-safe bowl and heat for 30 seconds. Stir and then place back in the microwave, heating for 10-15 seconds, removing to stir, and repeating until you have a smooth mixture. This shouldn’t take more than a minute, so keep a close eye on your chocolate! Sift in your powdered sugar, whisk until smooth, and then stir in your lemon juice. Your glaze is now ready!
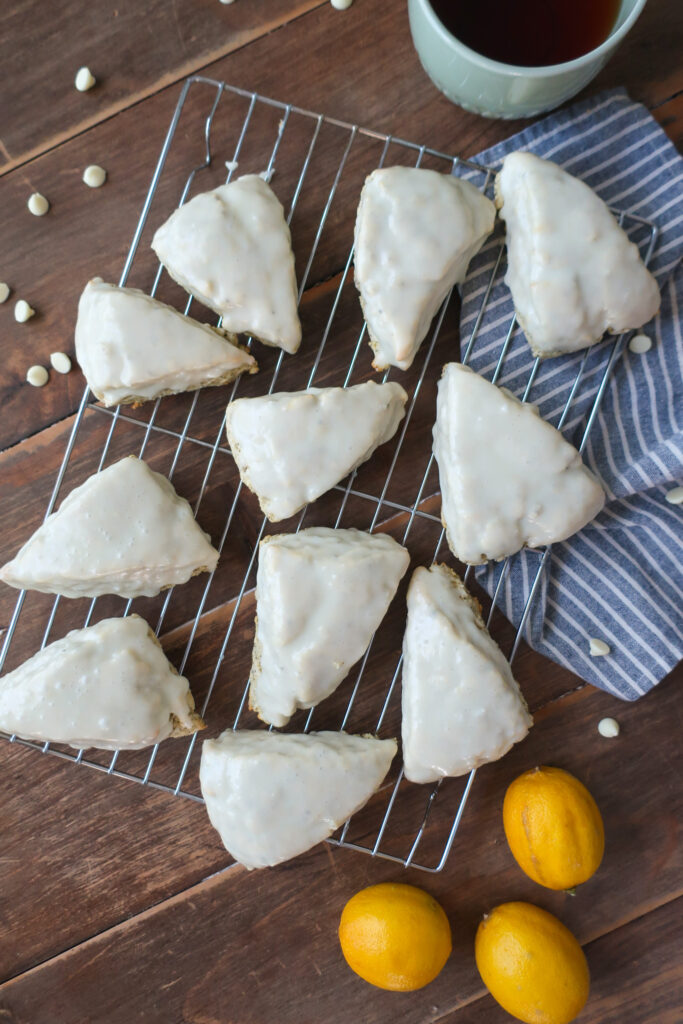
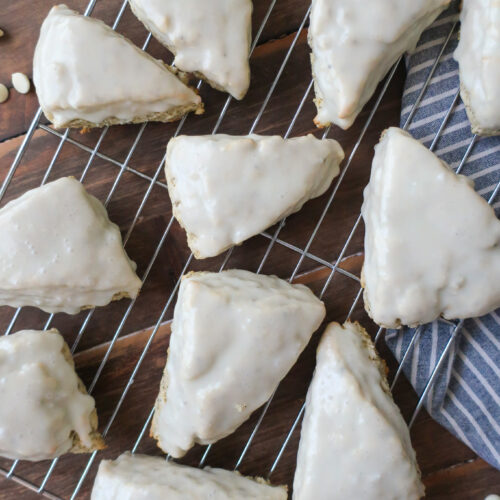
Place your baking tray under the rack holding your scones, this will make clean-up much easier after you glaze them! Take your scones – it’s ok if they’re still warm – and dip just the top, into the glaze. Pull up and hold your scone vertically to allow any excess glaze to drip off back into the mixture. Place your scone back on the wire rack to set. Repeat with all scones and allow to set for at least 15 minutes. You want the glaze to be dry to the touch, and no longer sticking to your fingers. Now you can enjoy!
3 reasons you’ll love these scones
TIPS & VARIATIONS
- Don’t have buttermilk? Since you only need half a cup for this recipe, add 1 ½ teaspoons of lemon juice to a measuring cup and pour your milk until the ½ cup line. Give a brief stir and then allow to sit for 5 minutes
- Be careful with your flour! Once your dough is chilled, don’t over-flour your counter or the surface of your dough when rolling. Your dough will absorb some of this flour and you don’t want it to soak in excess and risk drying out your scones
- For a smooth glaze finish, use a toothpick to pop some of the bubble that may appear right after dipping your scone. I like they way look but if you don’t, pop them!
- Freeze your extra scones for future: Once you’ve rolled and cut your scones out, wrap them between layers of parchment paper, and place them in an airtight container. The unbaked scones will freeze for up to four weeks. When ready to use, transfer the dough to the fridge the night before to thaw, and bake as instructed below. You can also freeze the baked and glazed scones, stored airtight, for 2-3 months.
- To make clean-up easy, place a baking tray under your wire rack where your scones are cooling ahead of glazing them. There will be some glaze that drips off the scones initially as they set, so the baking tray will catch it all
MAKING AHEAD & STORING
- Scones are best eaten fresh but you can store your glazed scones at room temperature for 1-2 days.
- Additionally, you can freeze your baked and glazed scones in an airtight container, between layers of parchment paper to make it easier to grab as many as you need, for 2-3 months.
- You can prep your scone dough the day before you want to bake. Cut in advance or the day of but just be sure to wrap your dough tightly so it doesn’t dry out in the fridge.
- If you don’t need 12 scones at once, you can roll, cut, and wrap your dough in parchment paper, place it in an airtight container, and freeze for up to four weeks. When you’re ready to use, simply remove the dough from the freezer and place it in the fridge (airtight!) to thaw overnight, before baking as instructed
MORE LEMON RECIPES
Are you a fellow lemon lover? Try my easy, Three Ingredient Lemon Posset, a creamy pudding-like sensation, or these Lemon Madeleines!
Equipment
- Mixing Bowls
- Measuring Cups
- Measuring Spoons
- Spatula
- Rolling Pin
- Plastic wrap
- Dough Scraper or Knife
- Wire Rack
Ingredients
- 3 cups Flour
- 5 tsp Flour
- 6 tsp Baking powder
- ⅓ cup Sugar
- ½ tsp Salt
- 1 medium lemon zested
- 5 ½ tbsp Unsalted Butter cold and cubed
- 1 tbsp Earl Grey tea leaves fine (about 2 tea packets)
- 2 Eggs
- ½ cup Buttermilk
- 4 tsp heavy cream
- ⅓ cup white chocolate
- 8 tsp lemon juice
- 1 cup powdered sugar sifted
Instructions
- In a bowl, combine all flour, baking powder, sugar, and salt
- Add cubed cold butter and lemon zest to the bowl and using your fingers, rub together with the dry ingredients until fine and no large lumps of butter remain
- Stir in Earl Gray tea leaves
- In a separate bowl, whisk together two large eggs
- Make well in dry mix and pour eggs and buttermilk into the well
- Cut through the mixture with a dough scraper or spatula and then when there is barely any loose flour at the bottom, gently compress the dough with your hand to bring it together. Avoid stretching dough, as you don’t want the gluten to build up.
- Dump the dough onto your counter and press to flatten it into a square. Wrap up tightly and refrigerate for 30 minutes
- Lightly dust the counter with flour, place down chilled dough, and very lightly flour the surface of the dough before rolling it into a rectangle just under an inch thick
- Use your dough scraper or a knife to cut into 12 triangles. Cut your rectangle in half vertically. Then cut each half into three, relatively equal, squares before diagonally cutting each square into two triangles
- Bake at 350F for 10-12 minutes. Rotate the pan once at the 6-minute mark, baking until set and very lightly golden on the edges. Be careful not to overbake!
- Transfer the scones to a wire rack to cool completely
- While your scones cool, make your glaze. Add your white chocolate and heavy cream to a microwave-safe bowl. Heat in for 30 seconds, whisk, and then heat in 10-15 second intervals, whisking in-between, until smooth. This should take about a minute. Remove, whisk in your lemon juice, and sift in your powdered sugar, whisking until smooth
- Dip the tops of your mostly cooled scones in the glaze, holding vertically to allow any excess to run off, and place back on the rack or a plate to allow the glaze to set for 15-20 minutes
- Enjoy!
Great way to mix favorite teas into a delicious scone!
It is! Love the combo