Itinerary: Two Weeks Backpacking Ecuador
I kicked off my eight weeks of backpacking in South America in Ecuador, where I would start my backward “J” trek through the continent. After loads of research and conversations with people who had explored this region, I decided to give myself time to explore Ecuador while keeping my itinerary a little “looser.” The only thing I had booked was my first three nights in Quito. As someone who would identify as relatively Type A, this was a trés new approach to travel for me. In the end, I’m so glad I left myself open to everything I experienced in Ecuador (minus the food poisoning, it would have been lovely to have omitted that from the trip).
Here’s how I ended up working through the country:
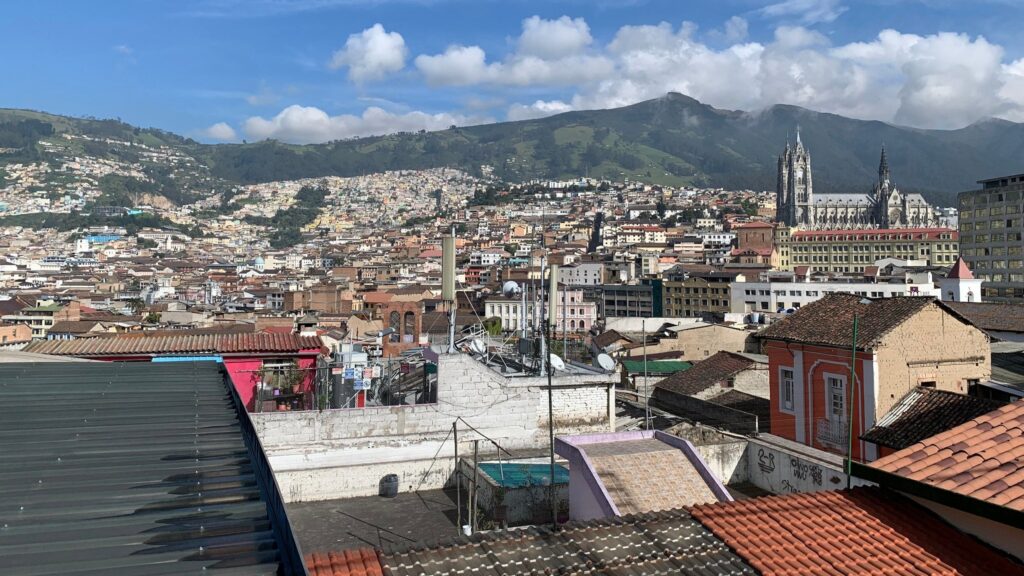
Three Nights in Quito
I had always planned for two days in Quito, but because my flight landed around 8:00 PM that first night it was more of a throwaway evening so I ended up booking three nights in advance.
Noteworthy Stays, Sights & Activities:
- I stayed at The Secret Garden Hostel in Quito. I’m 100% not a party gal but this passed the vibe check. They had filtered water fountains throughout, kept to “quiet” hours, were centrally (enough) located, cleaned regularly, and offered solid amenities to guests (free walking tours, breakfast options (paid), excursions (paid)).
- The free walking tour offered by my hostel was the perfect kickoff to my start in the city. I would highly recommend taking advantage of those types of free offerings as you likely will have a local guide showing you the routes to some areas you want to go back and visit on your own. They also provide loads of relevant history and insights into the culture of the area. Additionally, these are a great way to meet new people that you can hang out with later.
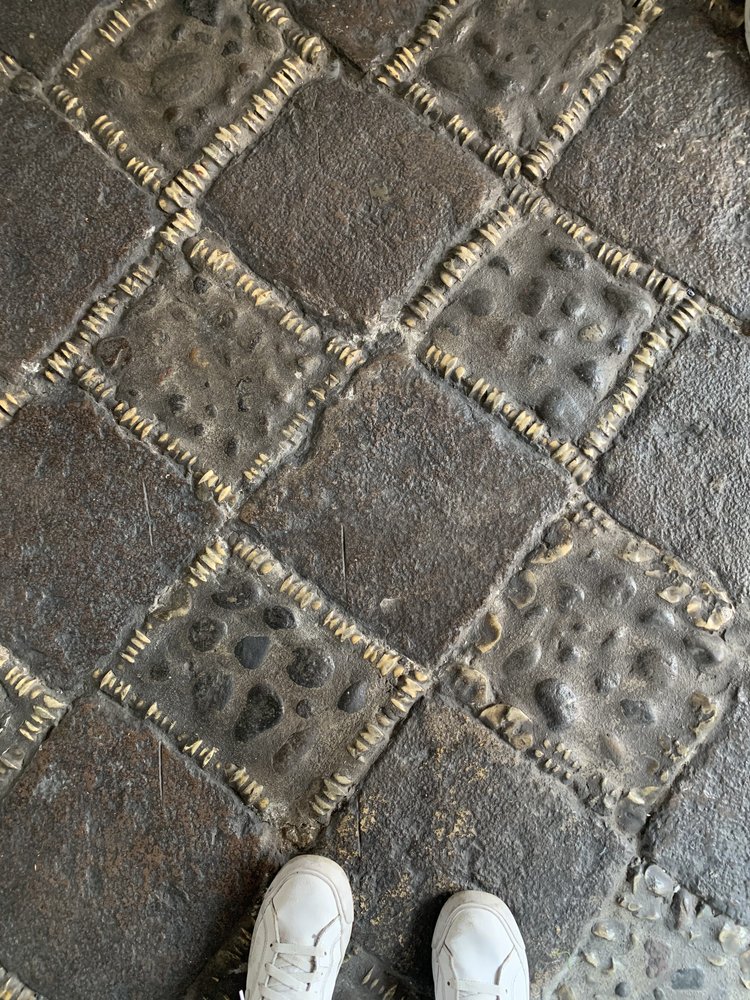
- The Museo Camilo Egas was a really interesting stop on the walking tour that I would recommend for a quick visit. It’s located in a historic house and is free to visit – though you should leave a donation – and features art by Camilo Egas. You will learn a lot about the different traditions and tribes all around the country, through the paintings. Take note of the floor as you walk in… if you think those look like bones, you’d be right.
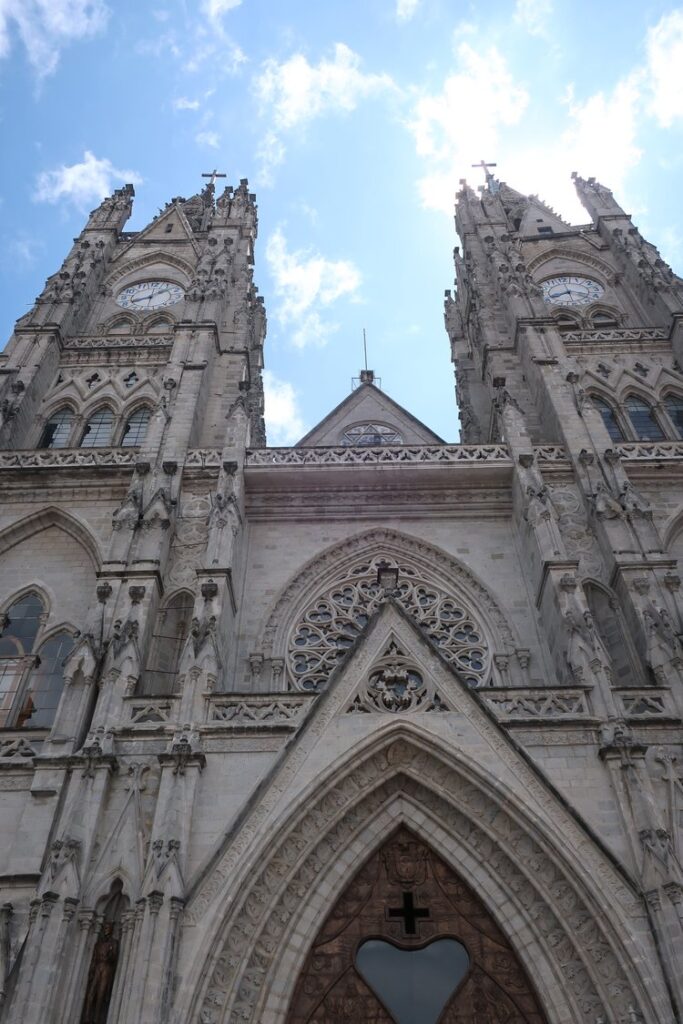
- Old Quito was my favorite part of the city. You could see the history within the architecture (and do a lot of people-watching) while strolling about to the various shops and restaurants. Independence Square and Plaza de San Francisco were two highlights of the area.
- Take a morning and grab a cab up to the Columpio del Teleférico. You’ll buy a ticket for the cable car and ride up to a vast overlook of the city and surrounding landscape. There are a variety of paths and varying viewpoints to take in, as well as some hiking trails if you’re up for it. The paths are slightly eroded in parts so bring good walking shoes.
Tips & Learnings:
- Nothing is free. Make sure to always bring some cash for tips for any tour you go on. Keep in mind that this tip will also be split amongst not only the guide but drivers as well (when applicable).
- I visited during a time when there was a lot of political unrest. Be very aware of your surroundings in general here but take note of the atmosphere in your day-to-day as well. If things feel charged, leave the area.
- Be careful where you pull out your phone or camera. I rarely saw people taking pictures/videos and honestly, I only ever felt comfortable doing so in my walking tour group or inside certain buildings.
- Give yourself time to adjust to the altitude. For plenty of us, we don’t typically live in a high-altitude region so our bodies will need a minute (or weeks) to get used to it. Even if you have the sickness pills and all the other fixings, your body is going to need a second. I had a pretty solid headache, was incredibly tired at points, and had these odd prickly tingles throughout my body, from the get-go. Don’t push too hard, and grant your body a little grace.
- Quito is almost a guaranteed stop if you’re visiting Ecuador, especially if you’re flying, as most transport flows through here. That being said, the maximum time I would say to spend here would be two days but honestly, I could have dropped it down to two nights (including my late night in) and just had one full day in the area.
- Highly recommend if your hostel or stay offers airport pickup, take them up on it. It’s often super affordable and worth the spend versus having to sort something in real-time on arrival after a long flight (with heavy packs).
- From my perspective as a solo female traveler, I’d be back in your stay before nightfall. It might be ok if you have a group you’re out with but I wouldn’t recommend walking the streets – even with a group (since you’re likely standing out) – in the dark.
Two Nights in Cotopaxi
These few nights, sans any cell service for all, vie for first place across my entire South American journey. This was also validation to me for keeping an open schedule as this was an entirely unplanned stop in my itinerary. I found out about this excursion through word of mouth at the hostel in Quito, everyone was raving about it, so I signed up! After a pick-up in Quito, a group of us from the hostel headed toward Cotopaxi.
Noteworthy Stays, Sights & Activities:
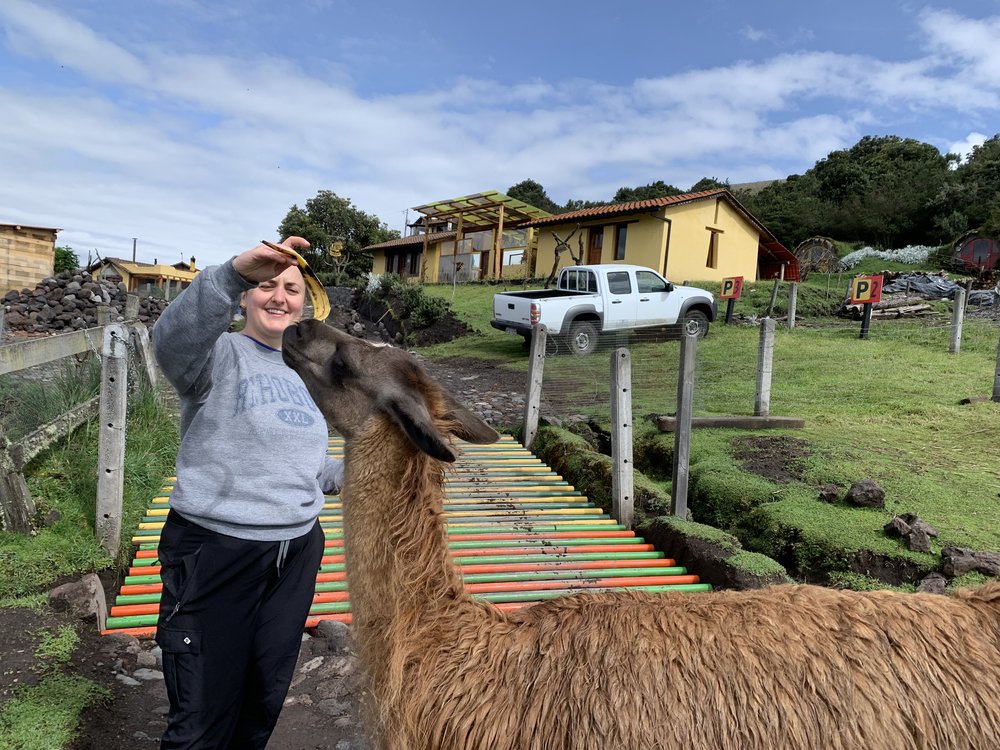
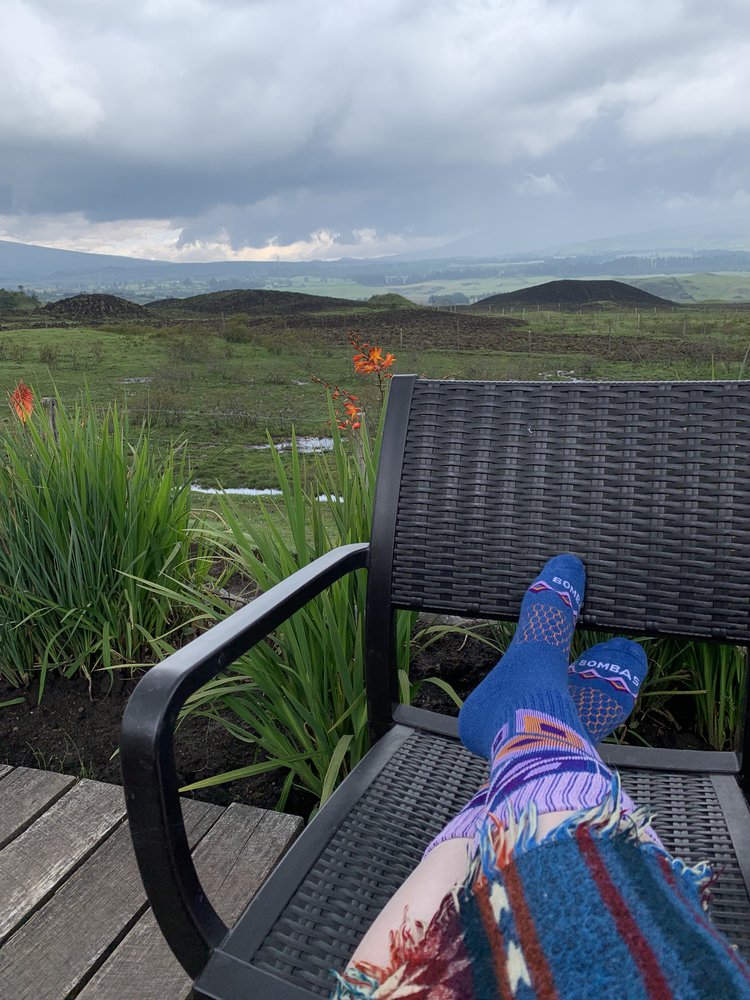
- Working through my hostel in Quito, they did excursions out to their sister location, The Secret Garden Hostel Cotopaxi, every few days for a set number of days. I did the two nights but you could stay for longer if desired. The food was honestly the best I had in Ecuador (and most of South America), the location was gorgeous, and the price included your bed, food (including afternoon snacks!), a few excursions, plus, depending on where you were going, transport to your next destination. There was no cell service or wifi for anyone which honestly is what made it so great in my opinion. It forced everyone to connect and make friends – friends I ended up meeting back up with in multiple spots, later on in my travels. As a game lover, we played a ton of cards and board games in addition to having peaceful moments around the site (lots of chairs, hammocks, etc.). Most importantly, there were LLAMAS! They provided banana peels for you to feed them with too.
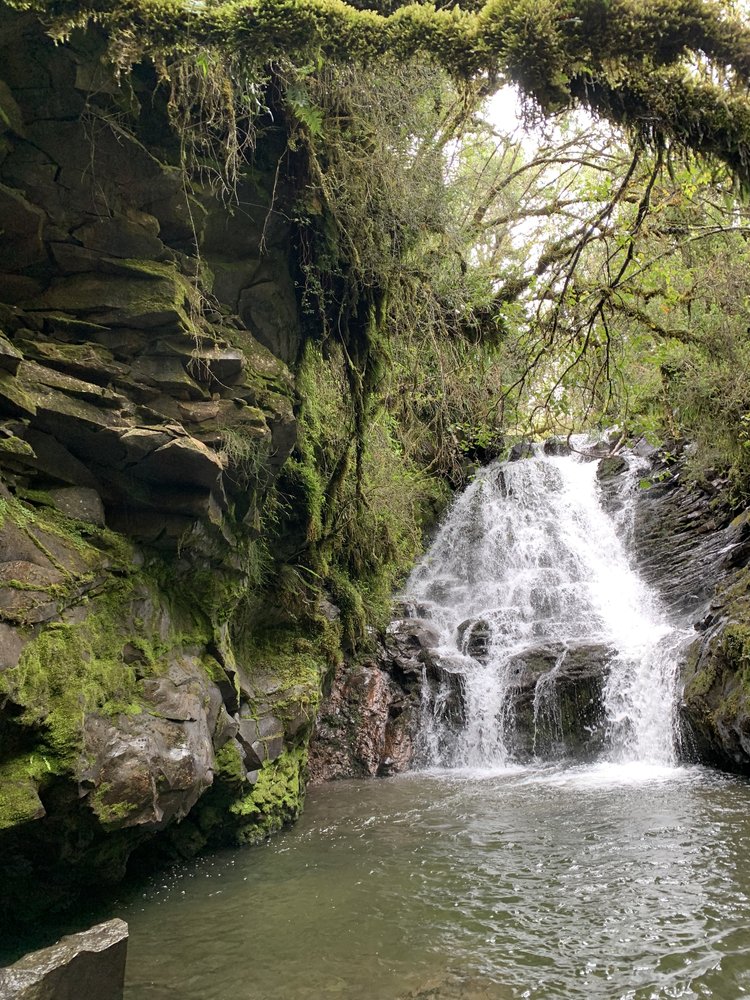
- We went on a waterfall hike which was cool looking but to be honest, it was a lot harder than I expected. You do have to walk across the river – which my torn-up knees did not appreciate – and descend/climb steep “steps” (as well as use a rope to scale sideways on a rock wall to get to the second fall). Though I am glad I did it, I definitely don’t need to do that again.
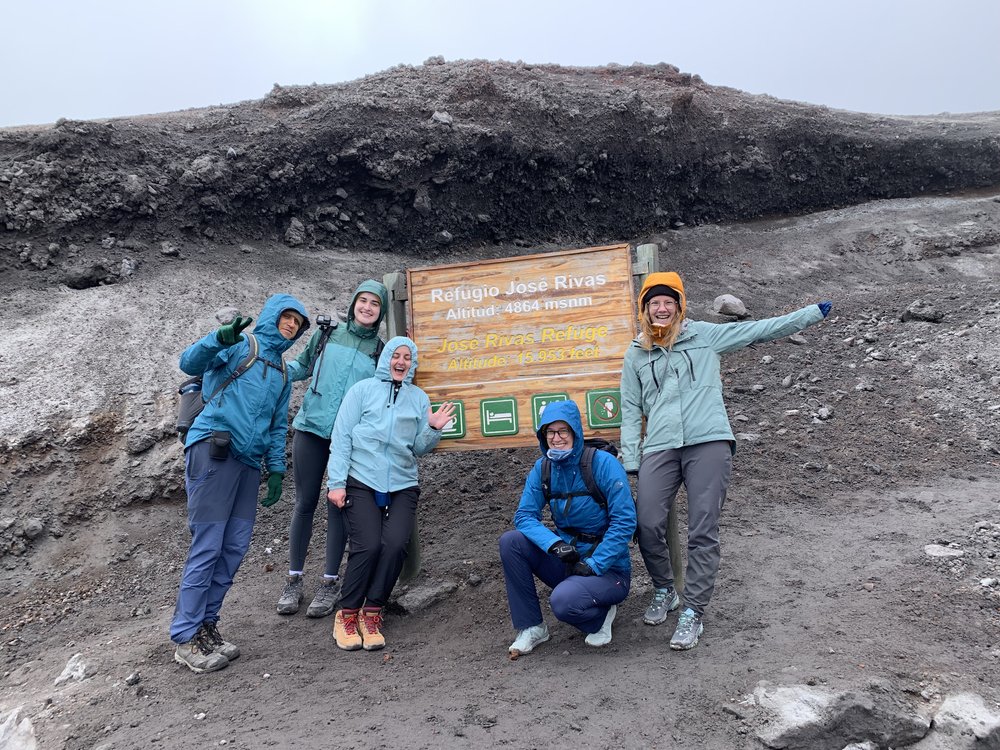
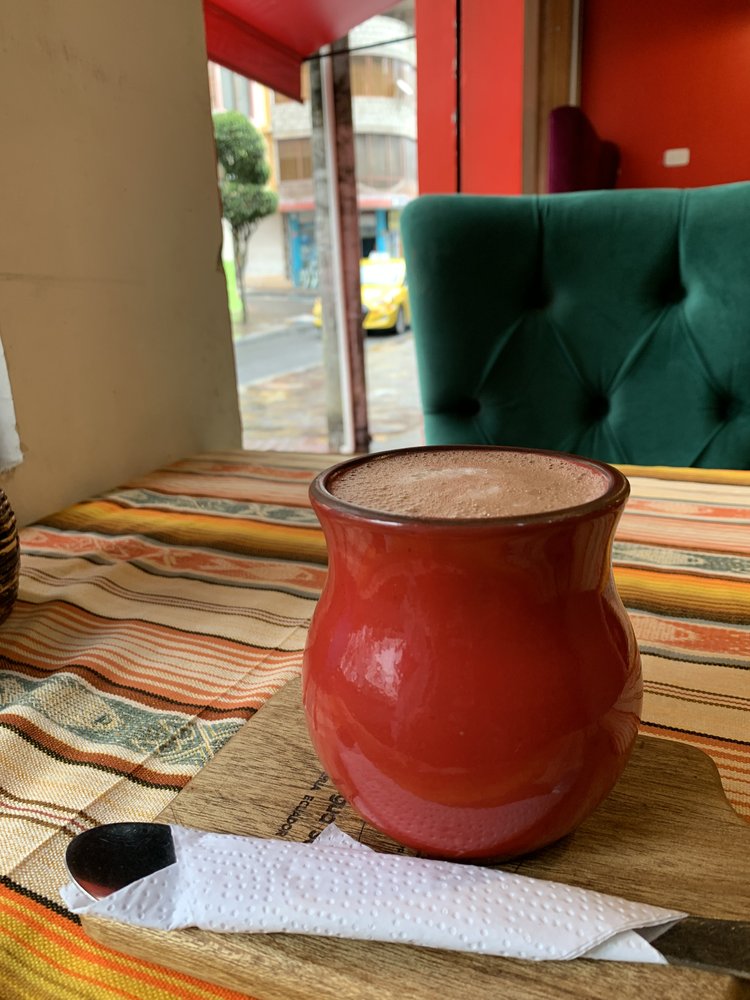
- I loved the hike up to the base camp of the Cotopaxi Volcano. Though the altitude is a killer and you basically work hard to put one foot in front of the other, it’s an amazing experience. Once you get to the top, you can warm up with a hot chocolate at the base camp and sign your name on your designated country flag. The way down is faster (assuming you take the sandy direct shot down) and offers a really pretty view. Now you can say you hiked an active volcano!
Tips & Learnings:
- Bring hand wipes, sanitizer, and packable soap in your day bag! A lot of places I came across throughout my backpacking – like the bathrooms near and on the Cotopaxi volcano – were often missing soap or there was no water. Be prepared.
- The hike up to the base camp is cold! Make sure to wear layers and ideally some gloves.
Two Nights in Latacunga
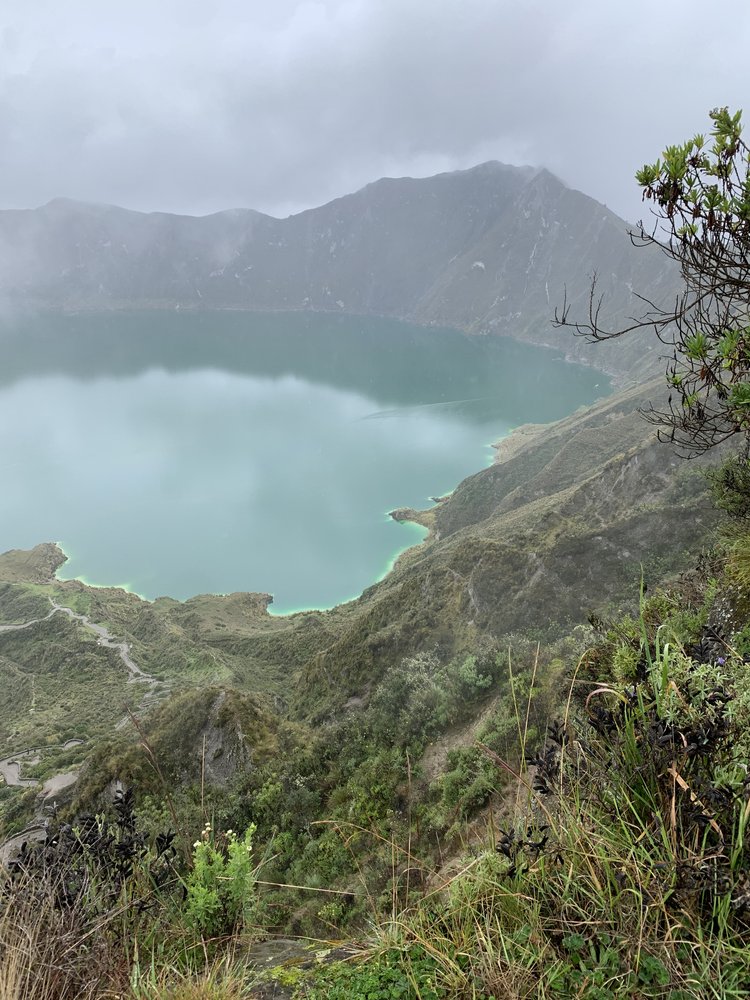
A lot of people do the Quilotoa Loop hike, which takes days and you hike to different stays each night. Yeah, I didn’t do that – though it does sound cool. Quilotoa Lake is a beautiful caldera with stunning water. You can hike around the rim and even go down to the lagoon for a boat ride.
Noteworthy Stays, Sights & Activities:
- I stayed in Latacunga for my two nights, since it was the closest option I could find to the lake with a decent night stay. It has a much more authentic, local vibe to it compared to my experience in Quito.
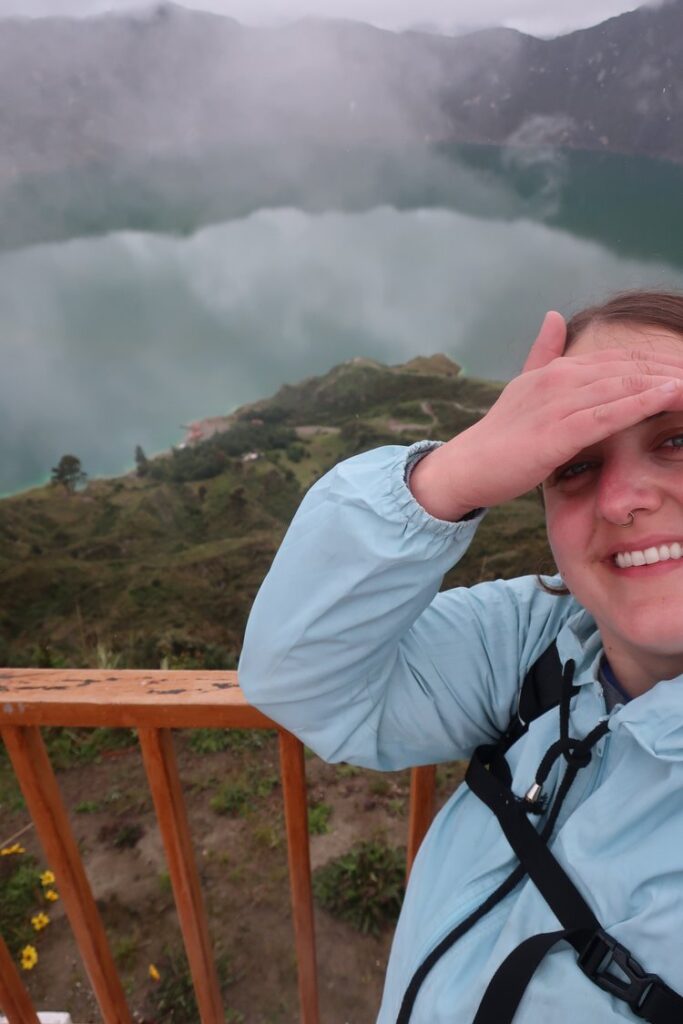
- Quilotoa Lake, though slightly clouded when I saw it, was a beauty. It gave me Crater Lake vibes (for anyone who’s been to Oregon). There are a few paths leading up to overlooks of the lagoon as well as a path down, though you do have to pay to go down. I followed the trail a little ways around the lake, it’s quite eroded so be careful, and captured some beautiful shots of not only the lake but the vegetation and town surrounding it.
Tips & Learnings:
- Sometimes the Airbnb is a better price (or close) to that of a Hostel stay. Make sure you’re comparing options (and reading REVIEWS – not just on hostel sites). I ended up in my own Airbnb in Latacunga since it was the same price as a bed in the hostel. Can I get a HELL YEAH?!
- Get comfortable grabbing a cab. You’re gonna need to dust off that high school Spanish to fumble your way with a driver to drop you where you need to go. There were plenty of cabs outside of the bus station but I had to walk a little bit to hail one from my Airbnb.
- Make sure you have small bills and lots of change. You could miss a cab cause they can’t break your bill, and coins are actually more valuable as costs are really low compared to where many of us call home.
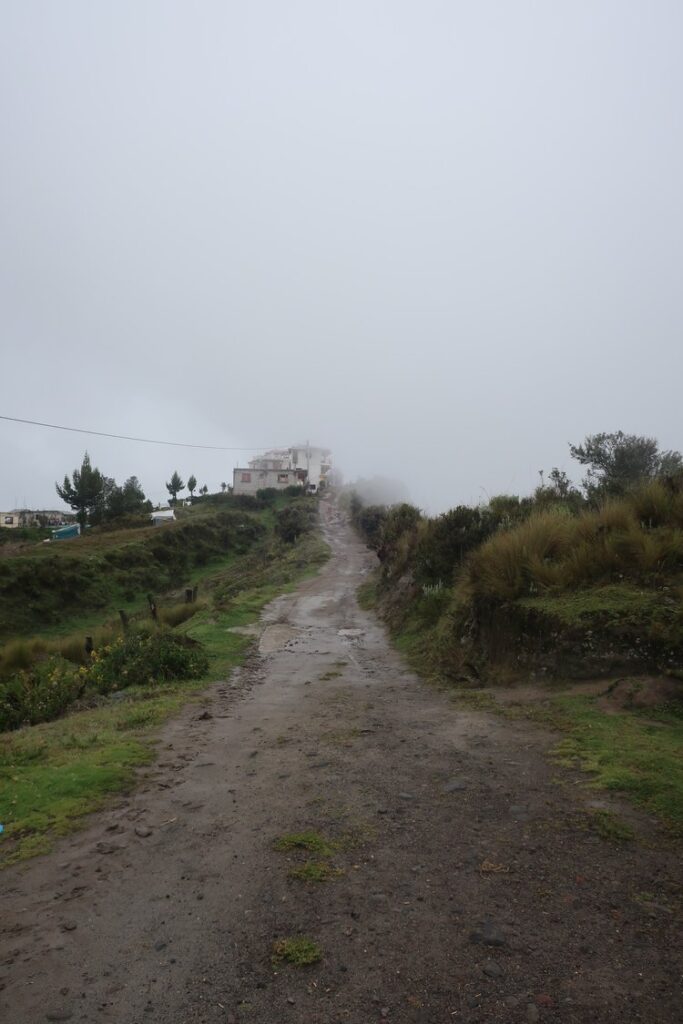
- I feel bad saying this but I found the Quilotoa area really unsettling. I visited during the second week of April, so I do believe I missed more prime tourist time but, the town itself where the bus dropped me from Latacunga felt really bleak. Ultimately, as I was alone as well, I didn’t end up staying as long as I thought I would.
- It’s easy to catch the bus to/from Latacunga so I wouldn’t worry about transportation to Quilotoa itself. Heads-up though, if you end up waiting for the bus on the way back, there will be random people in their cars/trucks stopping every few minutes asking in Spanish if you need a ride. Get good at that head shake and “no, gracias” my friends. Not to say this couldn’t be safe… but as a clear tourist by herself, I wasn’t getting in.
Four Nights in Baños
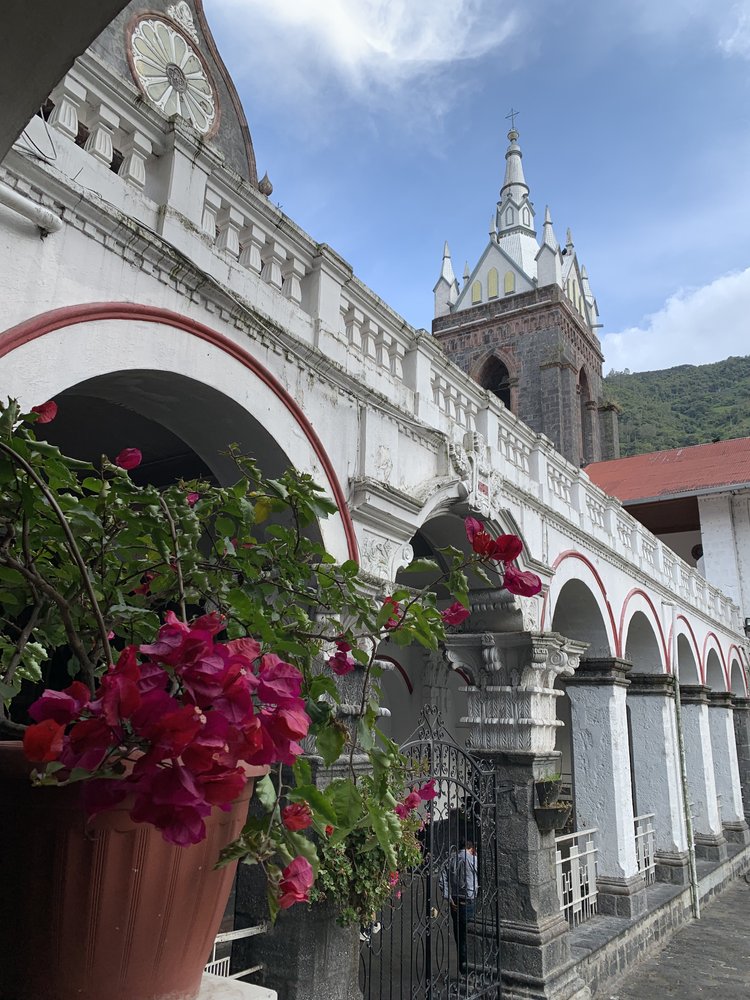
From Latacunga, I grabbed the bus to Baños – that ticket felt like an adventure in and of itself. It was a couple hours ride to the bus terminal right in town, and then I walked the blocks toward my hostel.
Noteworthy Stays, Sights & Activities:
- Though nothing noteworthy, I stayed at Hostal Princesa Maria during my time in Baños. The family who runs it was really kind and helpful and the location was accessible to a lot of activities and bus lines.
- I used GeoTours for an afternoon of ziplining and it was so fun. I won’t lie to you, my legs did feel like jello for some parts and there were a couple of climbs up to a few starting lines but overall, a really fun excursion (and really cheap).
- La Casa Del Arbol offers a pretty vista of Banos and an easy morning activity. I’m not going to sit here and pimp it out as remarkable but it was a good time and I love a swing plus a garden, all the flowers were a dream. They also have a random zip line – that looks like something your engineer uncle would build – that was a fun hit before heading out.
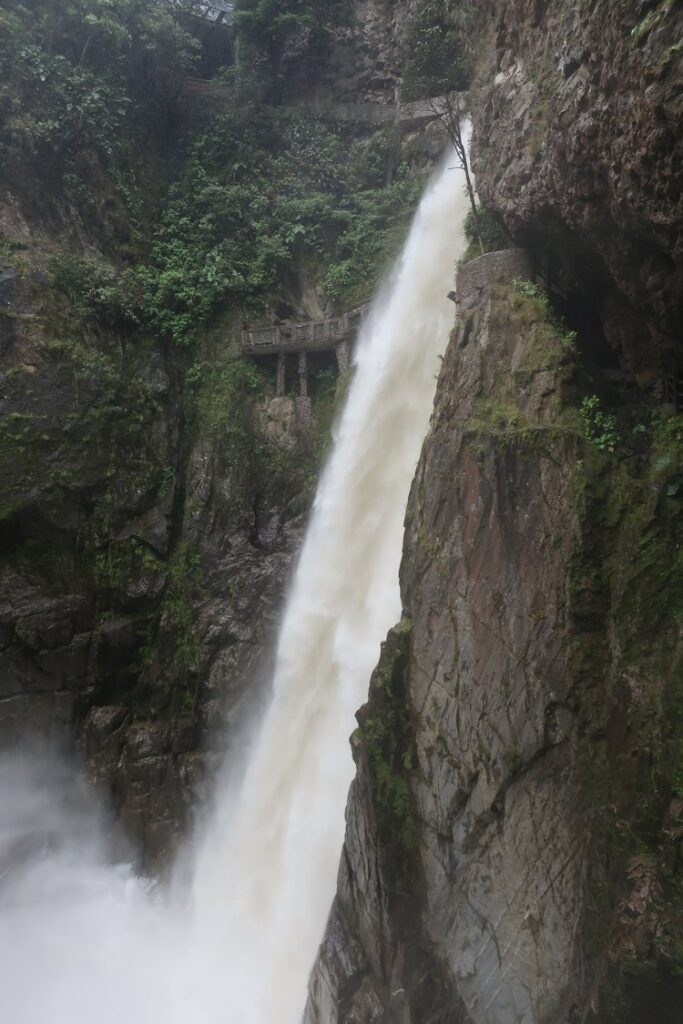
- The Cascada El Pailon (del Diablo) was a force of a waterfall to see up close. Be sure to wear your waterproof/resistant clothing before heading off as the spray is far-reaching. You do have to work your way down (and up) to the falls from where the bus drops you, but it’s an easy hike, just a little muddy.
Tips & Learnings:
- If you are incredibly outdoorsy, this is the town for you and warrants a many-night stay. To be clear, I love the outdoors but am I rock climbing, white water rafting, etc in my fun time? Not really. For me, I ultimately wished I stayed half the time and designated more time in other areas throughout South America.
- Listen to bus times (or ask). The buses aren’t running every 15 minutes or even half an hour. Pay attention to your timing and make sure you know where you’re getting picked up and dropped off before you get off the bus at any given activity.
- This is where my demise happened. I had one of my favorite meals – some yummy arepas – but they did have some raw veggie toppings… wham, bam, I contracted the absolute worst food poisoning I’ve ever experienced. Sadly it followed me the remainder of my trip. So the tip? Do not eat any raw foods, even fruits and vegetables. Which, do I know this? Absolutely. Did I think it was ok to let it slide cause it seemed like a reputable place? Unfortunately, yes.
One Night in Quito
I pounded basically all the bowel-seizing meds I had on me and grabbed the bus back to Quito. It’s a few hours and virtually no stops, so prepare yourself ahead of time for no bathroom or food breaks. From there I grabbed a cab to my hostel for a night before catching my flight to Peru the next morning!
Last overall tip, when riding on the buses, keep your bags on your lap at all times. Do not put anything on the floor or above you. I can’t tell you how many times I was warned of this throughout my time in the country. I met a woman in my hostel who said she got her phone and wallet stolen out of her backpack – while she had it on the floor, looped between her legs on the bus – without even realizing it.
Overall, Ecuador was an adventure and a good starting point for my trip. For the purpose of backpacking, if I could go back, I would have spent a little less time in this country and opted for more in Peru and Argentina but alas, all was grand.
Tag @accentgolden in your travels if you hit up any of these spots!

