Chocolate Pudding Pie
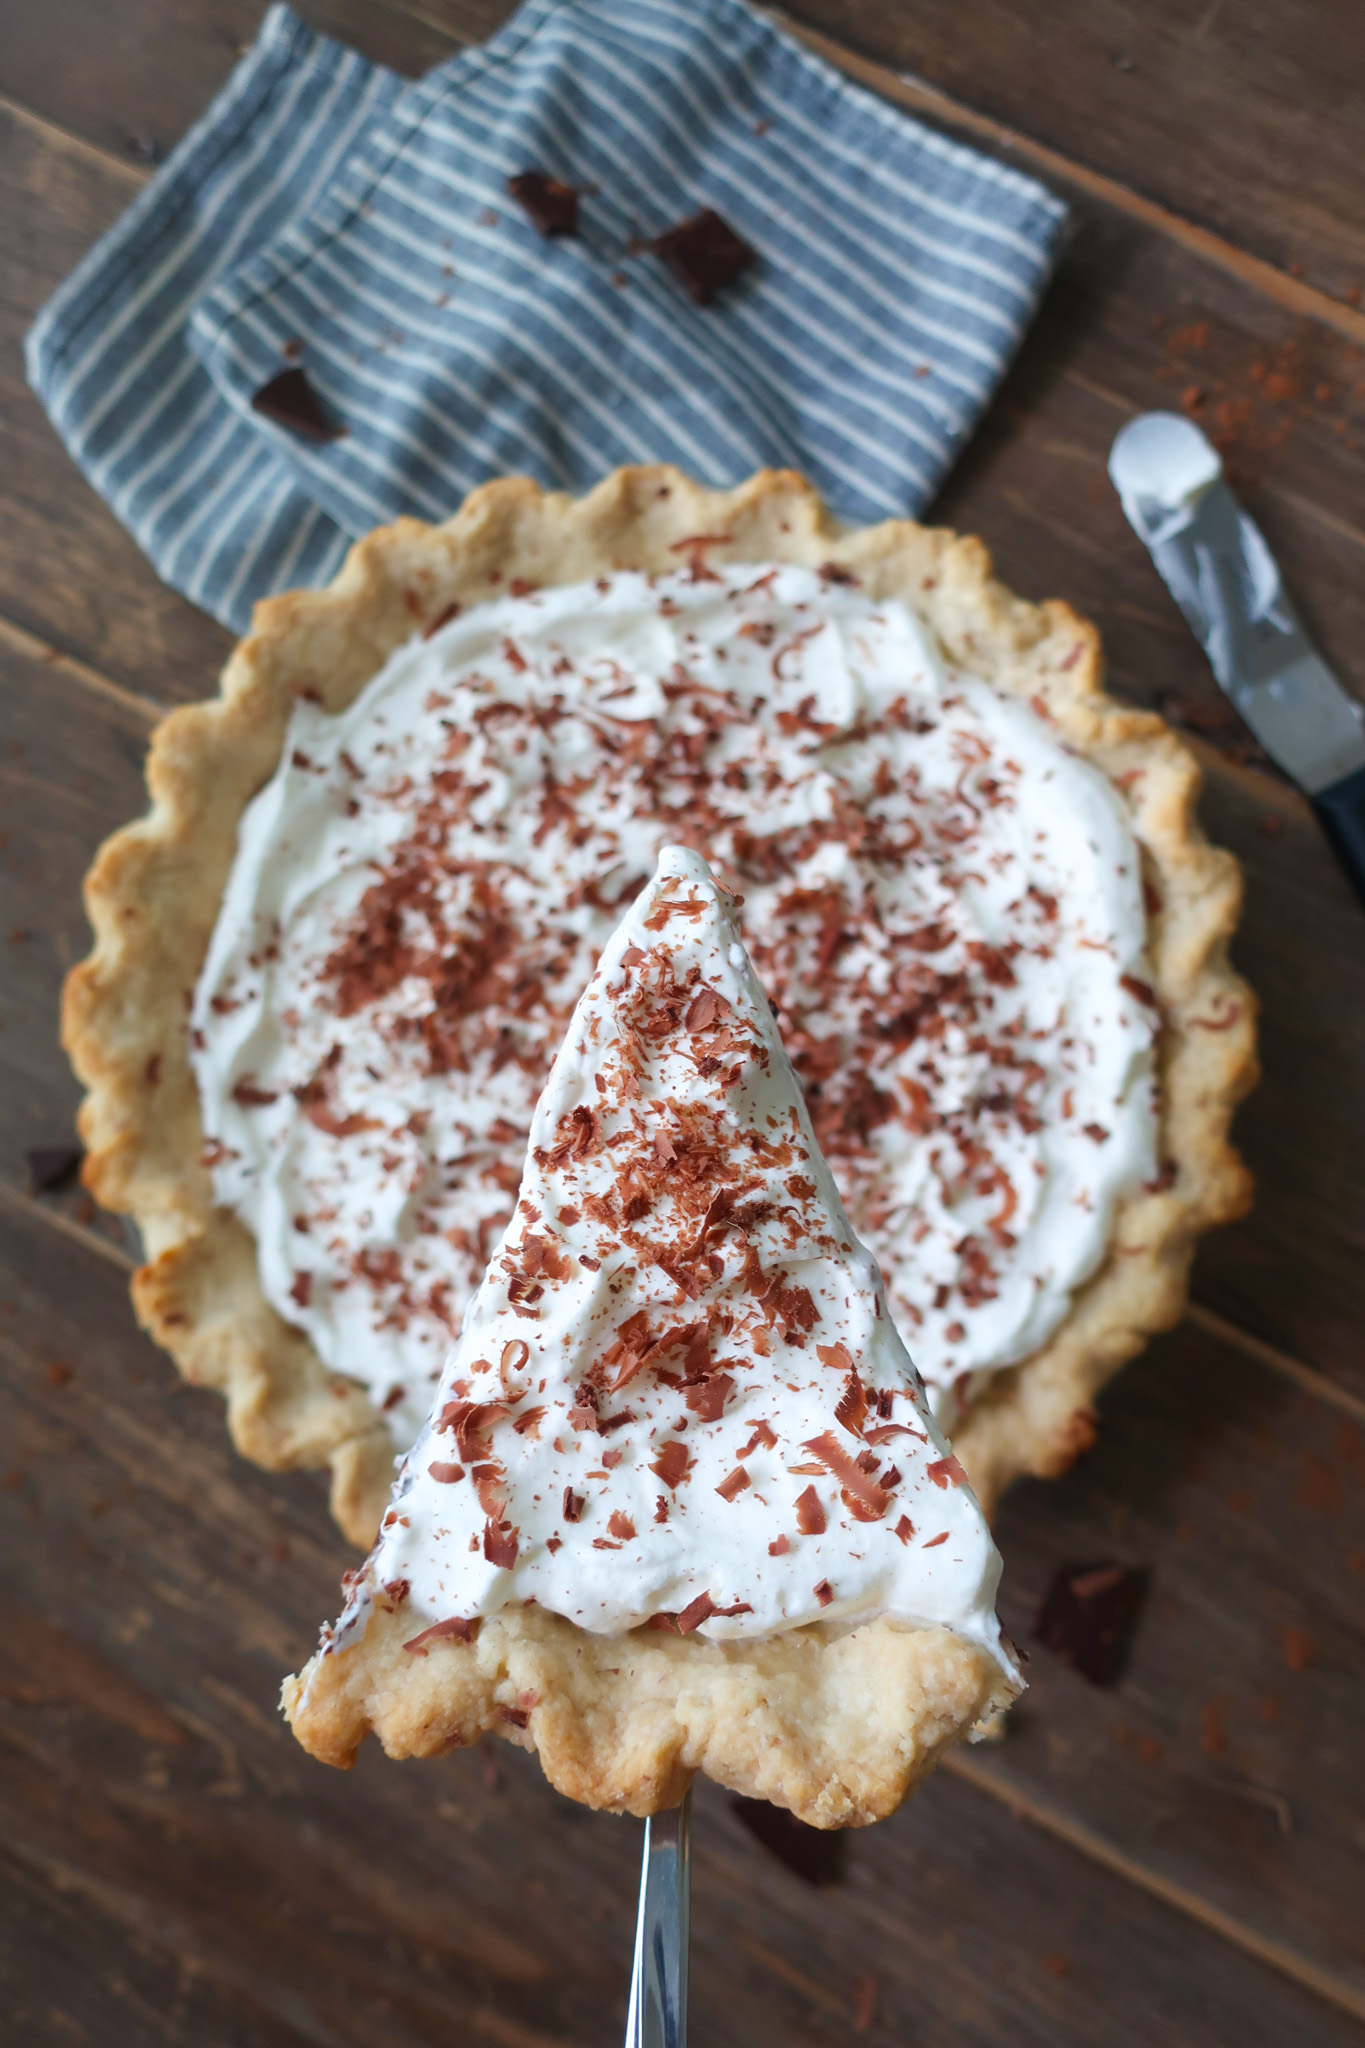
Every year for Thanksgiving my family has a variety of pies on the dessert table but two are staples (aka there is zero chance I will allow them to not be served). One of them is a Classic Cherry Pie and the other is this chocolate pudding pie.
To break any stereotypes up front, pudding is not just for kids. It is too perfect to be left behind in childhood.
Now, I’m gonna be really honest with you, up until conquering this pudding recipe, I was a JELLO Cook & Serve chocolate pudding gal all of my life. Those days are over my friends. I’ve been taking a crack at homemade pudding for a minute but it always came out wrong, either too stodgy or not the right chocolate flavoring. This pudding recipe is perfect. It’s a smidge richer than the previously mentioned packaged chocolate pudding mixture, but it balances so perfectly with the crust and whipped cream of this pie.
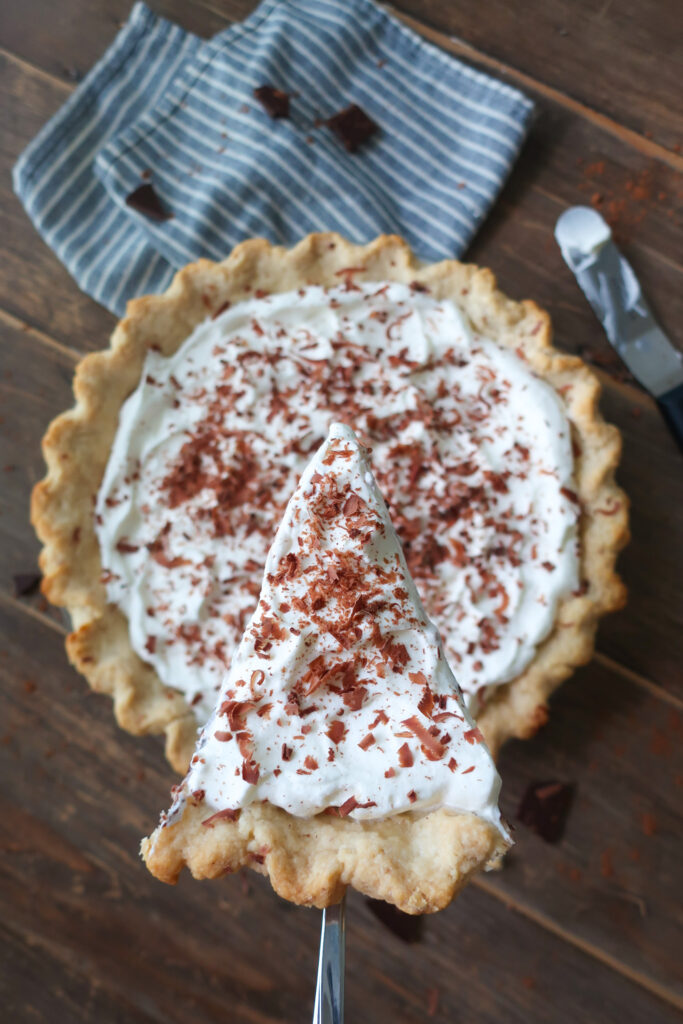
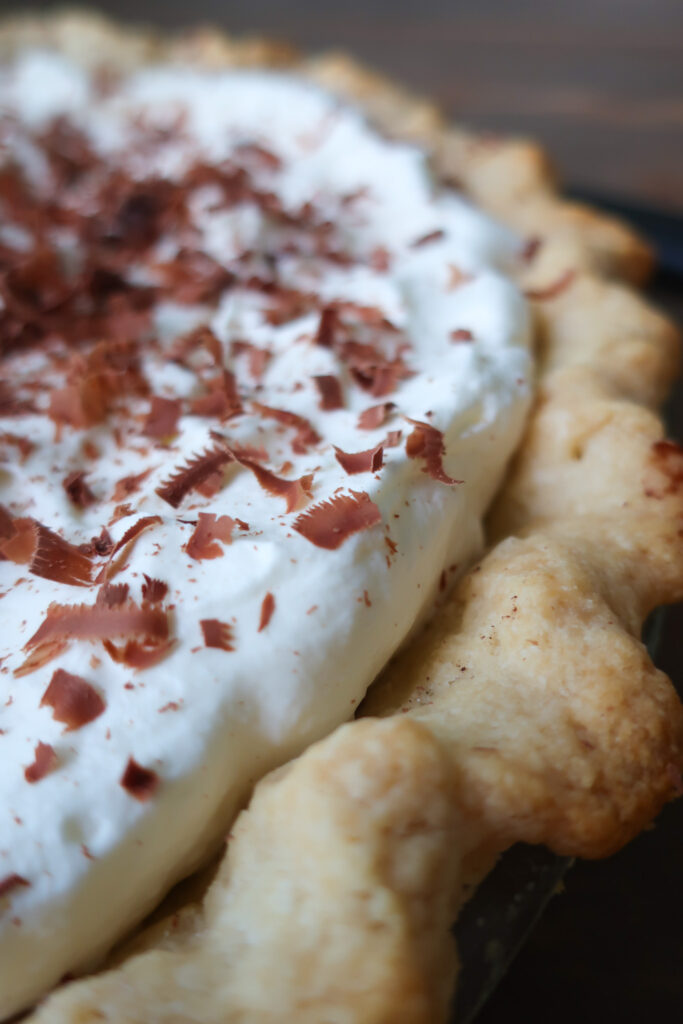
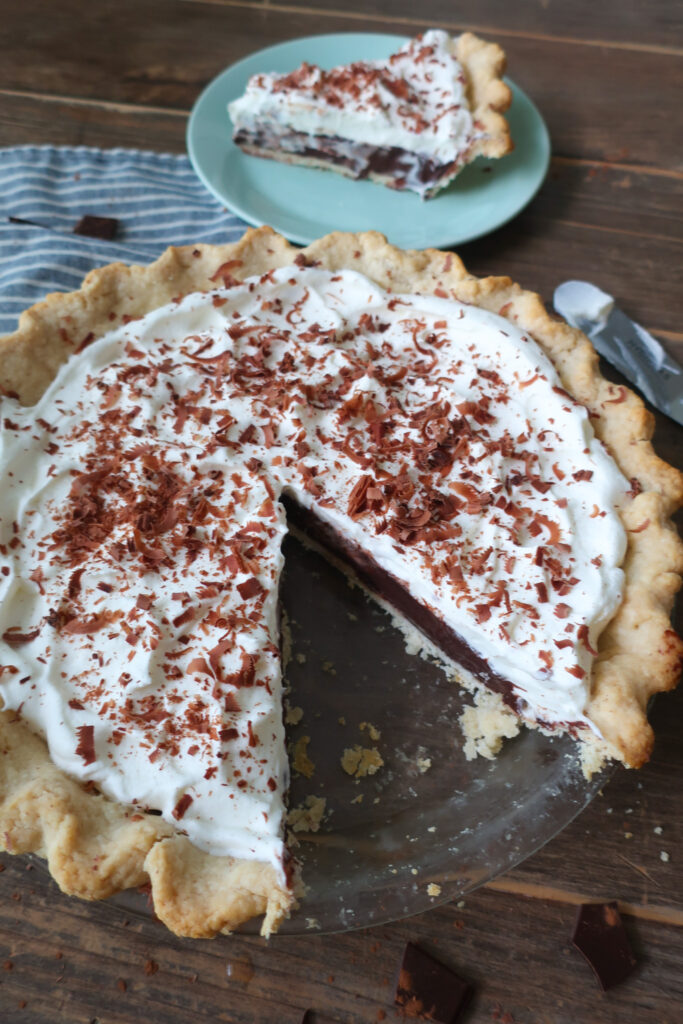
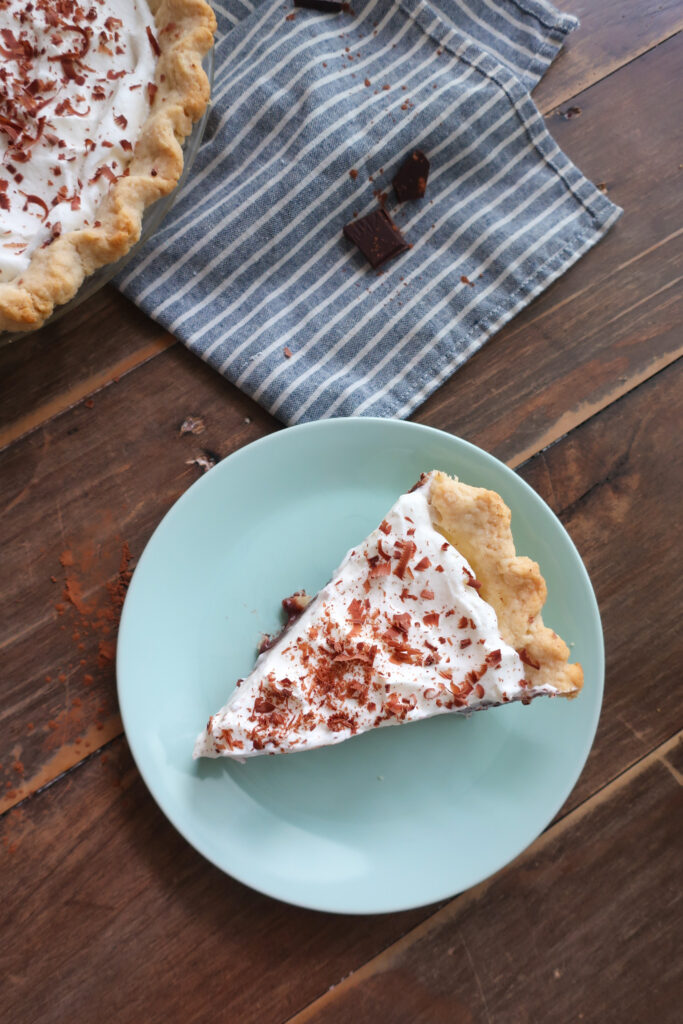
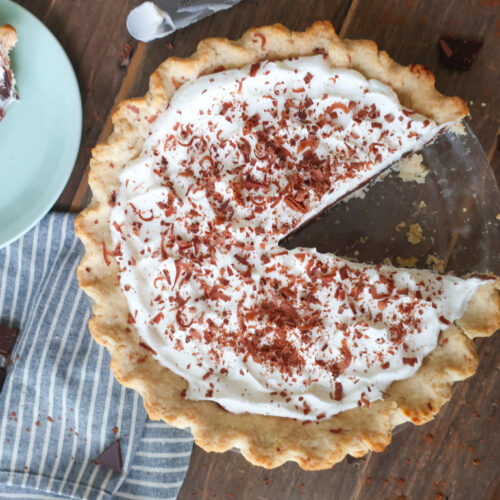
This chocolate pudding pie – sometimes referred to as a chocolate cream pie – blends a buttery pie crust with a creamy chocolate pudding center, and is topped with fresh whipped cream. Each bite delivers all the chocolatey-cream-salty goodness you could dream about.
So whether you’re wanting to try a new pie or need something chocolate for your dessert spread. This pudding pie will leave with everyone asking for the recipe.
WHAT IS PUDDING?
(sorry, coming soon with a website update – full recipe available at the bottom!)
How to stop your pudding from formnig a thick skin: (sorry, coming soon with a website update – full recipe available at the bottom!)
INGREDIENTS
- (sorry, coming soon with a website update – full recipe available at the bottom!)
(sorry, coming soon with a website update – full recipe available at the bottom!)
HOW TO MAKE CHOCOLATE PUDDING PIE
(sorry, coming soon with a website update – full recipe available at the bottom!)
3 reasons you’ll love this dessert
TIPS & VARIATIONS
- (sorry, coming soon with a website update – full recipe available at the bottom!)
MAKING AHEAD & STORING
(sorry, coming soon with a website update – full recipe available at the bottom!)
MORE COLD DESSERT RECIPES
(sorry, coming soon with a website update – full recipe available at the bottom!)
Equipment
- 9" Pie Dish
- Rolling Pin
- Parchment Paper
- Knife
- Baking weights I use uncooked rice
- Large Pot
- Whisk
- Spatula
- Measuring Cups
- Measuring Spoons
Ingredients
- 2 cups flour
- 3/4 tsp salt
- 3/4 cup unsalted butter cold and cubed
- 4 tbsp cold water
- 1/2 cup granulated sugar
- 1/3 cup unsweetened cocoa powder
- 1/4 cup cornstarch
- 1/4 teaspoon salt
- 2 cups whole milk
- 1 cup heavy cream
- 1 ½ tbsp powdered sugar sifted
Instructions
- In a bowl, stir together your flour and salt. Using two butter knives, held against each other with one in each hand to form an “X,” cut your butter into your dough, with the knives pulling away from each other and back in, until you have a sand-like consistency.
- Add in your water (I like to put a few ice cubes in a glass before filling it with cold water to make sure it’s extra cold), stir together, and then compress the dough into a ball. See notes below if you have a food processor!
- Place your dough between two large pieces of parchment paper, and roll to ¼”- ⅛” thickness – making sure your dough is an even thickness throughout.
- Gently peel the parchment back from the top layer, lay it back onto the dough, flip all of it over, and repeat with the bottom (now top) layer of parchment.
- Removing one side of the parchment, carefully lay that side face down into a 9-inch pie dish and remove the top layer of parchment
- Carefully shift the dough to ensure it is laying flat within the pan and along the sides. If you have more than an inch excess, use a butter knife to cut away an extra and save for later.
- Tuck under the remaining excess dough around the edges, to form your crust
- Make a peace sign with your pointer and middle fingers on one hand, place along the edge of your crust. With the pointer finger of your other hand, pointing toward the center of the peace sign, pull back the dough in the center of your fingers. This will form a crimp. Repeat along the edge of your crust until complete.
- Place your pie dish with the crimped crust in the fridge for 15 minutes.
- Preheat your oven to 425F
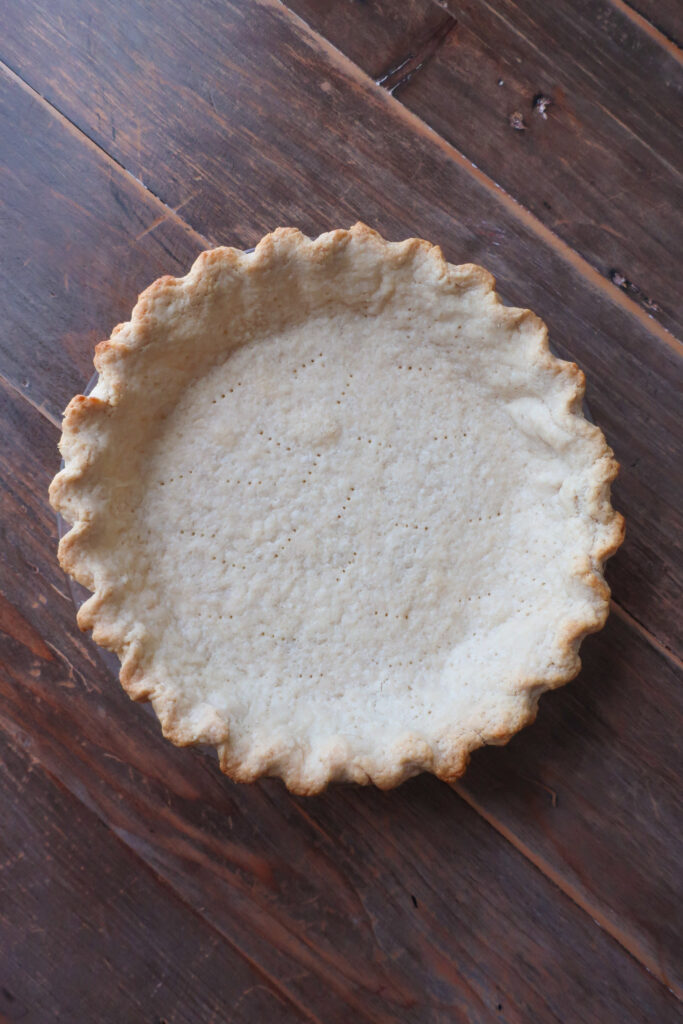
- Once chilled, remove your pie dish from the fridge and prick the bottom and sides of your crust with a fork to prevent the crust from puffing when you bake. Crinkle a piece of parchment paper and lay it carefully in your dish before pouring in your baking weights.
- Bake your chilled crust for 12 minutes, remove from the oven briefly to carefully lift out your parchment paper and baking weights before returning to the oven and baking for an additional 8 minutes. Your crust should look dry and have a very light color to it. Cool completely
- In a medium pot, sift together the sugar, cocoa powder, cornstarch, and salt and whisk until well combined
- Gradually pour the milk into the dry mixture while whisking to avoid lumps. Continue to whisk until smooth.
- Place the pot over medium heat. Cook the mixture, whisking constantly, until it begins to thicken. As soon as it boils – this usually takes about 5-7 minutes – remove from the heat and pour the mixture into your cooled crust, spreading evenly
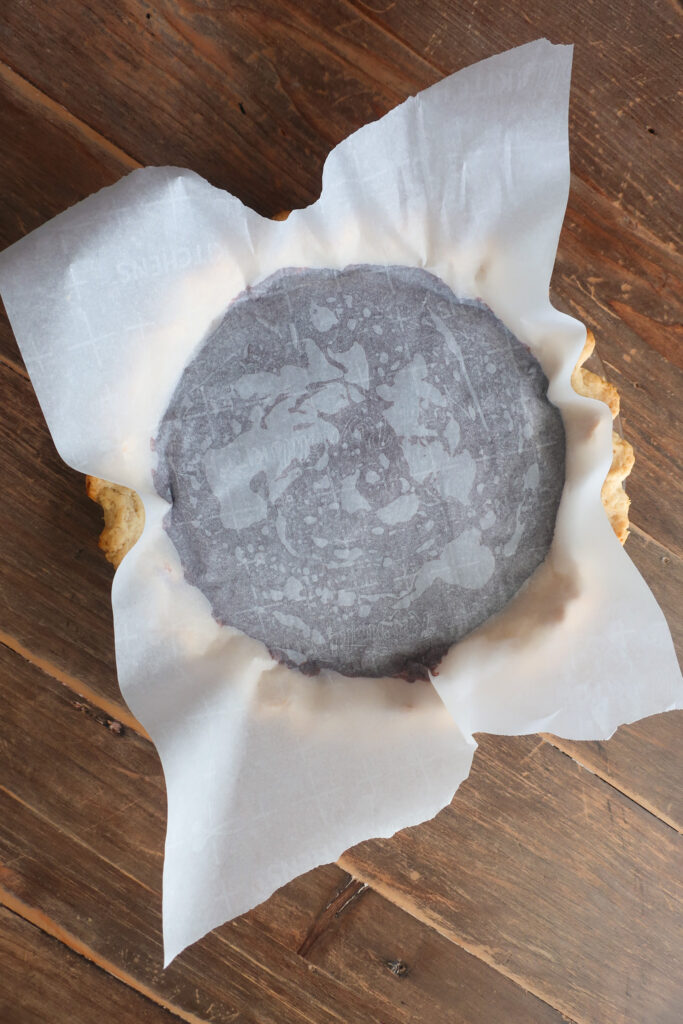
- Cover the top of the pudding with parchment or wax paper, to prevent a skin from forming, and refrigerate for at least 2-3 hours, or until set.
- Once set, whip your heavy cream and powdered sugar in a bowl until fluffy and spread evenly on top of your pie. You can use a peeler to shave some dark chocolate over the whipped cream for additional topping!
- Slice and enjoy!

