

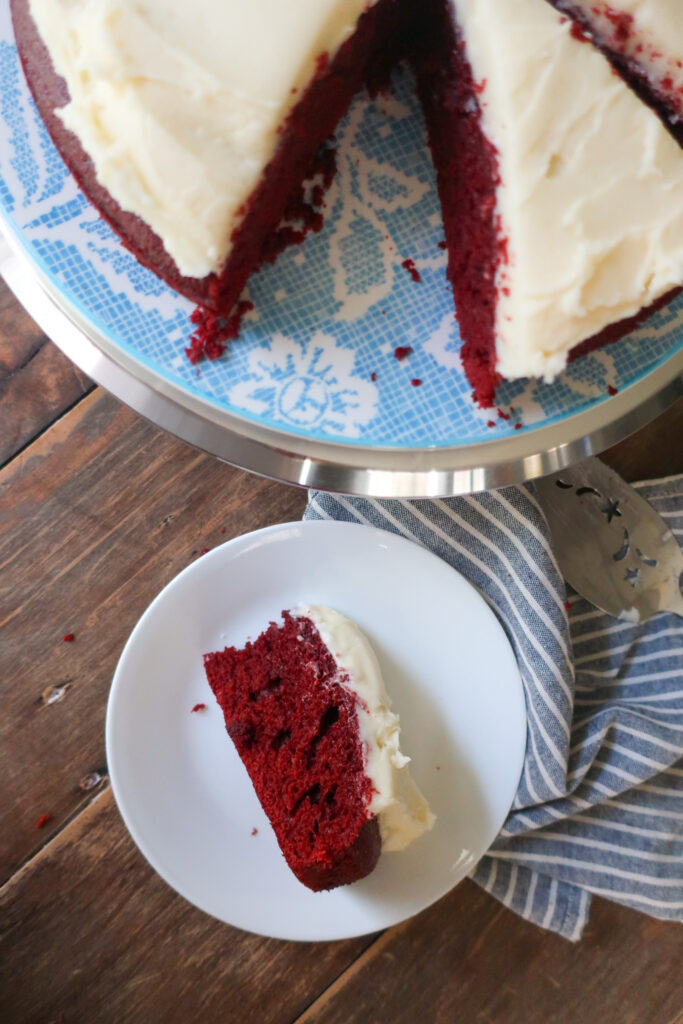
Moist Red Velvet Cake with Cream Cheese Frosting
The tie for my favorite cake goes to this chocolate cake with vanilla buttercream and this here red velvet cake. Now, I don’t care what anyone else says if your red velvet cake doesn’t have cream cheese frosting on it, it’s wrong. I don’t want buttercream, I don’t want some type of whipped situation – cream cheese frosting or nothing else.
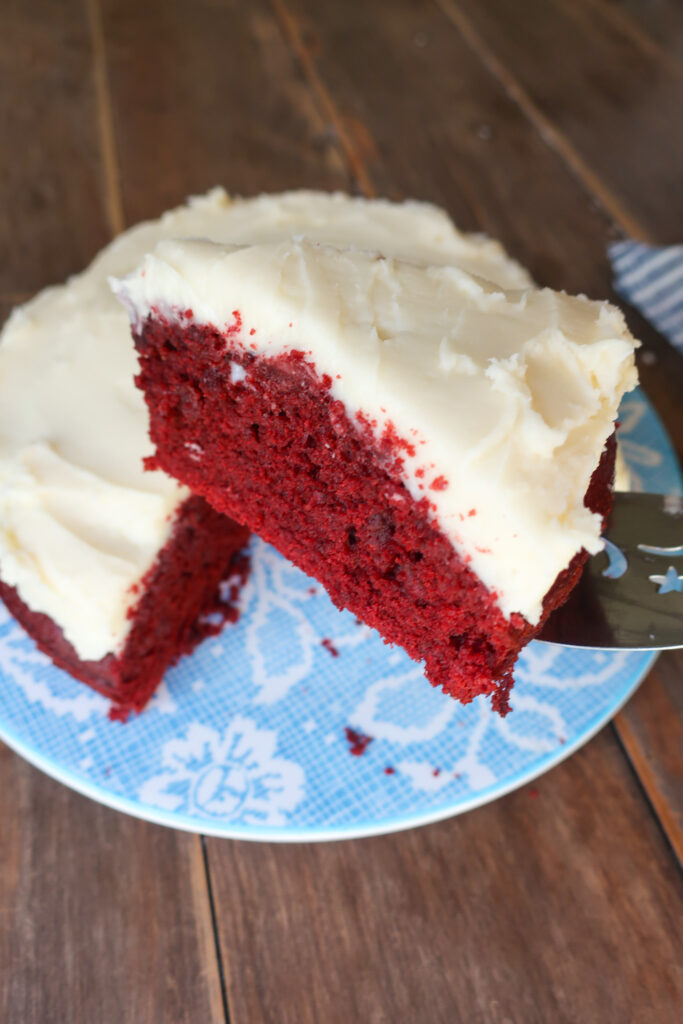
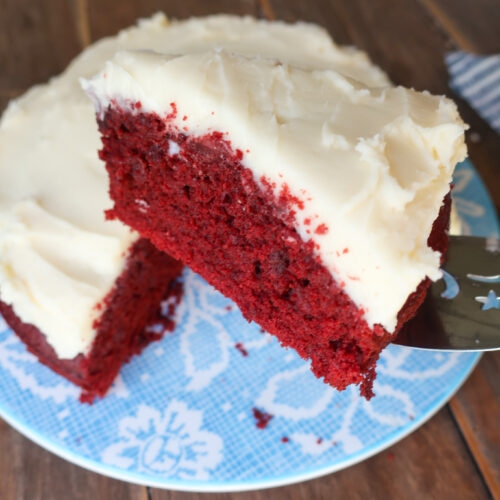
My problem with a lot of red velvet cake recipes is that they often turn out dry. I’m not here for a dry cake. That’s why this red velvet is so moist, so soft, and so delicious. A key part of that is the use of boiling water, which we’ll get into below, as well as cooking the cake on a lower temperature.
Currently, there is some water damage from a leak under the kitchen sink so we have fans blaring (and I mean blaring) 24/7 but once I mastered this cake and took a bite I said “I have to turn these fans off. I have to TELL them how good this cake is.”
So if you’ve been looking for a red velvet cake recipe to have in your back pocket, this is the one you will love forever.
Please rate and review this recipe below when you love it as much as I do!
WHAT IS RED VELVET CAKE?
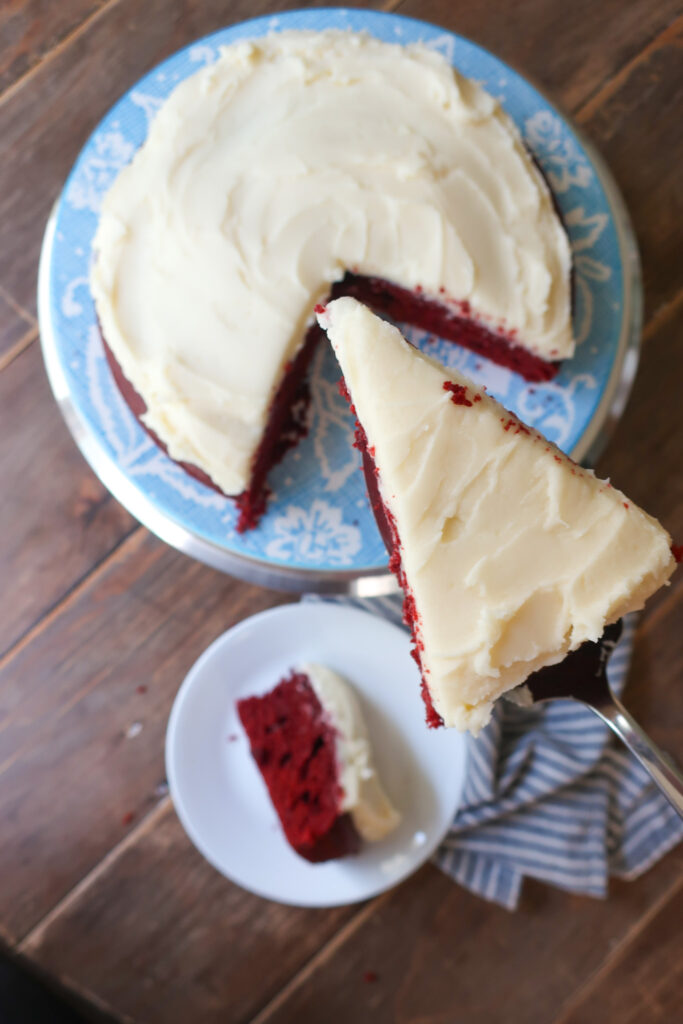
It’s a lightly chocolated cake – so not a chocolate cake but more like some chocolate essence – made with vinegar and buttermilk, to give it just the barest hint of tang, colored red, and slathered with cream cheese frosting. Supposedly the original makers of red velvet cake noticed that the combination of non-Dutch processed cocoa powder and vinegar gave the cake an almost red hue. Safe to say they weren’t forcing the red color back then. You’ll often find red velvet cake come in two to three tiers, but as someone who’s not feeding a small army, I figured it would be nice to just have a single round layer, simply frosted.
Why is there boiling water in this cake? Ah, so boiling water does two delicious things for this red velvet cake. First, and likely most obviously, the water adds moisture to the batter. This helps prevent that previously mentioned “dry” cake phenomenon that seems to happen with red velvet cakes. Secondly, the heat of the water matters as this will help to activate the little bit of cocoa powder in the recipe, enhancing those chocolatey tones.
INGREDIENTS
- Flour: Necessary for binding and structure
- Sugar: The sweetness to this cake (until you cover it in cream cheese frosting)
- Unsweetened Cocoa Powder: A little is all you need since this isn’t a full chocolate cake
- Baking Powder & Baking Soda: Bring the rise and lovely puff to this cake
- Salt: Key for enhancing the flavors within the cake
- Buttermilk: The acid in the milk helps with the rise and fluff of the cake
- Canola Oil: Using a neutral oil will add moisture without compromising flavor
- Egg: Necessary for binding, structure, and moisture
- Vanilla Extract: I mean is there a cake that doesn’t call for a little vanilla flavoring?
- White Vinegar: Activates the baking soda and offers that little tang
- Red Food Coloring: Essential for that classic red velvet color (until I sort out a natural substitute)
- Boiling Water: Activates the cocoa powder for an even richer flavor and brings moisture to the cake.
- Cream Cheese: An essential ingredient to cream cheese frosting! Just make sure it’s room temperature before using.
- Salted Butter: Usually I use unsalted in baking but for frosting, salted butter often does the trick. If using unsalted, be sure to add ⅛-¼ tsp of salt to your frosting!
- Milk: Helps to loosen the frosting, making it more spreadable. You can omit if you prefer it on the thicker side, or add a teaspoon at a time more of milk, to make it thinner for piping.
- Powdered Sugar: My main sugar source for sweetening frosting as it gives a perfectly smooth final result (just be sure to sift it in!).
Why is there white vinegar in this cake? White vinegar helps to activate the baking soda for added fluffiness while also adding to that classic red velvet tang (light but gives it a different taste versus a heartier chocolate cake).
HOW TO MAKE RED VELVET CAKE WITH CREAM CHEESE FROSTING
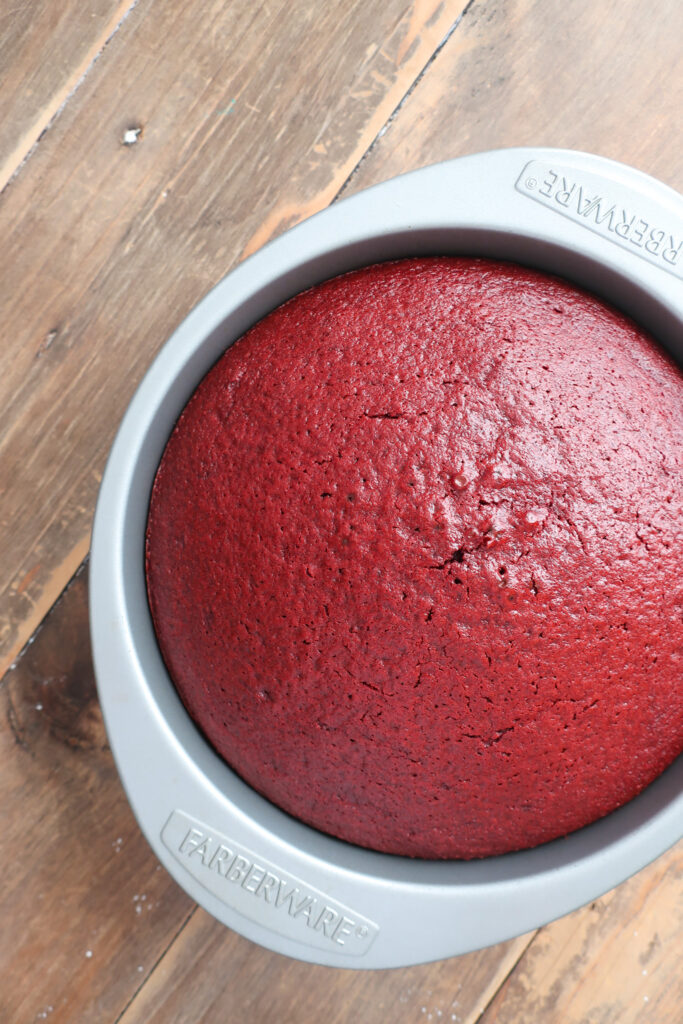
One of my favorite things about this cake is how easy it is to make! Start by preheating your oven to 325F. Grab your parchment paper and cut a circle to cover the bottom of your 9-inch cake round, grease your pan, and lay your parchment inside.
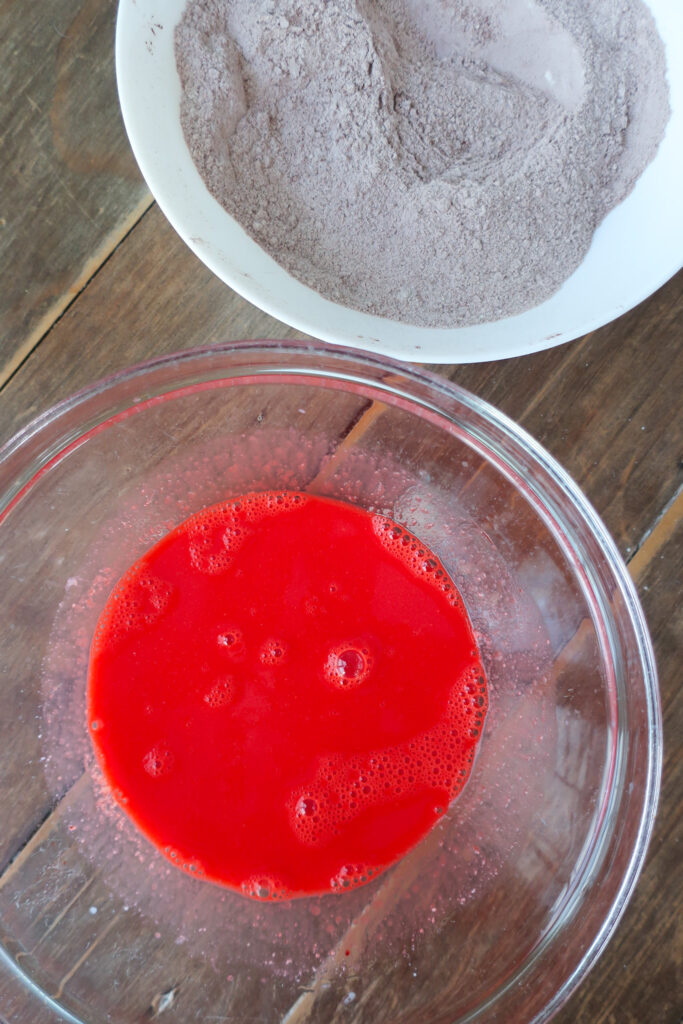
In a large bowl, whisk together your dry ingredients – flour, sugar, cocoa powder, baking powder, baking soda, and salt – and set aside. In a separate bowl, whisk together your buttermilk, oil, egg, vanilla, vinegar, and food coloring. Bring your ½ cup of water to a boil on the stove.
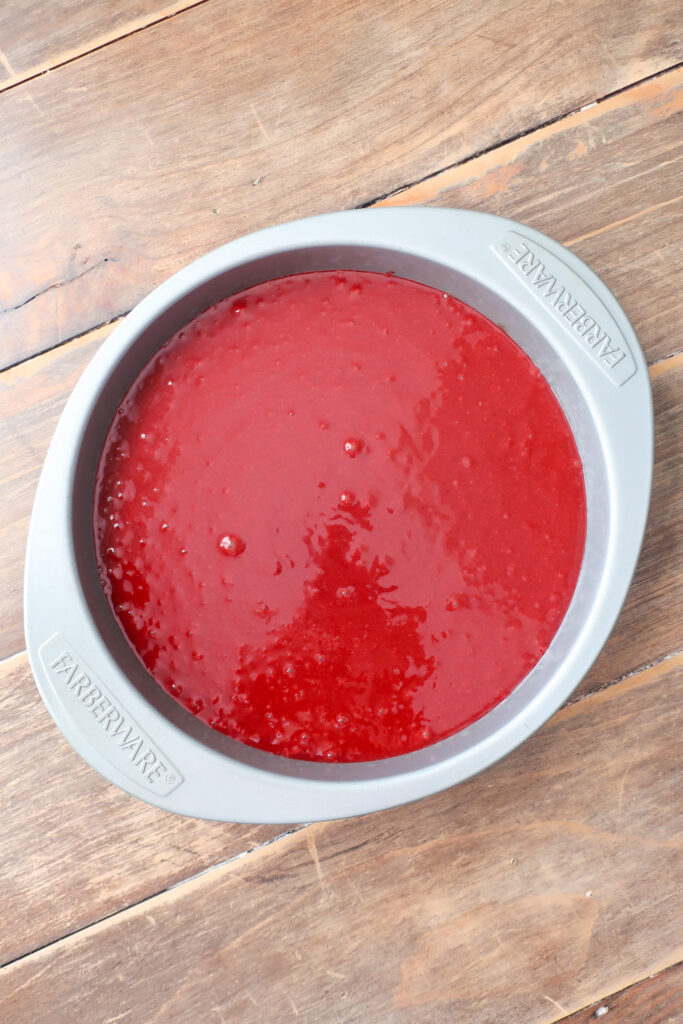
Add your dry ingredients into the bowl with your wet and whisk until mostly combined – there can be a few flour/powder streaks – and then carefully pour in your boiling water, whisking until smooth. The batter will be a little runny. Moisture baby!!
Pour your batter into your greased and lined cake pan and bake on the middle rack for 35-38 minutes, or until a toothpick inserted comes out clean. Take your cake out of the oven and allow it to cool in the pan for 10 minutes before removing and transferring to a wire rack to cool completely.
You can make your cream cheese frosting while your cake cools. Add your room-temperature cream cheese and butter to a mixing bowl and beat with a mixer for a 10-15 seconds until smooth. This is where you do want to use a mixer – though more power to you if you can do it with a whisk – as frosting is hard to beat by hand. Sift in your powdered sugar and carefully beat until all is incorporated before adding in the vanilla and milk. Give one final beat to combine and spread over the top of your cooled cake!
3 reasons you’ll love this cake
TIPS & VARIATIONS
- If you want a more vibrant color, use gel food coloring instead of liquid. One day I am going to play around with beets instead of food dye for this recipe, but today isn’t that day.
- Make sure your cake cools completely before coating it with your cream cheese frosting. You don’t want to risk the frosting melting off your cake.
- If you don’t have buttermilk, you can make your own by adding 1 ½ teaspoons of lemon juice to a measuring cup and filling it to the half-cup line with milk. Give it a stir and let sit for 5 minutes before using.
- Make sure your cream cheese and butter are at room temperature before beating for your frosting. This will guarantee a smooth icing without any lumps of fat.
- If you want additional tiers for this cake, simply double or triple the recipe! Keep an eye on your baking times if you do this since you will have more pans in the oven while it bakes. Also, if you’re looking for enough frosting to really coat the edges of the single-layer cake, make an extra half batch (so 1.5x the recipe below). Since my cake-decorating skills are in the works, I rarely need extra frosting
MAKING AHEAD & STORING
- You can make your cream cheese frosting in advance! It’ll keep airtight in the fridge for up to 2 weeks and frozen for 3 months. Bring it back to room temp before frosting your cake, which will make it smoother to spread and less likely to tear your cake layer
- Because of the dairy in the frosting, your frosted cake should be stored in the fridge (I know, I don’t love cold cake but just take out a slice in advance and let it come to room temp). The cake will keep wrapped airtight in the fridge for 4-5 days or you can slice and store it in the freezer for 2-3 months.
MORE CAKE RECIPES
If you love a tiered cake, try my Black Forest Cake made with layers of my favorite chocolate cake, whipped cream, and cherries! Want that cream cheese frosting but something just for you? Try my Single-Serve Pumpkin Cupcakes! Maybe you want something cake-inspired? These Texas Sheet Cake Cookies are a household favorite!
Equipment
- 9-inch Round Cake Pan
- Mixing Bowls
- Spatulas
- Whisk
- Measuring Cups
- Measuring Spoons
- Hand Mixer
- Fine Mesh Sieve
- Pot
- Wire Rack
Ingredients
- 1 ½ cups all-purpose flour
- 1 cup granulated sugar
- 1 ½ tbsp unsweetened cocoa powder
- ½ tsp baking powder
- ¼ tsp baking soda
- ½ tsp salt
- ½ cup buttermilk room temperature
- ½ cup canola oil
- 1 large egg at room temperature
- 1 ½ tsp vanilla extract
- 1 ½ tsp white vinegar helps activate the baking soda for fluffiness
- 1 tbsp red food coloring
- ½ cup boiling water
- 3 oz. cream cheese room temperature
- 6 tbsp salted butter room temperature
- 1 tsp vanilla extract
- 1 tbsp milk
- 3 cups powdered sugar
Instructions
- Preheat oven to 325°F. Grease and line the bottom of a 9-inch round cake pan with parchment paper
- In a large bowl, whisk together the flour, sugar, cocoa powder, baking powder, baking soda, and salt
- In a separate bowl, whisk together your buttermilk, oil, egg, vanilla, vinegar, and food coloring
- Pour your dry ingredients into the bowl with your wet and whisk until mostly combined and then carefully pour in your boiling water, whisking until smooth. The batter will be a little runny, don’t worry!
- Pour the batter into the lined cake pan and bake on the middle rack for 35-38 minutes, or until a toothpick inserted comes out clean
- Allow the cake to cool in the pan for 10 minutes before removing and transferring to a wire rack to cool completely
- While your cake cools, make your cream cheese frosting. Add your room-temperature cream cheese and butter to a mixing bowl and beat for 10-15 seconds until smooth. Then, sift in your powdered sugar and carefully beat until all is incorporated. Add the vanilla and milk and beat.
- Spread your frosting over the top of your cooled cake and enjoy!

So good! Cake is very moist and frosting is delicious.
Amazing! One of my favorite cakes, I’m so glad you liked it!