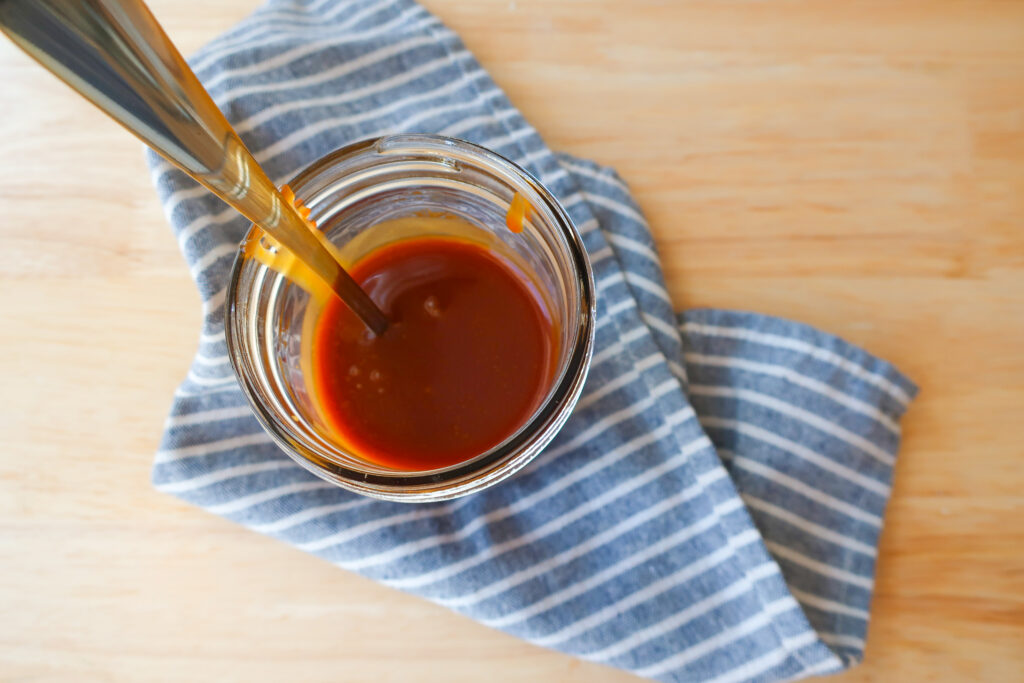
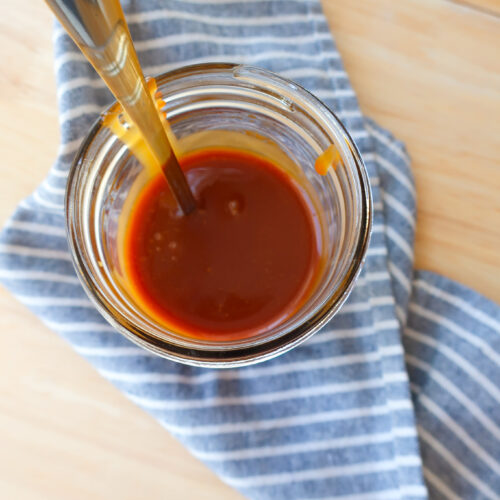
10-Minute Easy Salted Caramel
My first introduction to salted caramel was in pastry school, when we made the most delicious crepe suzettes – crepes finished in an orange caramel and topped with fresh orange segments. To be completely honest, when I found out what we were making that day, I was pretty confident I wasn’t going to like it. I’m always happy when I’m wrong about my taste buds and we learn a new flavor combo we love.
While caramel on its own can often be too sweet for me, the balance of the flaky sea salt provides a delicious curb to the sugar and pairs oh so beautifully with so many recipes. From simply topping your favorite brownie sundae (or just a scoop of ice cream) to drizzling over a galette, this quick and easy salted caramel adds a delicious balance to almost any sweet.
I’ve adapted this recipe from one Chef Ash provided us with to make it more convenient (but no less delicious) for those more comfortable using cup measurements instead of weight.
SALTED CARAMEL
Did you know you can turn these five ingredients – granulated sugar, water, heavy cream, butter, and flaky sea salt – into salted caramel? Yeah buddy. I don’t know why I always assumed caramel was harder to make than it is, but as long as you keep an eye on your pot and have your heavy cream heated and ready to go, delicious salty-sweet caramel is in your very close future.
Wet versus dry caramel: Wet caramel (which this recipe is) is where the sugar is dissolved in water in a pot. Dry caramel is made by adding sugar directly to the pot and cooking it on its own until it melts into an amber liquid. You cannot stir wet caramel while it cooks to prevent crystallization, but you do need to stir dry caramel as it breaks down on the stove top.

INGREDIENTS
- Granulated Sugar: The sweetness in your caramel and what evenly dissolves with the water, browning in your pot to give you that gorgeous color as well
- Water: Helps to dissolve the sugar before it begins to brown
- Heavy Cream: Adds richness to your caramel while thickening it
- Unsalted Butter: Provides a depth of flavor alongside that smooth texture we all want in our caramel
- Flaky Sea Salt: Enhances the sweetness while balancing with a delicious salty crunch
How do you mix your caramel while cooking without stirring? With your pot resting flat on your stove (or hovering just above to avoid any horrendous screech sounds), simply swirl your pot in a clockwise motion. You will notice the browning sugar on the rim mixture start to mix in with the middle, less browned, sugar
HOW TO MAKE SALTED CARAMEL
Grab two pots, one large and one small. In the large pot, combine your sugar and water. Using the back of a spoon or a spatula, gently cover all the sugar with the water so it resembles wet sand. You want to make sure all your sugar is coated in the water and that no sugar is stuck on the sides of the pot (not covered in water), or it will burn.
In your small pot, pour in your heavy cream. Place your large pot on the stove over high heat. At this point, do not stir this mixture! Place your heavy cream on a nearby burner, but don’t turn the heat on yet. When your sugar-water mixture starts to turn lightly brown (straw-colored) around the edge, turn your burner under your heavy cream to medium-high heat and bring it to a scald (a rim of bubbles around the edge of your pot) but not boiling. If it starts to scald before your sugar mixture is ready, turn to low to keep warm.
Once your sugar mixture starts to brown, it will brown quickly, so keep a close eye on it. Once you see brown around the edges, keeping your pot flat on the stovetop, lightly swirl it to move the browning sugar around. This will mix it with the sugar in the center that hasn’t browned yet without your stirring it. Once it is the color of light wood, immediately remove it from heat (it will continue to brown in the pan) and place your pot on the counter.
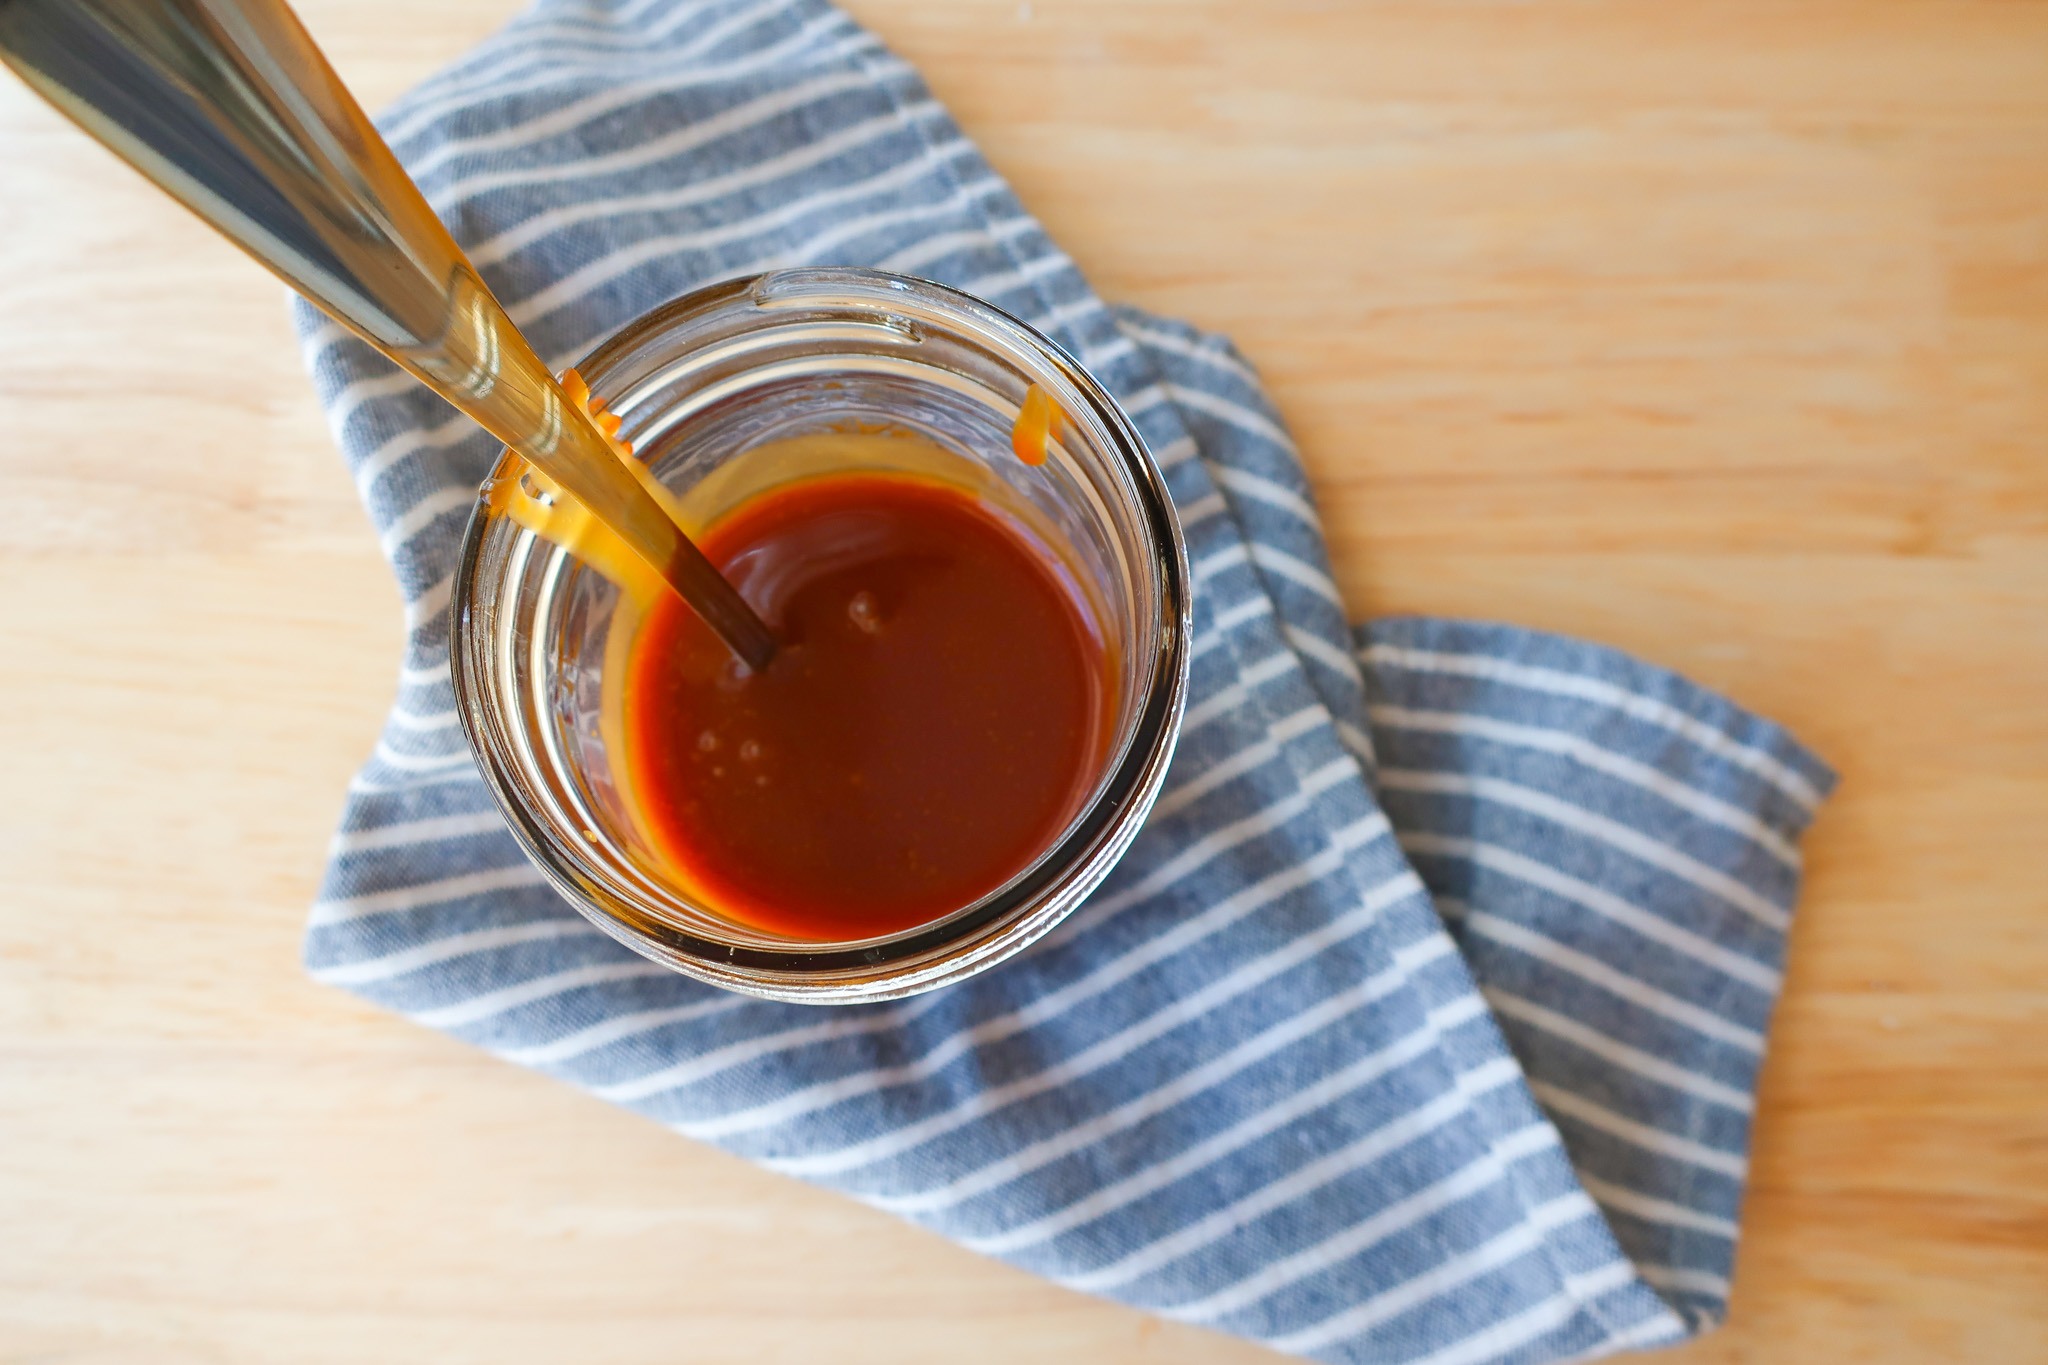
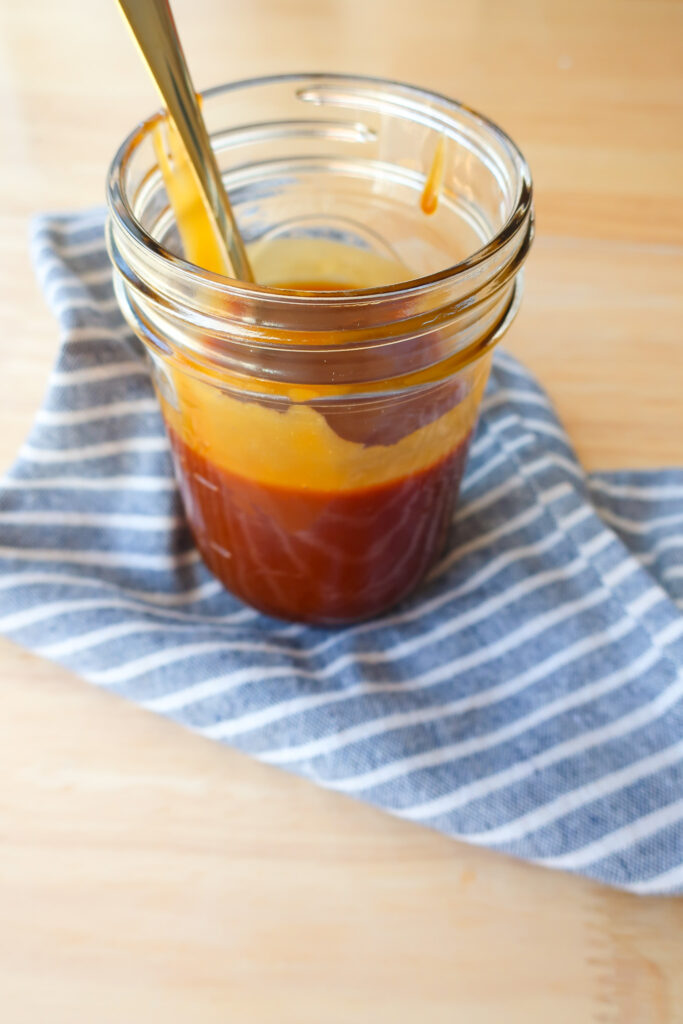
Carefully stream your scalding heavy cream into your pot with the browned sugar. It will bubble; don’t be alarmed – this is why we use a large pot, so allow the bubbles to subside before continuing. Add in one piece of your lightly softened butter at a time, whisk in, and repeat until all of your butter is mixed in. Whisk in your sea salt and allow your caramel to cool for 5 minutes before transferring it to a heat-safe jar to cool completely at room temperature.
3 reasons you’ll love this easy sauce
TIPS FOR MAKING SALTED CARAMEL
- Don’t try to juggle other tasks while making this caramel. It comes together quick and easy, but you can also easily burn it – which both ruins the batch and is a real pain to clean. Keep your eye on the pot and follow the instructions as listed, and all will be well!
- If your stove is inconsistent in temperature, start on medium heat (instead of high). This will take a little longer to brown your caramel but will save you from heating and likely burning it too quickly
- If you’re worried about boiling your heavy cream, just heat it until it starts to steam. You need your heavy cream hot so it doesn’t split and crystalize your sugar mixture once you combine it
- Caramel is sticky, so the best way to clean your pot after making it is to fill it with water and bring it to a boil on the stove. From there, simply pour out the water and give your pot a quick scrub!
HOW DO YOU STORE CARAMEL?
Keep your caramel in a container with an airtight seal – this is where saving old jars with their lids really comes in handy. You don’t want any moisture getting into your caramel, which can cause the sugars to re-crystalize and turn your caramel grainy.
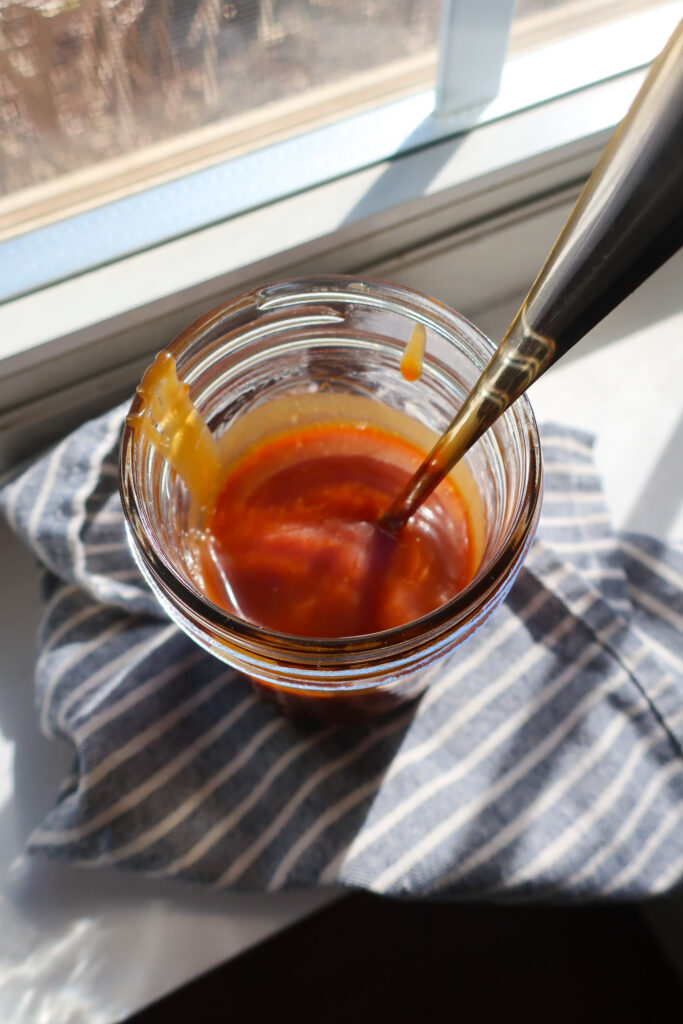
You can store your caramel in an airtight container in the fridge for up to a month or in the freezer for up to three months. The caramel will thicken as it cools, so allow it to come to room temperature before using.
MORE CARAMEL RECIPES
Inspired by the crepe suzette I first made in pastry school, this Orange Olive Oil Cake with Brown Butter Cream Cheese Frosting featuring pools of salted caramel on top just might be one of my favorite combos.
Equipment
- Large Pot
- Small pot
- Spoon
- Whisk
- Spatula
- Measuring Cups
- Measuring Spoons
Ingredients
- ½ cup granulated sugar
- 2 tbsp water
- ⅓ cup heavy cream
- 2 tbsp unsalted butter slightly softened
- ¼ tsp flaky sea salt
Instructions
- In a large pot, combine your sugar and water. Use the back of a spoon or a spatula to gently cover all the sugar with the water. It should look like wet sand. Make sure no sugar is stuck on the sides of the pot (not covered in water) or it will burn
- In another small pot, add your heavy cream
- Place pot with water and sugar on the stove over high heat. Do not stir!
- When your sugar-water mixture starts to turn lightly brown (straw-colored) around the edge, place your pot with heavy cream on another burner over med-high heat and bring it to a scald (a rim of bubbles) but not boiling
- Keep a close eye on your sugar/water mixture as it turns light brown. Once you see brown around the edges, keeping your pot flat on the stovetop, lightly swirl it to move the browning around and evenly color your liquid. Once it is the color of light wood, immediately remove it from heat (it will continue to brown in the pan) and place it on your counter
- Carefully stream your scalding heavy cream into your pot with the browned sugar. It will bubble; don’t be alarmed this is why we use a large pot, so allow the bubbles to subside before continuing
- Add in one piece of your lightly softened butter at a time, whisk in, and repeat until all is incorporated
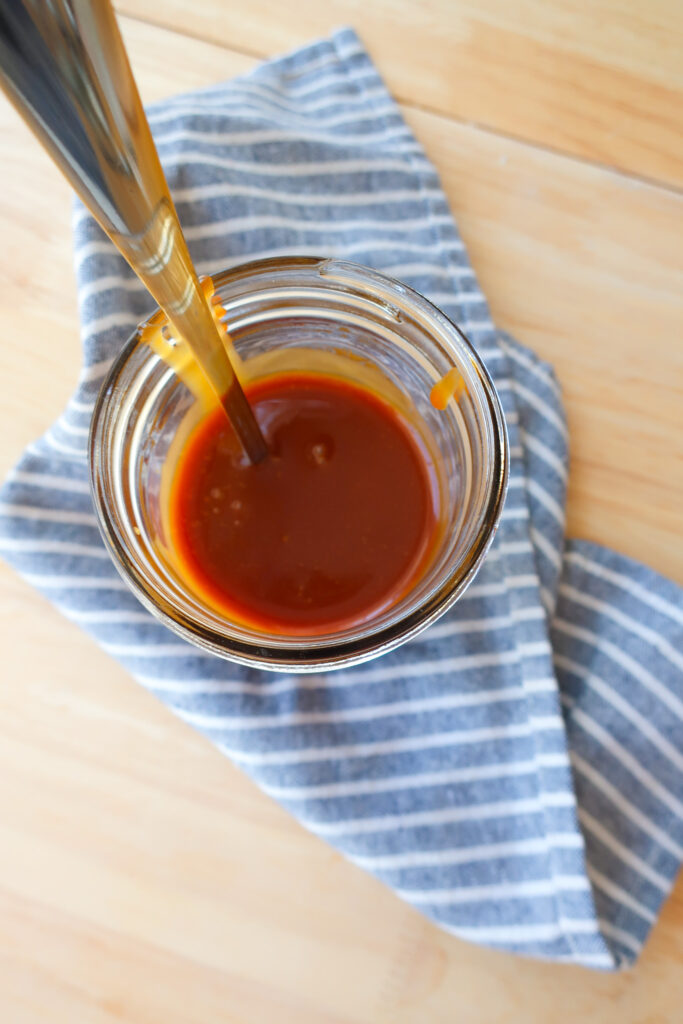
- Sprinkle in your sea salt, whisk in, and allow your caramel to cool for 5 minutes before transferring to a heat-safe jar to cool completely at room temperature
- Drizzle and pool over ice cream, cakes, pies, and more!