Flaky Puff Pastry
A flaky bite of buttery, yummy layers – you can’t go wrong. Well… you can in the making of it. There is a reason people buy puff pastry versus making their own as it takes a lot of time. BUT as you work through the steps, it becomes almost therapeutic to roll and fold the dough. And the end results? An incredibly delicious reward.
So, in advance set aside some time, likely 24 hours – creating your dough the day before you plan to bake it makes it much more relaxing the day you place your creation in the oven. I honestly do believe that when we are in the mode to enjoy baking, the bakes always come out better than when you’re stressing to finish. AKA maybe don’t do puff pastry for say your final assessment? Just speaking for a friend, ya know… (the friend is me).
Last thing, the great thing about puff pastry dough is you can freeze it! Don’t waste any scraps of that delicious dough – use it wisely at the moment and save what you can for something scrumptious in the future.
Ok last last thing, since pastry is so precise you will need a digital scale for this recipe.
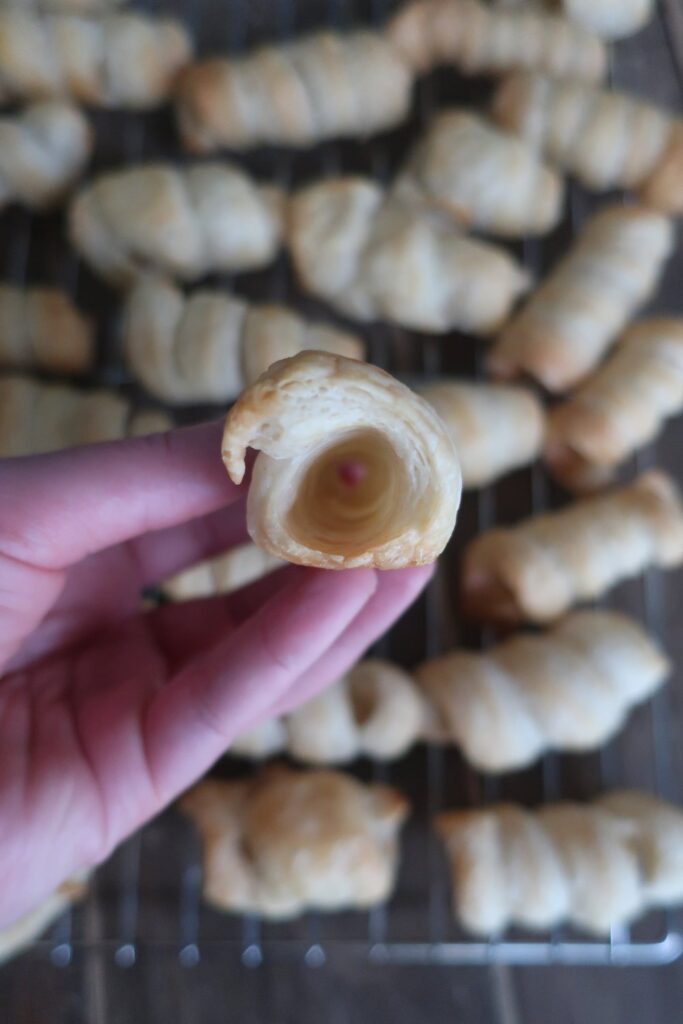
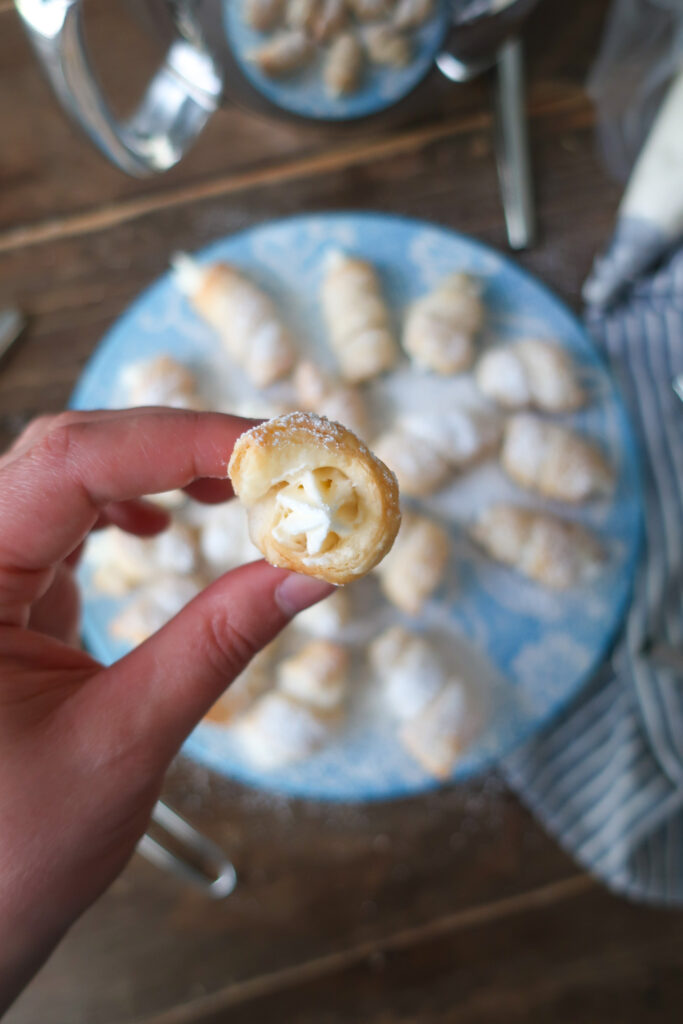
WHAT IS PUFF PASTRY?
(sorry, coming soon with a website update – full recipe available at the bottom!)
How to: (sorry, coming soon with a website update – full recipe available at the bottom!)
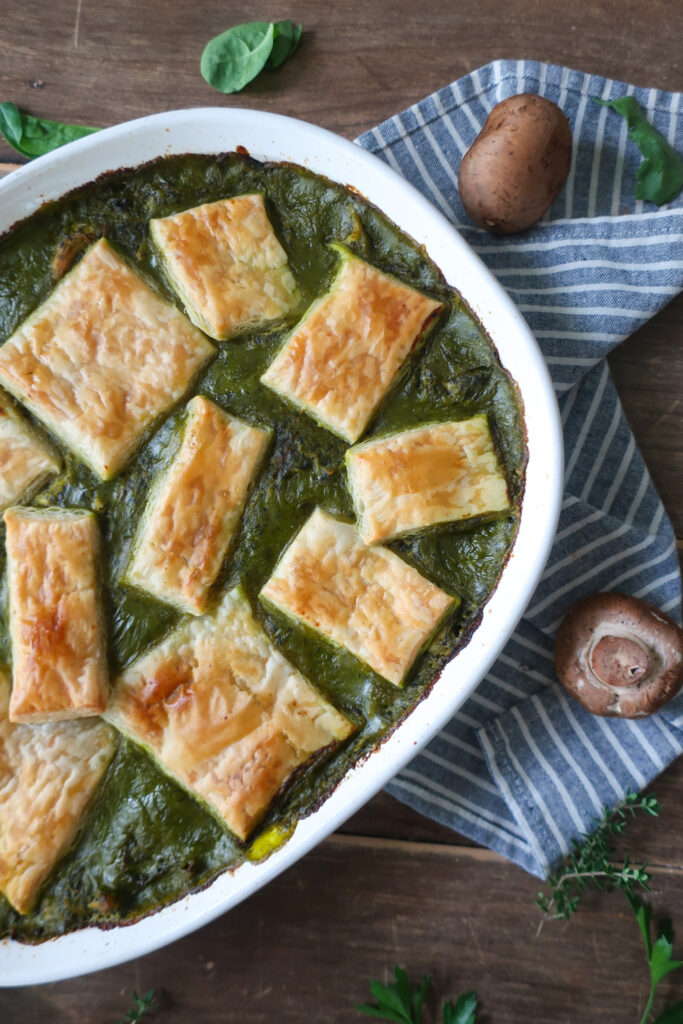
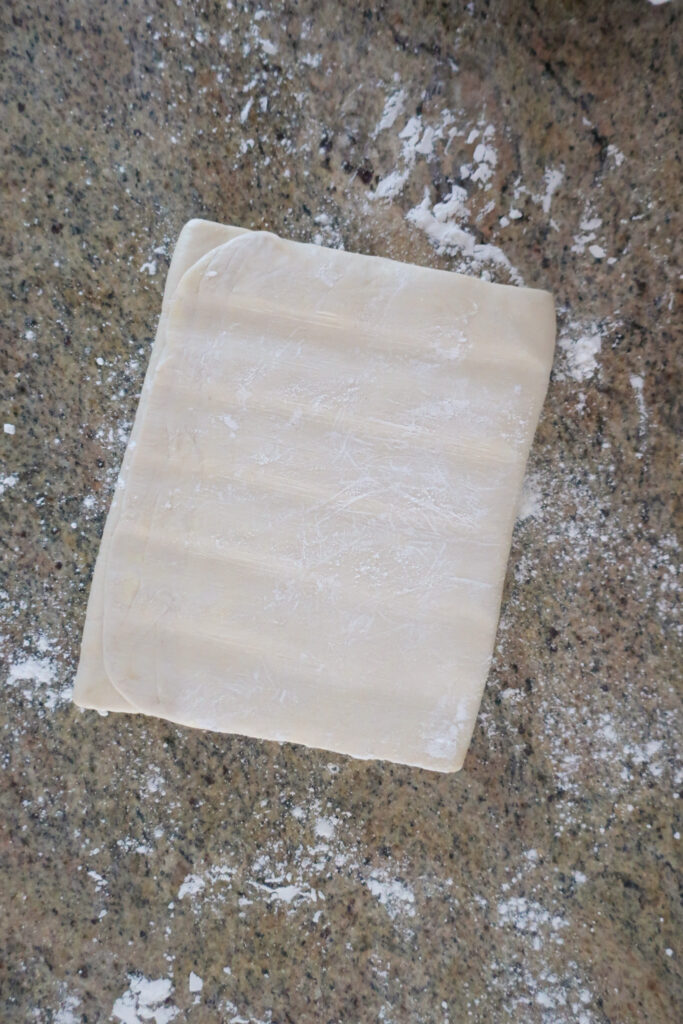
INGREDIENTS
- (sorry, coming soon with a website update – full recipe available at the bottom!)
(sorry, coming soon with a website update – full recipe available at the bottom!)
HOW TO MAKE PUFF PASTRY
(sorry, coming soon with a website update – full recipe available at the bottom!)
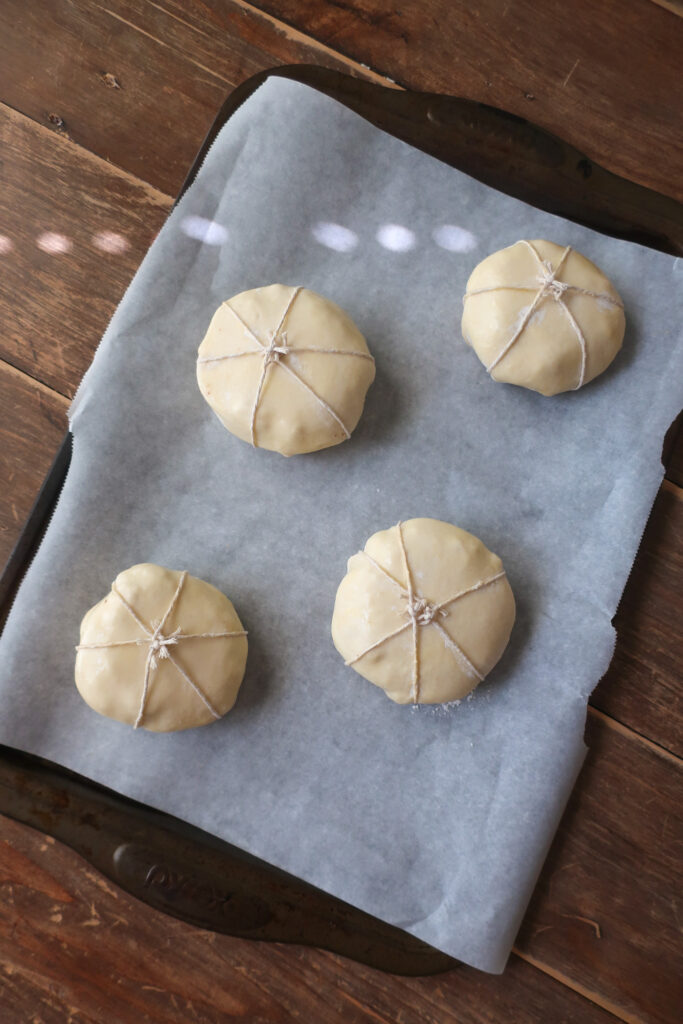
3 reasons you’ll love this puff pastry
TIPS & VARIATIONS
- (sorry, coming soon with a website update – full recipe available at the bottom!)
MAKING AHEAD & STORING
(sorry, coming soon with a website update – full recipe available at the bottom!)
MORE PUFF PASTRY RECIPES
(sorry, coming soon with a website update – full recipe available at the bottom!)
Equipment
- Rolling Pin
- Parchment Paper
- Digital Scale
- Teaspoons
- Mixing Bowls
- Dough Scraper
Ingredients
- 125 g all purpose flour
- 125 g bread flour
- 1 tsp salt
- 250 g unsalted butter split into 40g (small cubes) + 210g (block)
- 125 g cold water
- 5 g white wine vinegar
Instructions
- In a bowl, add 40g butter and both flours and salt. Rub through butter until it is in small pieces.
- Create well in your mixture and then add liquid then cut through with dough scraper.
- Dump dough onto your counter and knead for approximately 5 minutes.
- Flatten dough into a rectangle (as you can), cover in plastic wrap, and place in the fridge for 30-40 minutes.
- Lightly flour the counter and roll your dough to 18cm x 36cm. Be sure to “feather” your dough – lifting it from the counter and flipping it over after every roll – so it doesn’t stick or tear. Very lightly dust with flour if needed, as you roll.
- Cover your dough with plastic wrap and stick it back in the fridge while you prep your butter square.
- Create an 18cm x 18cm enclosed parchment square.
- Fold a piece of parchment in half, 18 centimeters wide when folded, and then fold over the excess on all other sides to have an enclosed square.
- Using a butter wrapper, place your 210g of butter in the middle and flatten it down with a rolling pin. Wacking it 3-4 times* to get it shaped into a flatter rectangle. Then place inside the middle of your 18cm x 18cm parchment square, fold the parchment closed, and roll the butter out flat, evenly filling the square.
- Remove your dough from the fridge and place your butter square into the center of the dough, dust off any excess flour on the inside of the dough.
- Fold the top half of the dough down to the middle of the butter square and the bottom half of the dough up to the middle, having the two seams meet. Gently pull the dough to shape as needed, so the seams evenly meet and the butter is covered. Pinch the dough seam together.
- Turn the dough 90 degrees from where originally rolled. Minimally flour workbench and top of dough square
- Gently press down with a rolling pin from top to bottom, to begin to help stretch the dough vertically, then flip over (keeping the dough in the same vertical direction) and press down again.
- Roll from the middle of the dough downward and then the middle of the dough upward – feathering in-between – until the dough is 60 cm long.
- Lightly dust as needed between full rolls. Be sure to observe your dough as you roll it. You can roll it past 60cm but if starts retracting it doesn’t want to be stretched further, so don’t push it.
- Once your dough is the right length, dust off any excess flour from the side facing up.
- Perform an envelope fold. Fold the dough ⅓ down, brush off excess flour from the side facing up, then fold the bottom ⅓ up (covering the dough you just folded down). Make sure all parts are evenly covered.
- Turn the dough 90 degrees, so your folds are now facing the side, wrap it in plastic, and place it in the fridge. This is your first turn. Refrigerate the dough for 30-40 mins.
- Once the refrigeration time is up, use a thermometer and stick it gently between your envelope folds to make sure it is between 11-16C before rolling. It’s very important your butter is neither too warm nor too cold or it could mess up your layers.
- You will need to do three turns in total. After your first turn above, roll again to 60cm, envelope fold, and refrigerate for 30-40 mins. Repeat one more time after this for your third turn.
- Once you’ve completed all three turns and refrigeration, congrats, you have puff pastry dough to use as you please*!

