Apple Streusel Pie
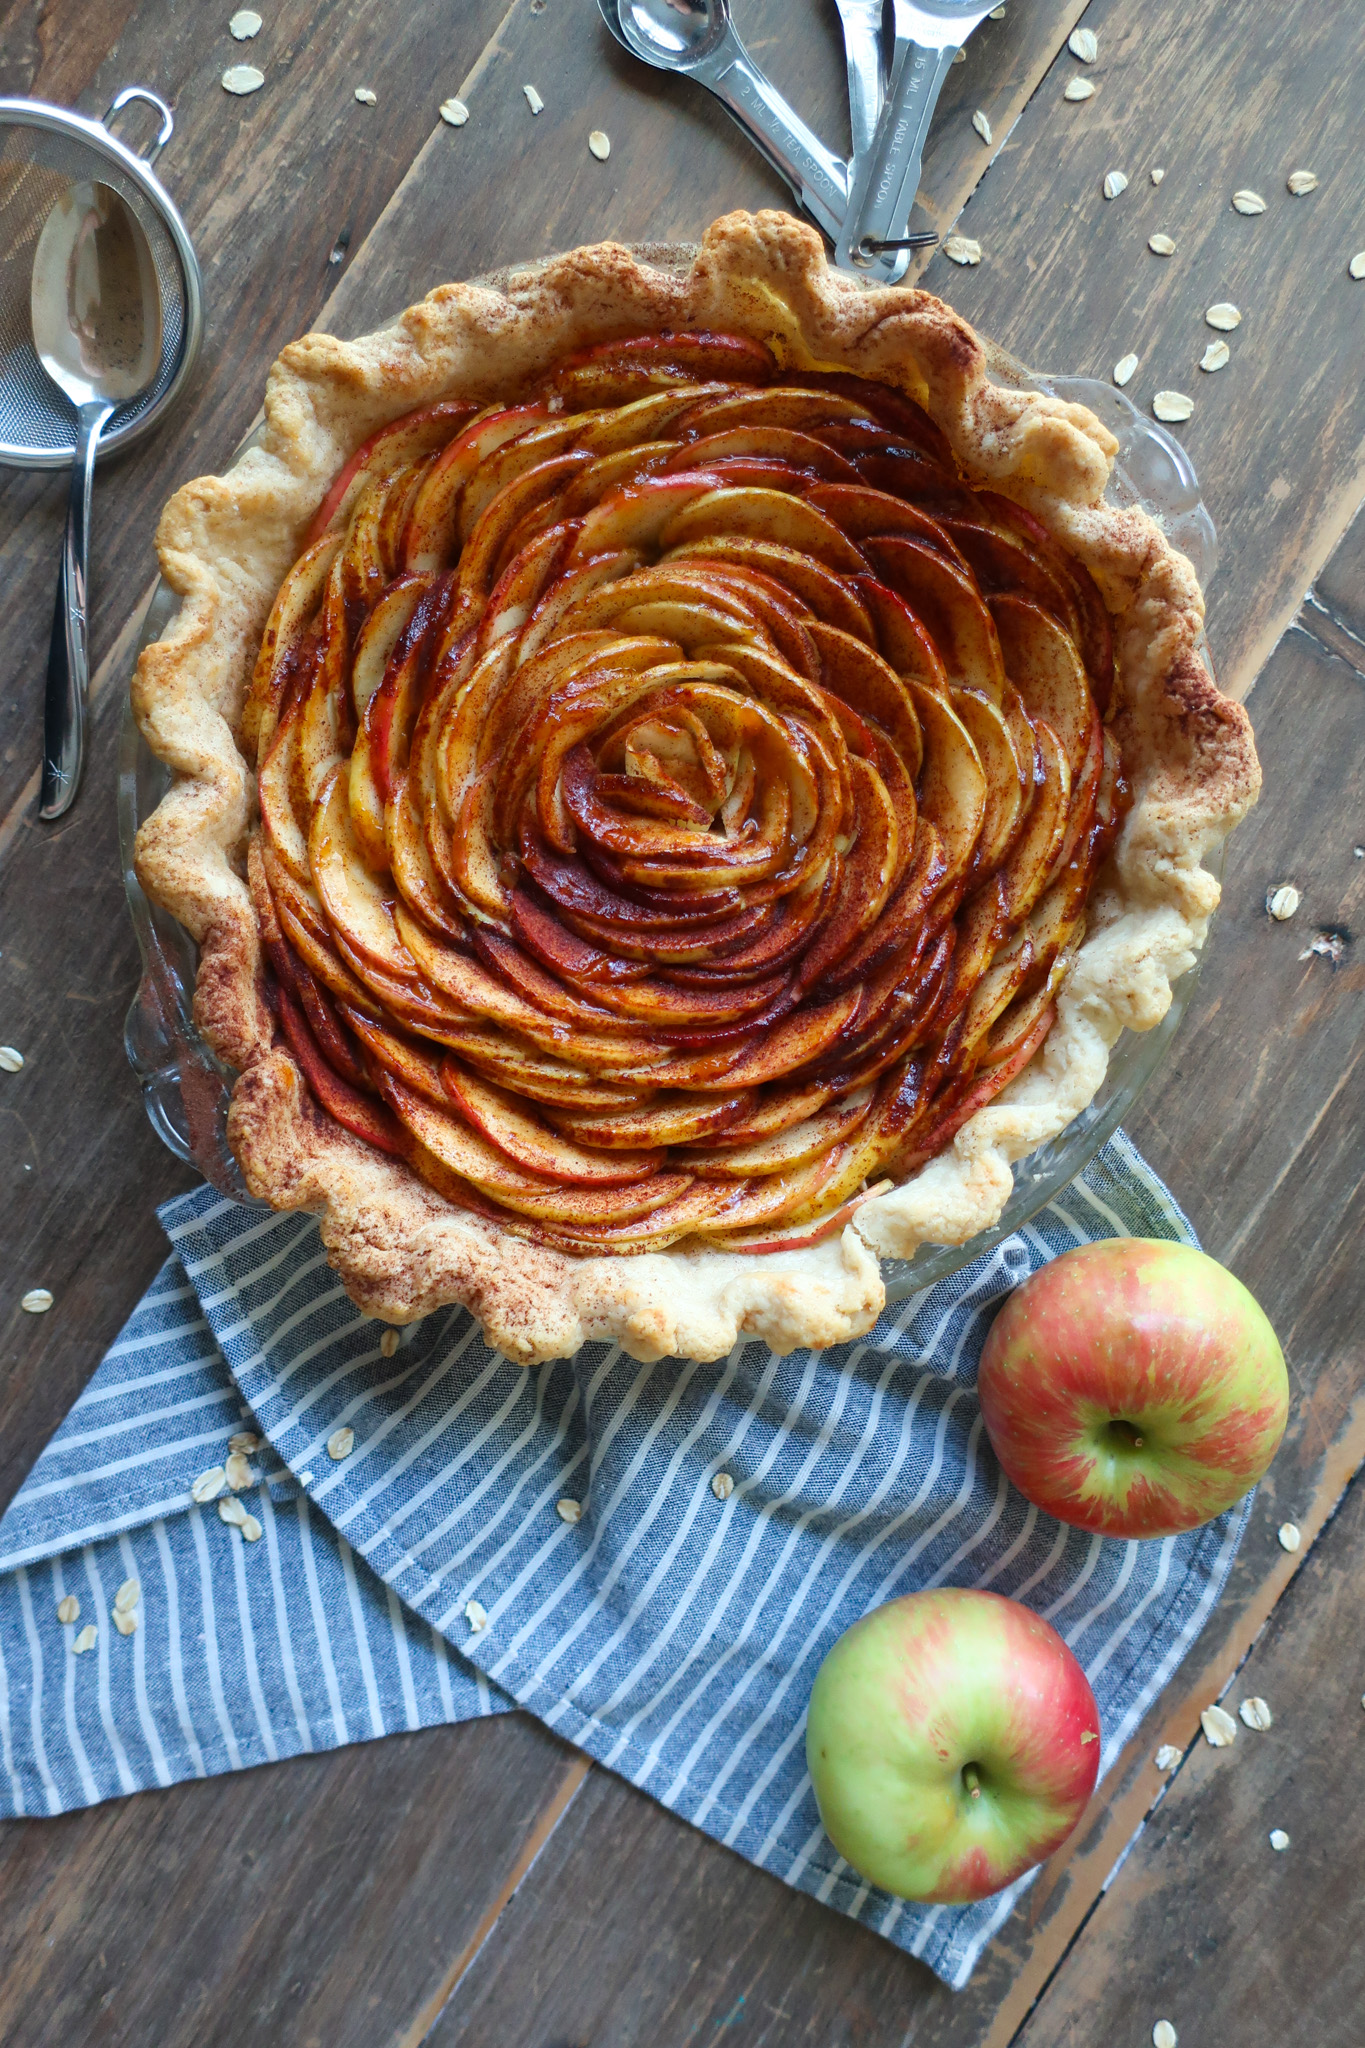
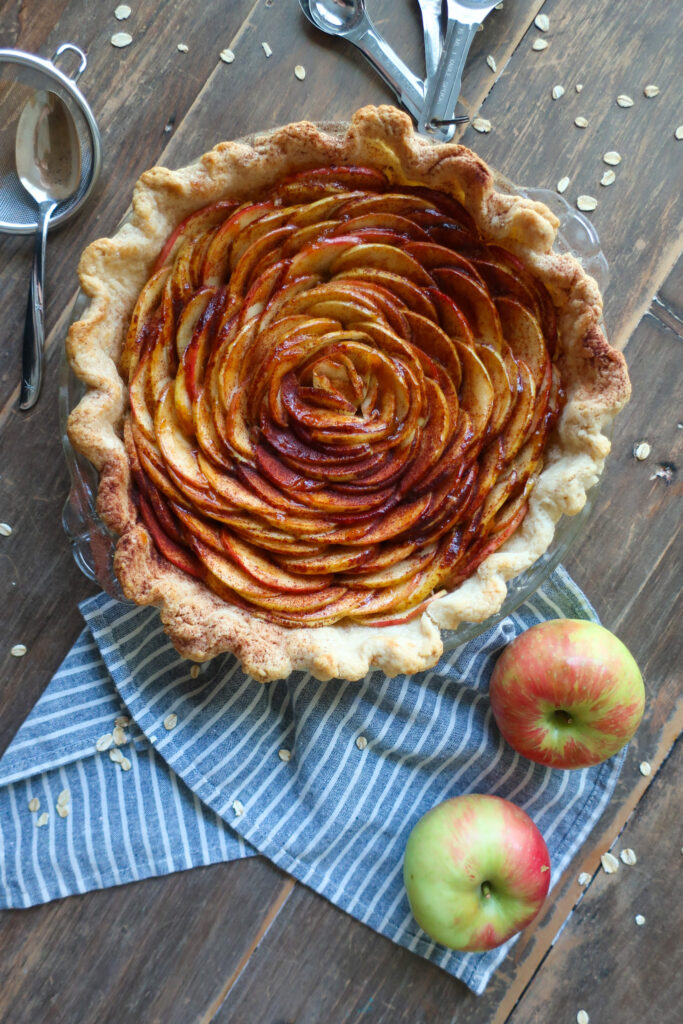
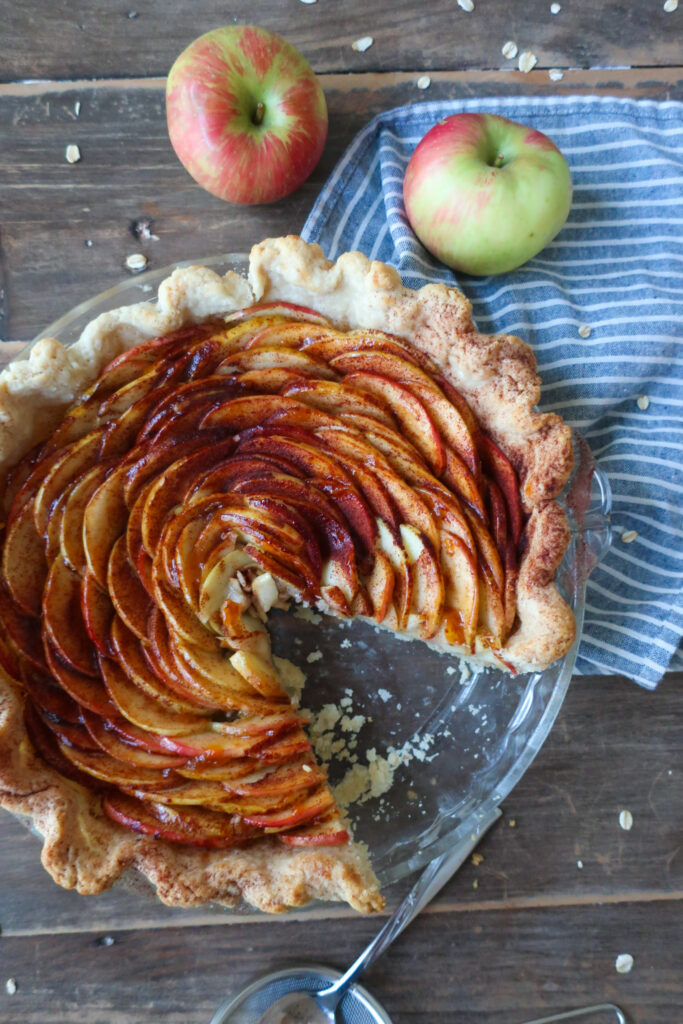
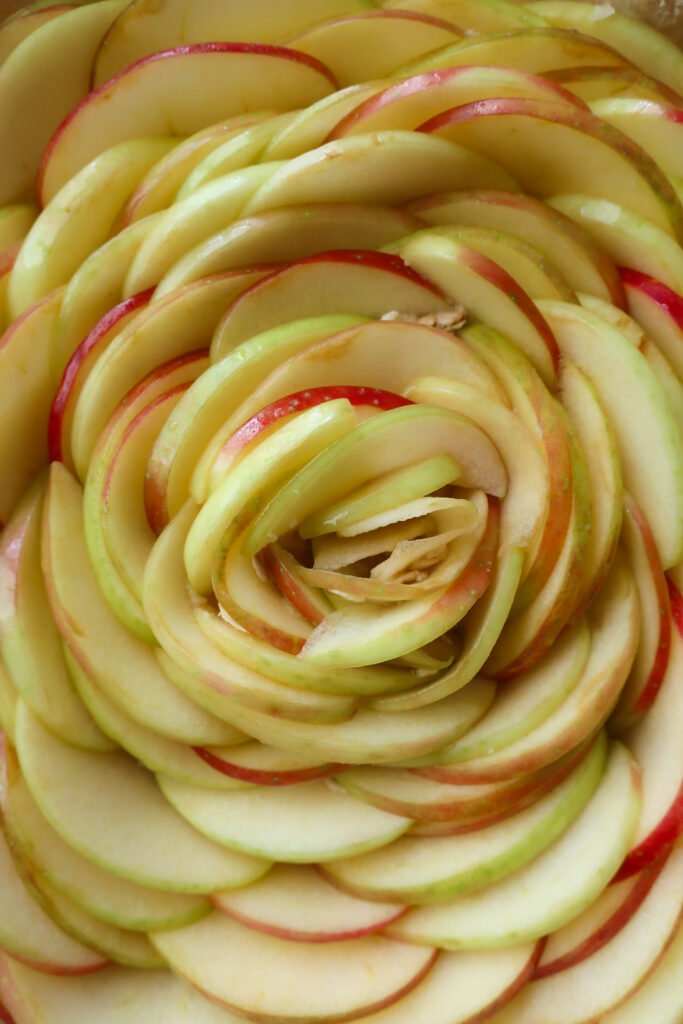
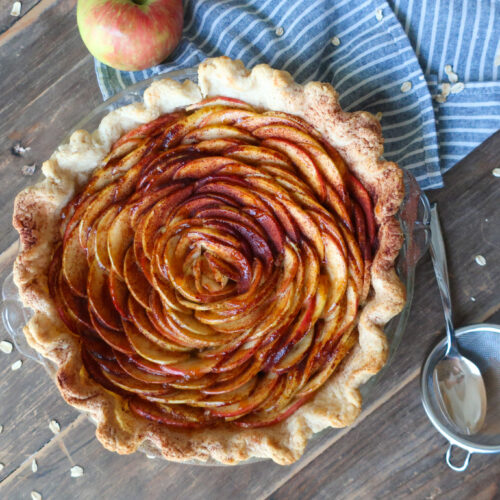
Apple pie is delicious but this pie is delicious and gorgeous. I mean do you see that apple spiral? She is a stunner. Also, this beauty comes together easily, with just a little time taken to lay out your apple slices into the perfect rose shape.
Whether your Team Apple-Pie-Should-Be-Warm or *gasp* Team Apple-Pie-Should-Be-Cold this pie is sure to impress any guest.
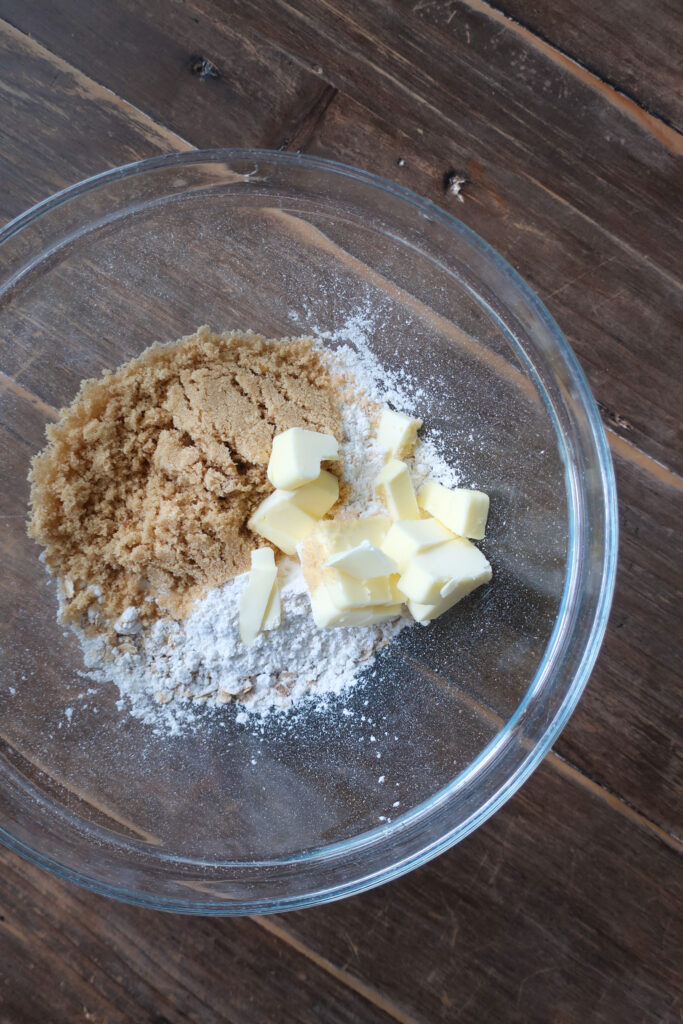
You’ll make an easy butter pie crust and top it with a quick streusel made of flour, oats, brown sugar, and salted butter, before spiraling thin slices of apples on top. Dust with a little cinnamon before bake. For that final close and a touch of sweetness, brush with a quick apricot glaze for a pie worthy of blue ribbons!
She’s gorgeous, good, and worth the rolling pin wrist exercise!
WHAT IS STREUSEL?
(sorry, coming soon with a website update – full recipe available at the bottom!)
How to shape your apples like a rose: (sorry, coming soon with a website update – full recipe available at the bottom!)
INGREDIENTS
- (sorry, coming soon with a website update – full recipe available at the bottom!)
(sorry, coming soon with a website update – full recipe available at the bottom!)
HOW TO MAKE APPLE STREUSEL PIE
(sorry, coming soon with a website update – full recipe available at the bottom!)
3 reasons you’ll love this pie
TIPS & VARIATIONS
- (sorry, coming soon with a website update – full recipe available at the bottom!)
MAKING AHEAD & STORING
(sorry, coming soon with a website update – full recipe available at the bottom!)
MORE APPLE RECIPES
(sorry, coming soon with a website update – full recipe available at the bottom!)
Equipment
- 9" Pie Dish
- Parchmen Paper
- Baking weights I use uncooked rice
- Rolling Pin
- Knife
- Cutting Board
- Small pot
- Spoon
- Pastry Brush
- Food Processor or butter knives
- Measuring Cups
- Measuring Spoons
Ingredients
- 2 cups flour
- 3/4 tsp salt
- 3/4 cup unsalted butter cold and cubed
- 4 tbsp cold water
- ½ cup flour
- ½ cup old-fashioned oats
- ⅓ cup brown sugar
- 4 tbsp cold salted butter cubed
- ½ cup water
- ¼ cup sugar
- 2 tbsp lemon juice
- 5 medium apples sliced into half-moons
- Cinnamon for dusting
- 1 tbsp apricot jam
Instructions
- In a bowl, stir together your flour and salt. Using two butter knives, held against each other with one in each hand to form an “X,” cut your butter into your dough, with the knives pulling away from each other and back in, until you have a sand-like consistency.
- Add in your water (I like to put a few ice cubes in a glass before filling it with cold water to make sure it’s extra cold), stir together, and then compress the dough into a ball. See notes below if you have a food processor!
- Place your dough between two large pieces of parchment paper, and roll to ⅛” thickness – making sure your dough is an even thickness throughout.
- Gently peel the parchment back from the top layer, lay it back onto the dough, flip all of it over, and repeat with the bottom (now top) layer of parchment.
- Removing one side of the parchment, carefully lay that side face down into a 9-inch pie dish and remove the top layer of parchment
- Carefully shift the dough to ensure it is laying flat within the pan and along the sides. If you have more than an inch excess, use a butter knife to cut away an extra and save for later.
- Tuck under the remaining excess dough around the edges, to form your crust
- Make a peace sign with your pointer and middle fingers on one hand, place along the edge of your crust. With the pointer finger of your other hand, pointing toward the center of the peace sign, pull back the dough in the center of your fingers. This will form a crimp. Repeat along the edge of your crust until complete.
- Place your pie dish with the crimped crust in the fridge for 15 minutes.
- Preheat your oven to 425F
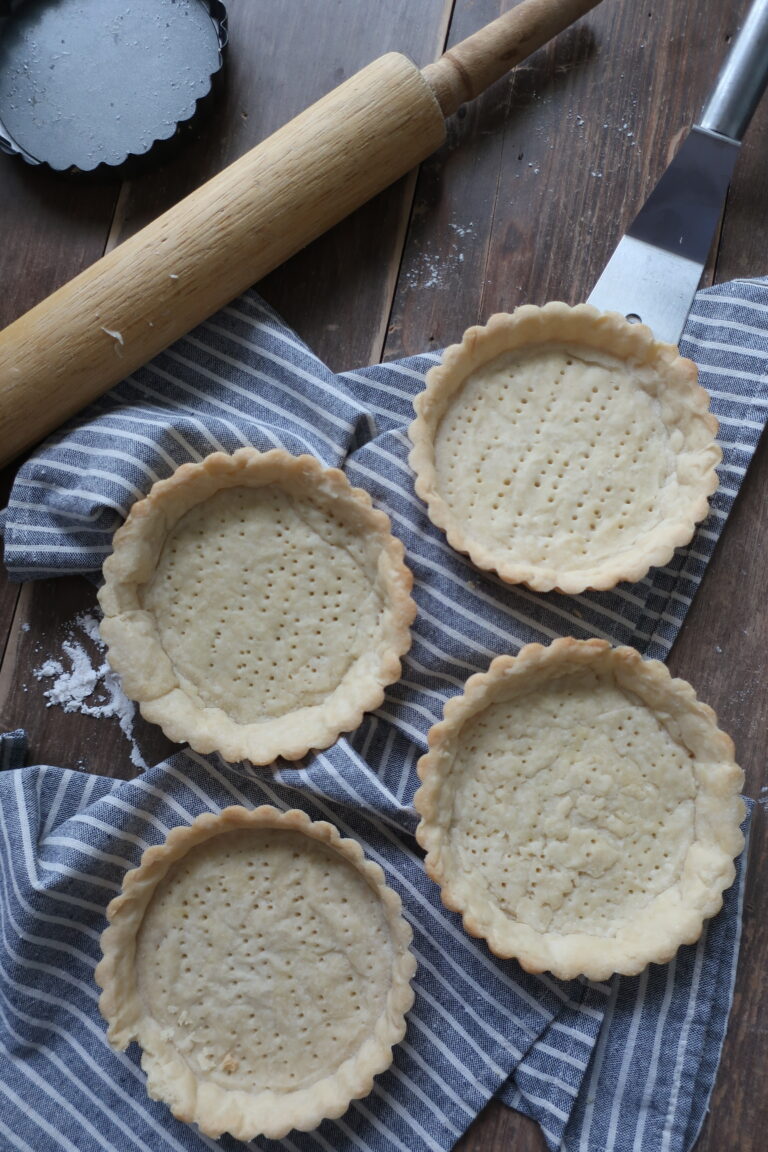
- Once chilled, remove your pie dish from the fridge and prick the bottom and sides of your crust with a fork to prevent the crust from puffing when you bake. Crinkle a piece of parchment paper and lay it carefully in your dish before pouring in your baking weights.
- Bake your chilled crust for 10 minutes, remove from the oven, and carefully remove the parchment paper and baking weights before returning to the oven to bake an additional 6 minutes, until the inside bottom of your crust is no longer wet looking. Cool completely before adding your filling
- Preheat your oven to 350F
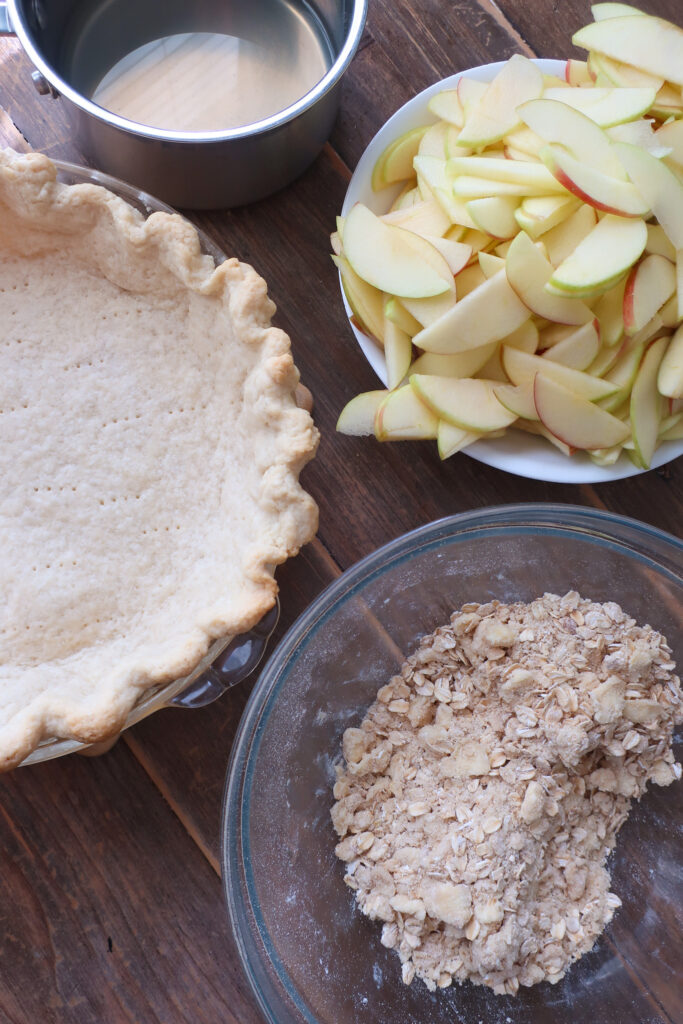
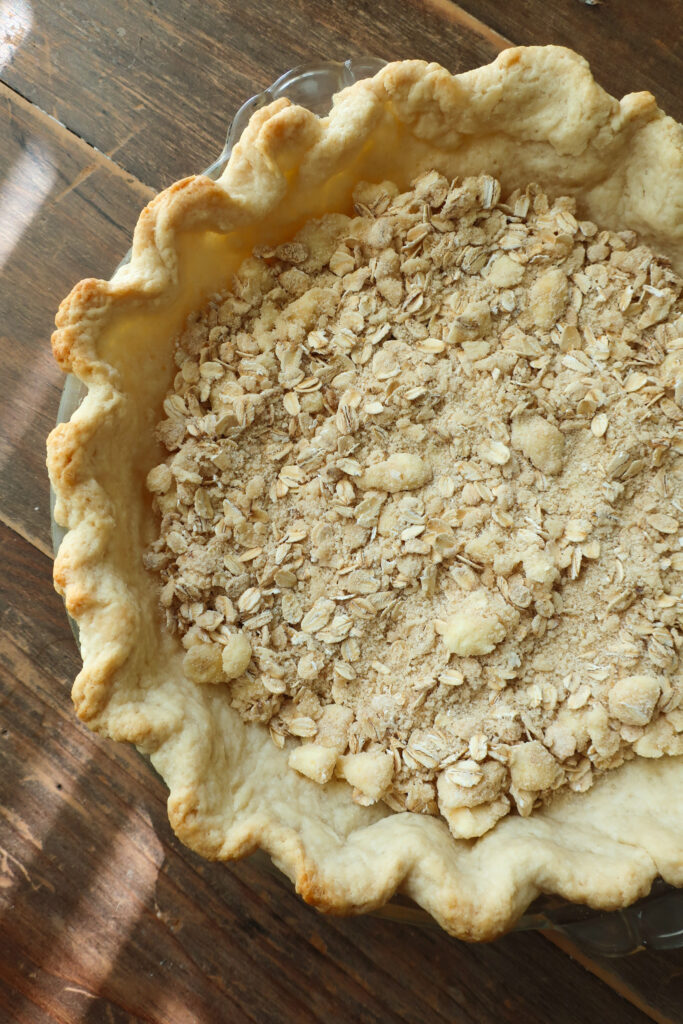
- Make your streusel by combining the flour, oats, light brown sugar, cold butter, and a dash of cinnamon. Mix briefly with your hand and then rub the butter into the dry ingredients until you have a tiny boulder-like consistency (you want it a little chunky). Pour into your cooled crust and spread into an even layer
- In a small pot, add your water, lemon juice, and sugar and bring to a boil, stirring occasionally. Simmer for 2-3 minutes, until sugar dissolves. Remove from heat and let cool so it’s warm, not hot
- Thinly slice apples – hold a slice up in the crust, on top of the streusel, to see if you need to trim off a little of the bottom, you don’t want them to stick out above the crust
- Place slices into the lemon syrup and turn to coat evenly, shake off any excess liquid as you pull out each slice
- From the outside edge working towards the center, place slices in a circle, with a slight overlap from one to the next. You’ll end up with a large spiral once you’re done. Once you get to the center try to slice even thinner (in half) and curve/roll as can to form a tiny rose of sorts. After you’ve made your spiral, go back and fill in any gaps with extra apples – you want to pack them in so the spiral stays tight as it bakes!
- Dust the tops of the apples lightly with ground cinnamon – I sift the cinnamon over to make sure it’s very fine!
- Bake for 25-30 minutes, once the apples look done. The apples should be lightly softened but still intact when you touch them (carefully!)
- Remove your pie and set aside to cool
- In a pot, heat your apricot jam with a splash of water on low until it loosens and forms a brushable gel/liquid, stirring as needed. Carefully brush the gel over the tops of your apples while warm
- Let your pie cool for at least 30 minutes before eating
- Enjoy!

