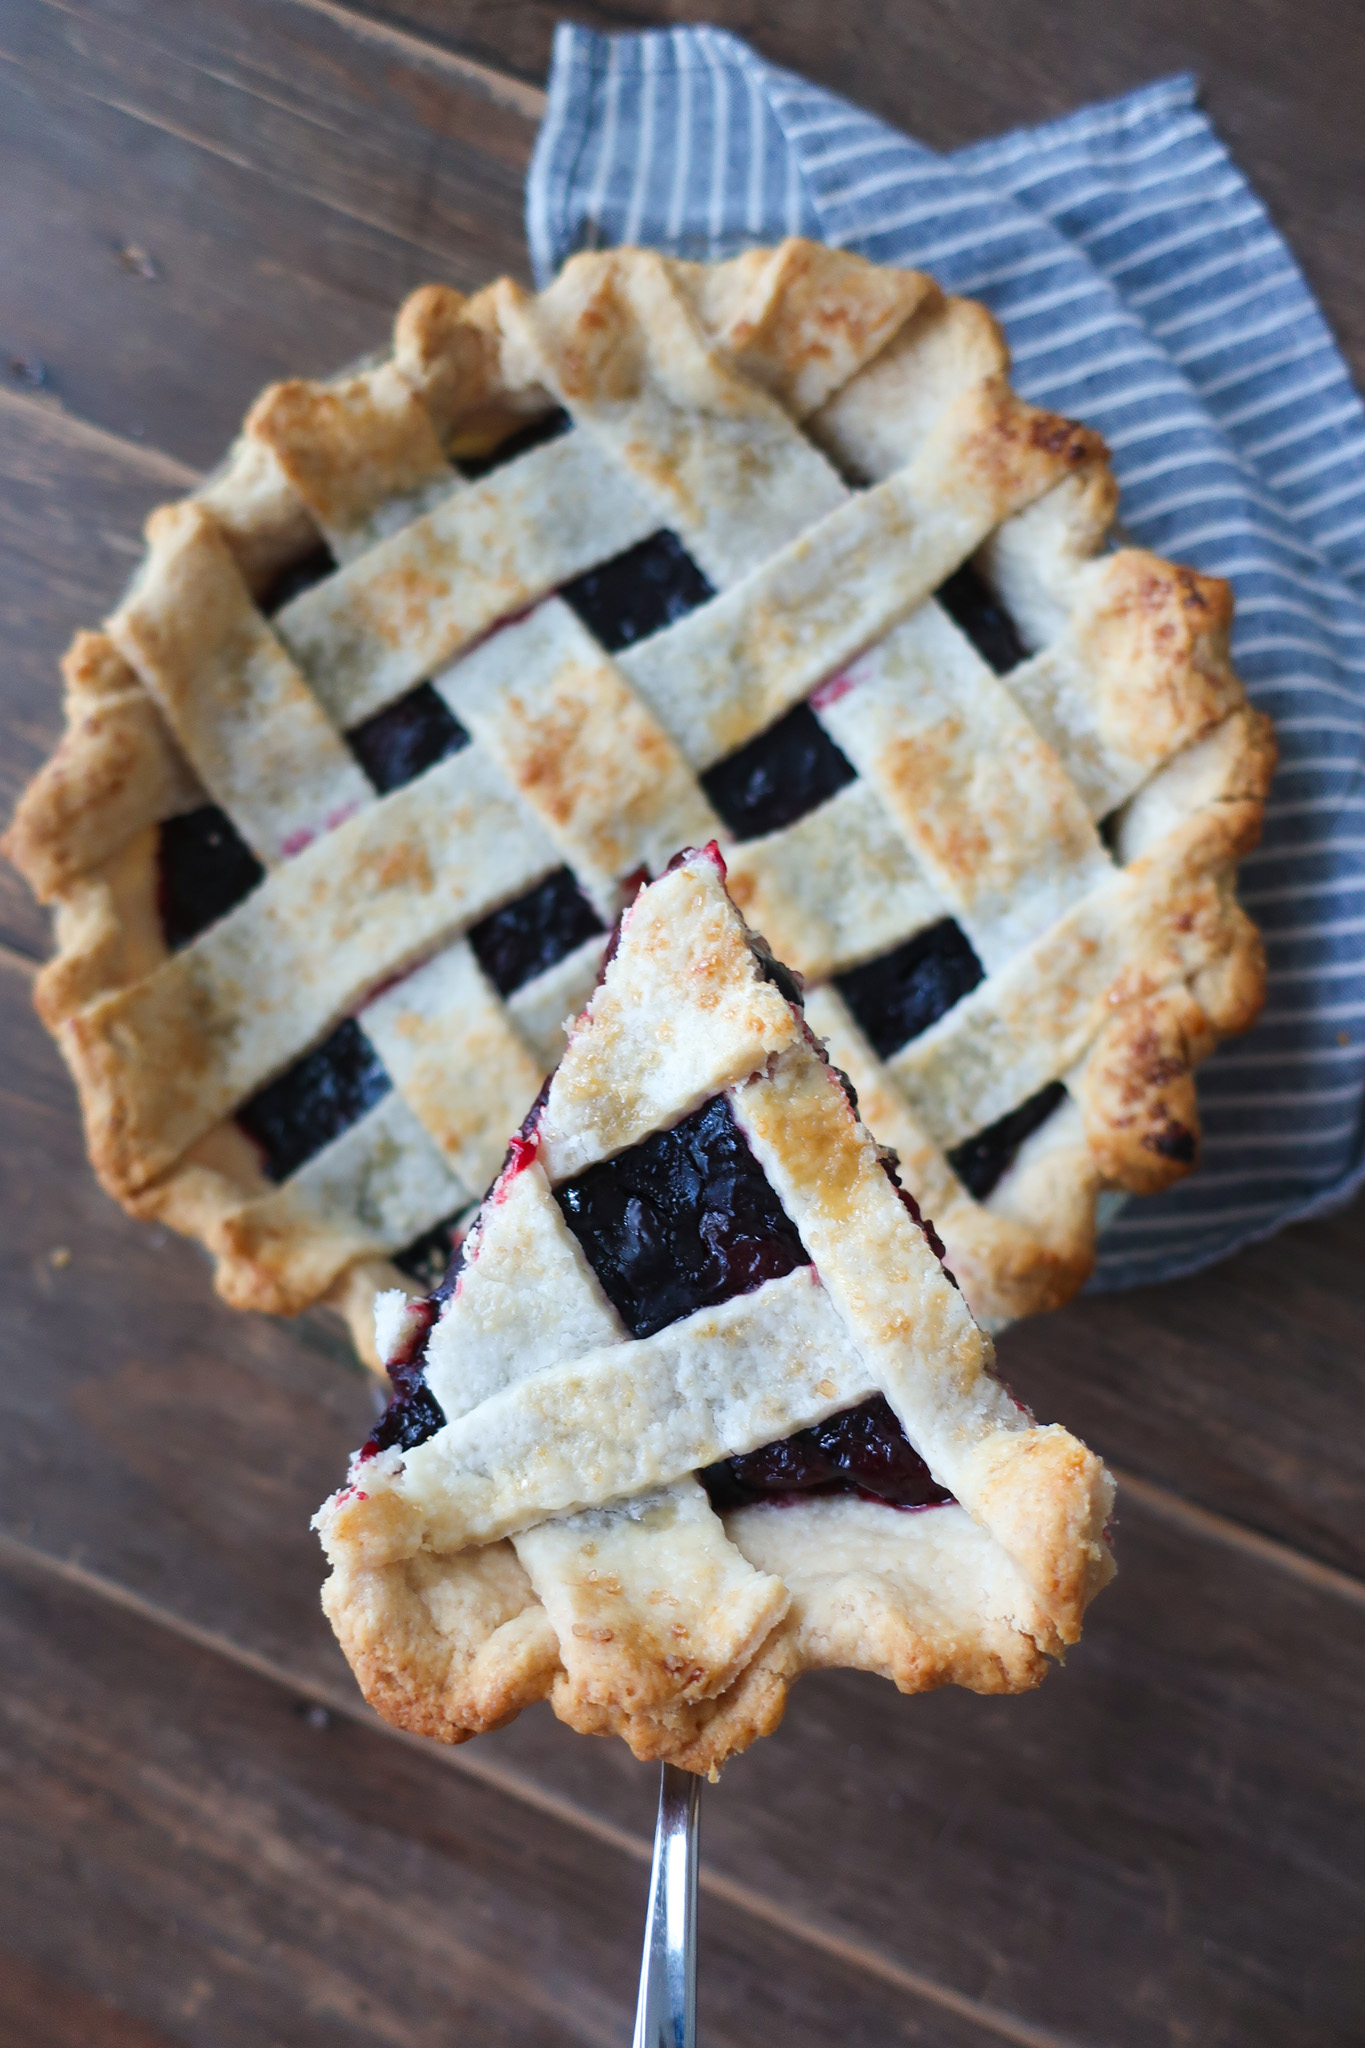
Classic Cherry Pie with Lattice Crust
One of my absolute favorites. Thanksgiving dessert tables aren’t complete without a cherry pie in my (correct) opinion. It’s the perfect way to break up the apple and pumpkin fall craze – which I thoroughly enjoy that phase (see my adorable Apple “Pumpkin” Puffs and/or the fluffiest Pumpkin Cake Roll for proof) – and adds a sweet but tart balance to your dessert line-up.
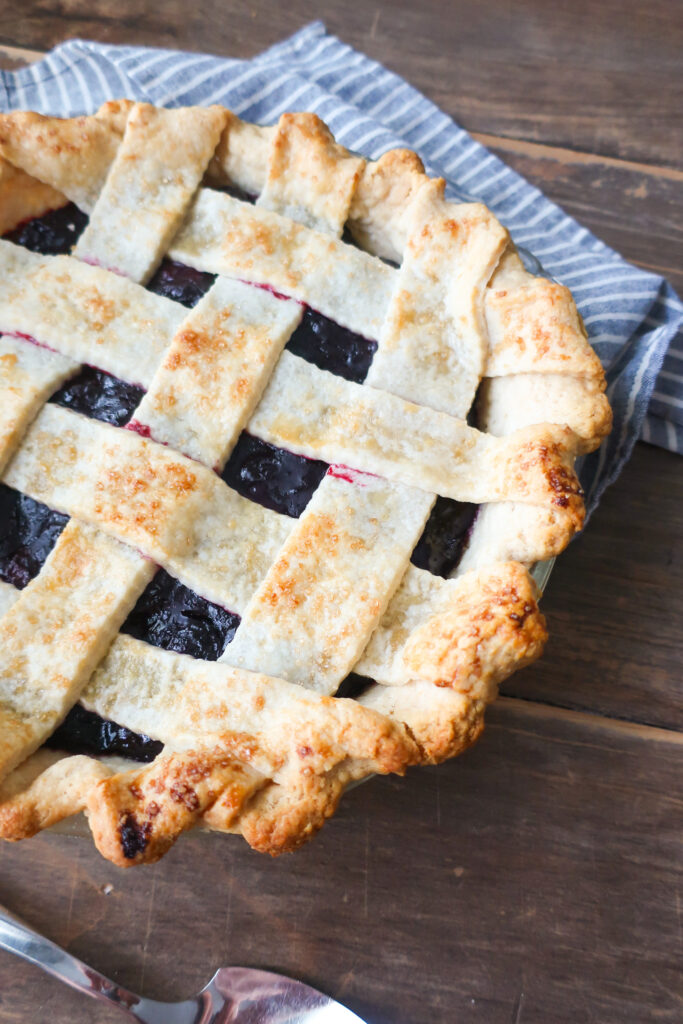
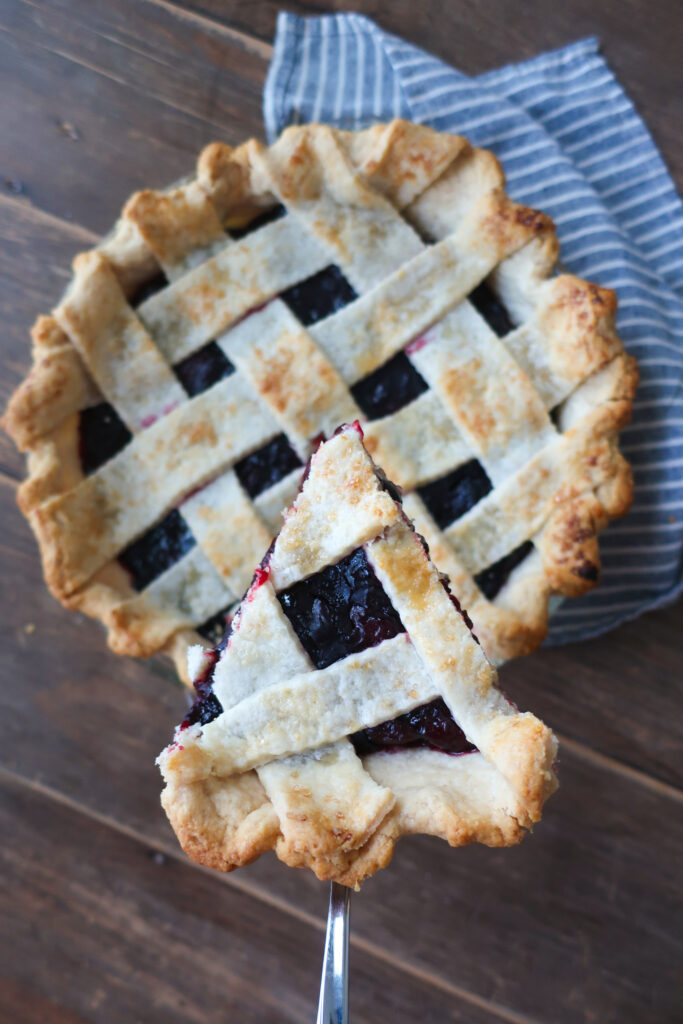
I also just love the color. I didn’t grow up in a cranberry sauce family so this is just a lovely, deep pop of red (yes, that fake cherry red isn’t realistic really, for the most part, it’s… fake). Top it with a lattice crust and you have yourself a centerpiece-worthy dessert.
The sugar on top is optional but the extra crunch just adds a lovely texture to finish off an amazing pie. So if you’re looking for a new dessert to add to your Thanksgiving line-up or simply want to swap out canned cherries for a homemade filling, this recipe is for you.
WHY CHERRY PIE?
(sorry, coming soon with a website update – full recipe available at the bottom!)
How to make cherry pie filling: (sorry, coming soon with a website update – full recipe available at the bottom!)
INGREDIENTS
- (sorry, coming soon with a website update – full recipe available at the bottom!)
(sorry, coming soon with a website update – full recipe available at the bottom!)
HOW TO MAKE CHERRY PIE
(sorry, coming soon with a website update – full recipe available at the bottom!)
3 reasons you’ll love this pie
TIPS & VARIATIONS
- (sorry, coming soon with a website update – full recipe available at the bottom!)
MAKING AHEAD & STORING
(sorry, coming soon with a website update – full recipe available at the bottom!)
MORE PIE RECIPES
(sorry, coming soon with a website update – full recipe available at the bottom!)
Equipment
- 9" Pie Dish
- Rolling Pin
- Parchment Paper
- Blind Baking Weights I use uncooked rice
- Medium Pot
- Spoon
- Measuring Cups
- Measuring Spoons
- Pastry Cutter or Knife
- Pastry Brush
Ingredients
- 4 cups flour
- 1 ½ tsp salt
- 1 ½ cup butter
- 8 tbsps cold water
- 5 cups frozen sweet cherries
- ⅔ cup sugar
- ¼ cup cornstarch
- 4 tbsp lemon juice
- ⅔ cup water
- 1 egg
- 1 tsp turbinado or granulated sugar optional
Instructions
- In a bowl, stir together your flour and salt. Using two butter knives, held against each other with one in each hand to form an “X,” cut your butter into your dough, with the knives pulling away from each other and back in, until you have a sand-like consistency.
- Add in your water (I like to put a few ice cubes in a glass before filling it with cold water to make sure it’s extra cold), stir together, and then compress the dough into two even balls. See notes below if you have a food processor!
- Place one of your dough balls between two large pieces of parchment paper, and roll to ⅛” thickness – making sure your dough is an even thickness throughout.
- Gently peel the parchment back from the top layer, lay it back onto the dough, flip all of it over, and repeat with the bottom (now top) layer of parchment.
- Removing one side of the parchment, carefully lay that side face down into a 9-inch pie dish and remove the top layer of parchment
- Carefully shift the dough to ensure it is lying flat within the pan and along the sides. If you have more than an inch excess, use a butter knife to cut away an extra and save for later.
- Tuck under the remaining excess dough around the edges, to form your crust
- Make a peace sign with your pointer and middle fingers on one hand, and place it along the edge of your crust. With the pointer finger of your other hand, pointing toward the center of the peace sign, pull back the dough in the center of your fingers. This will form a crimp. Repeat along the edge of your crust until complete.
- Place your pie dish with the crimped crust in the fridge for 15 minutes
- Roll out your other remaining dough ball – reusing your parchment paper – and place the flat sheet into the fridge to chill
- Preheat your oven to 425F
- Once your dough in the pie dish is chilled, remove from the fridge and prick the bottom and sides of your crust with a fork to prevent the crust from puffing when you bake. Crinkle a piece of parchment paper and lay it carefully in your dish before pouring in your baking weights.
- Bake your chilled crust for 10 minutes, remove from the oven, and carefully remove the parchment paper and baking weights before returning to the oven to bake an additional 6 minutes, until the inside bottom of your crust is no longer wet looking. Cool completely before adding your filling
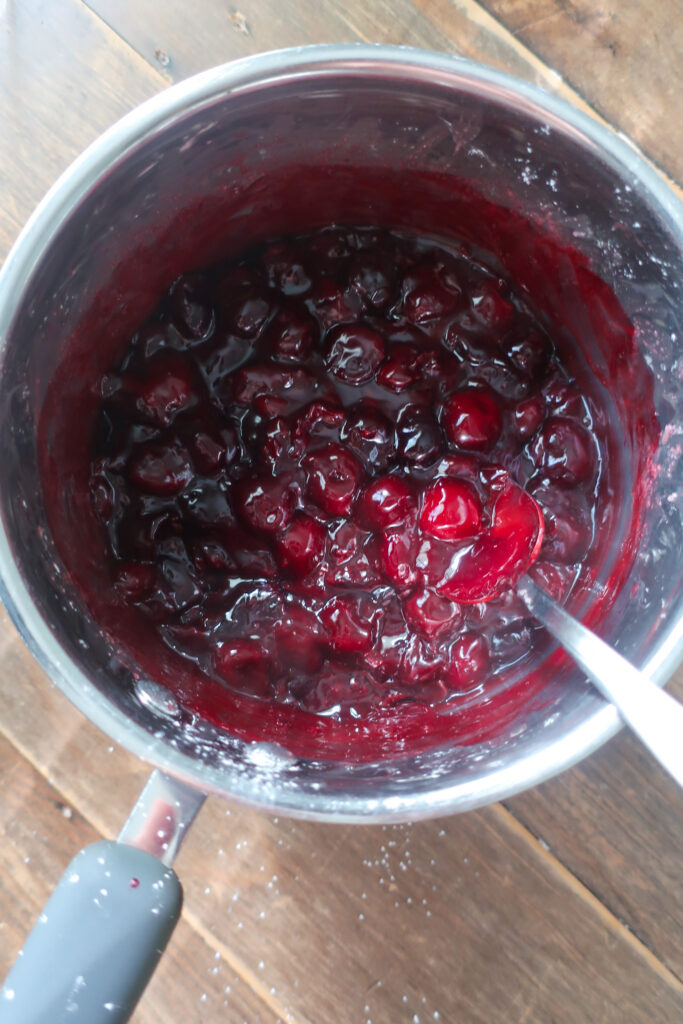
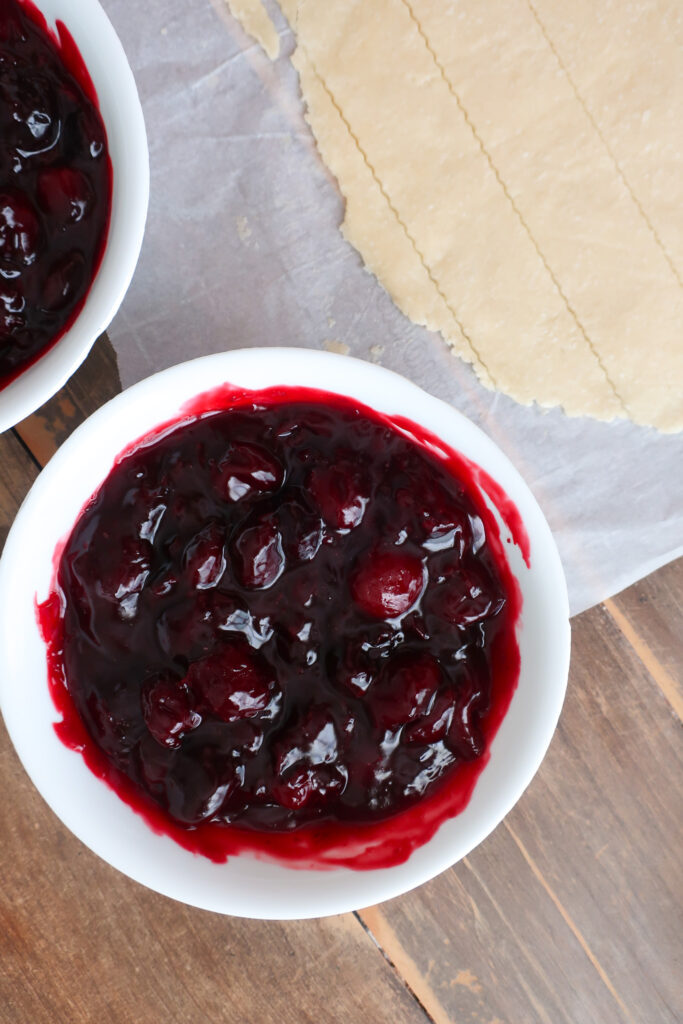
- For the cherries, stir together your 2 tbsp of cornstarch with ⅓ cup of water until dissolved. Then, in a medium pot, add your cherries, ⅓ cup of sugar, lemon juice, and your cornstarch slurry, stir, and place over medium-high heat. Continue to stir until lightly thickened, about 8-10 minutes. Remove from heat immediately and pour into a heat-safe bowl to cool to room temperature (about 35 minutes). If making in advance, cool at room temperature and then cover and place in the fridge until ready to use
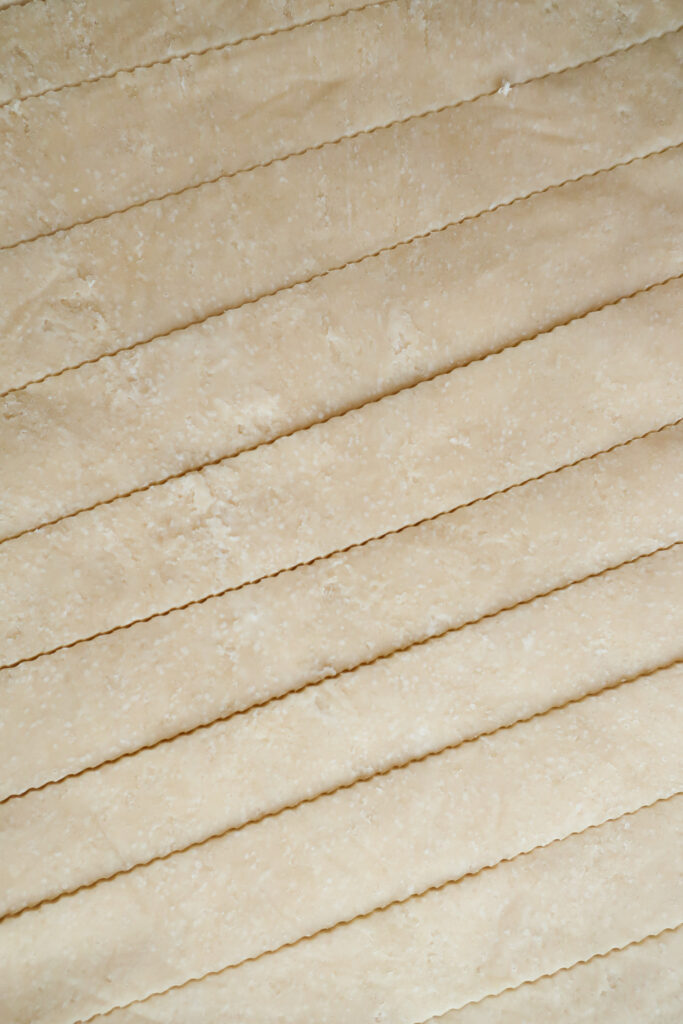
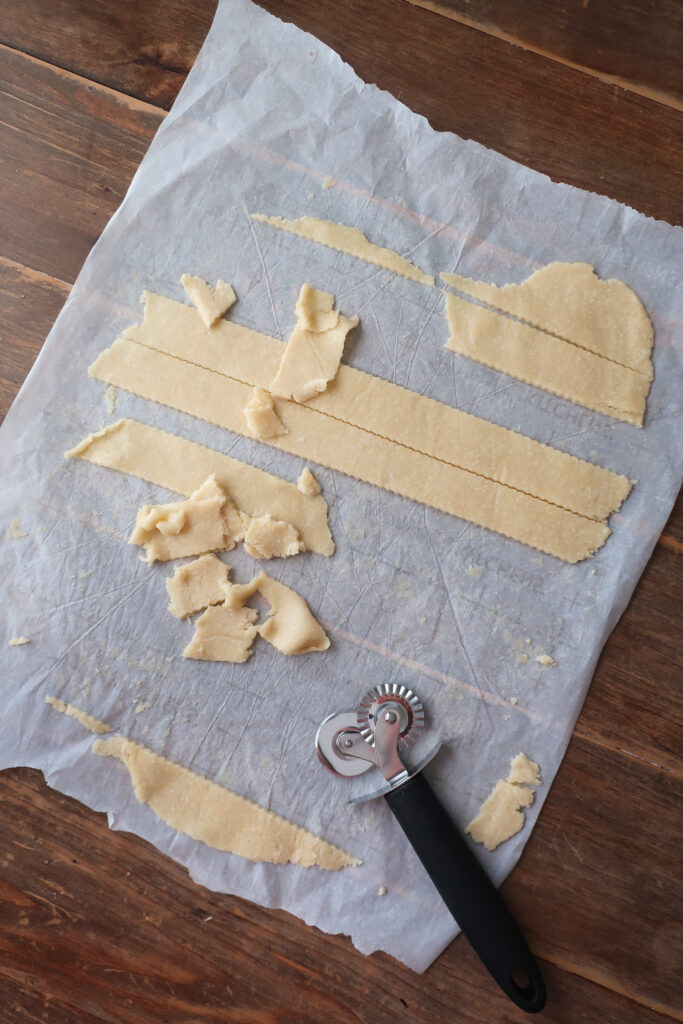
- Once your blind baked crust and your cherry filling have cooled, remove your second sheet of dough from the fridge, peel off one side of the parchment, place it back on the dough, flip, and remove the other side of parchment completely. Using a knife, pizza cutter, or pastry wheel, cut the dough into 1-inch strips
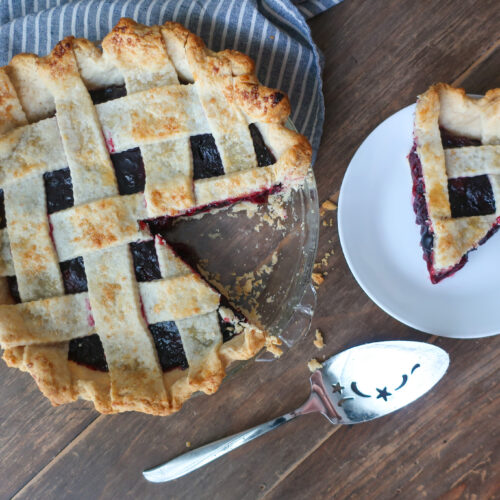
- Pour your cherry filling into the base of your crust, smoothing it out so evenly distributed, and then make your lattice. Vertically place 4-5 strips of your cut dough on top of your filling, leaving an inch of space in between each strip. Turn your pie 90 degrees and then lay one strip along the far left edge in an over-under technique, laying the strip over the first strip of perpendicular dough, lifting the next strip and laying it under it, over the next, etc until you reach the end. Repeat, leaving an inch of space in between each new strip, with your remaining dough, next time starting under the first row so you are constantly alternating your over-under from row to row. You will have some strips left over, save them for later!
- Use a butter knife to cut off any excess pieces of dough from your lattice
- In a small bowl, beat together your egg with a splash of milk (or water) until there are no gloops of egg whites. Brush it gently over your lattice crust and sprinkle with turbinado sugar. Place in the fridge for 10 minutes
- Preheat oven to 400
- Bake your cherry pie for 20 minutes and then drop to your oven temperature to 375F. Briefly remove your pie from the oven and cover the edges of your crust (not the lattice!) with foil, to protect it from burning. Return to the oven and bake for an additional 20-30 minutes, until your lattice is nicely golden in color
- Remove and cool for at least 30 minutes before slicing
- Enjoy!

Flaky in a great way. Really liked the tartness of the cherries too!
Thank you Jaime!