Spiced Challah Bread
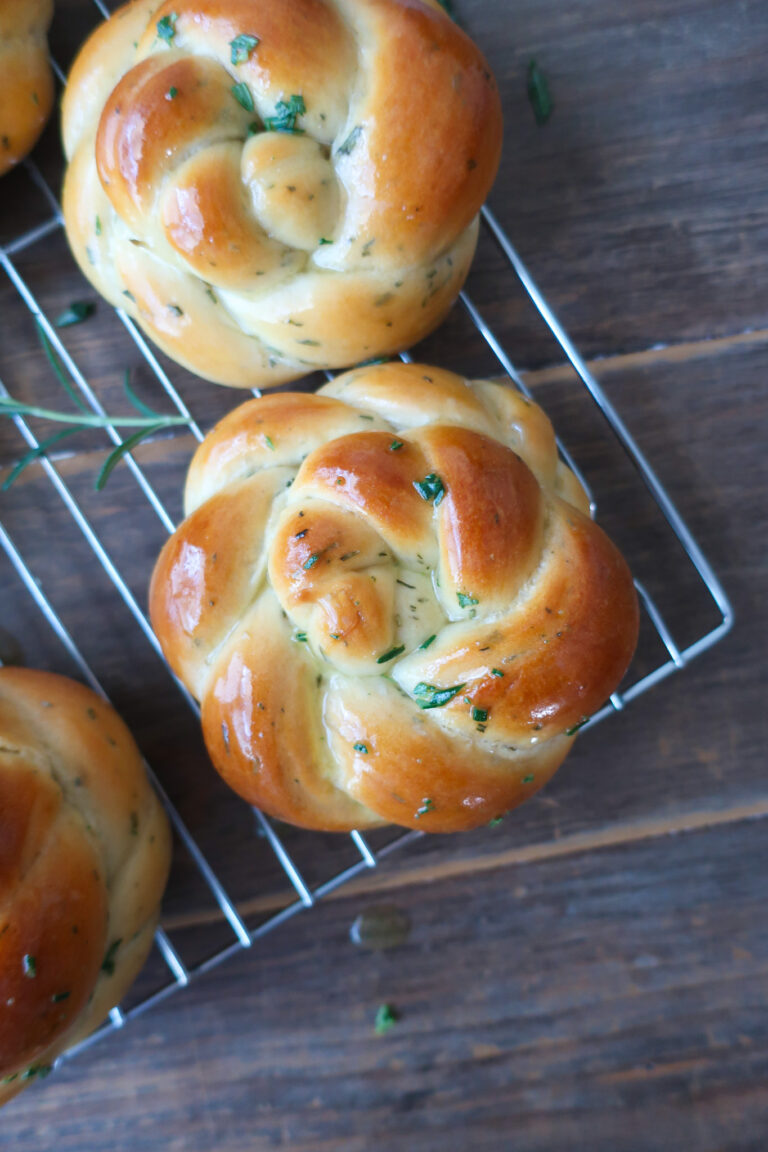
Challah at yo girlllll. Make sure you shout that aloud, it works better. If you love a slightly sweet, soft bread (and, I mean who doesn’t), then you’re in for a real treat with challah bread. You can also twist, wrap, and roll it into many different sizes and designs, making it all the more fun.
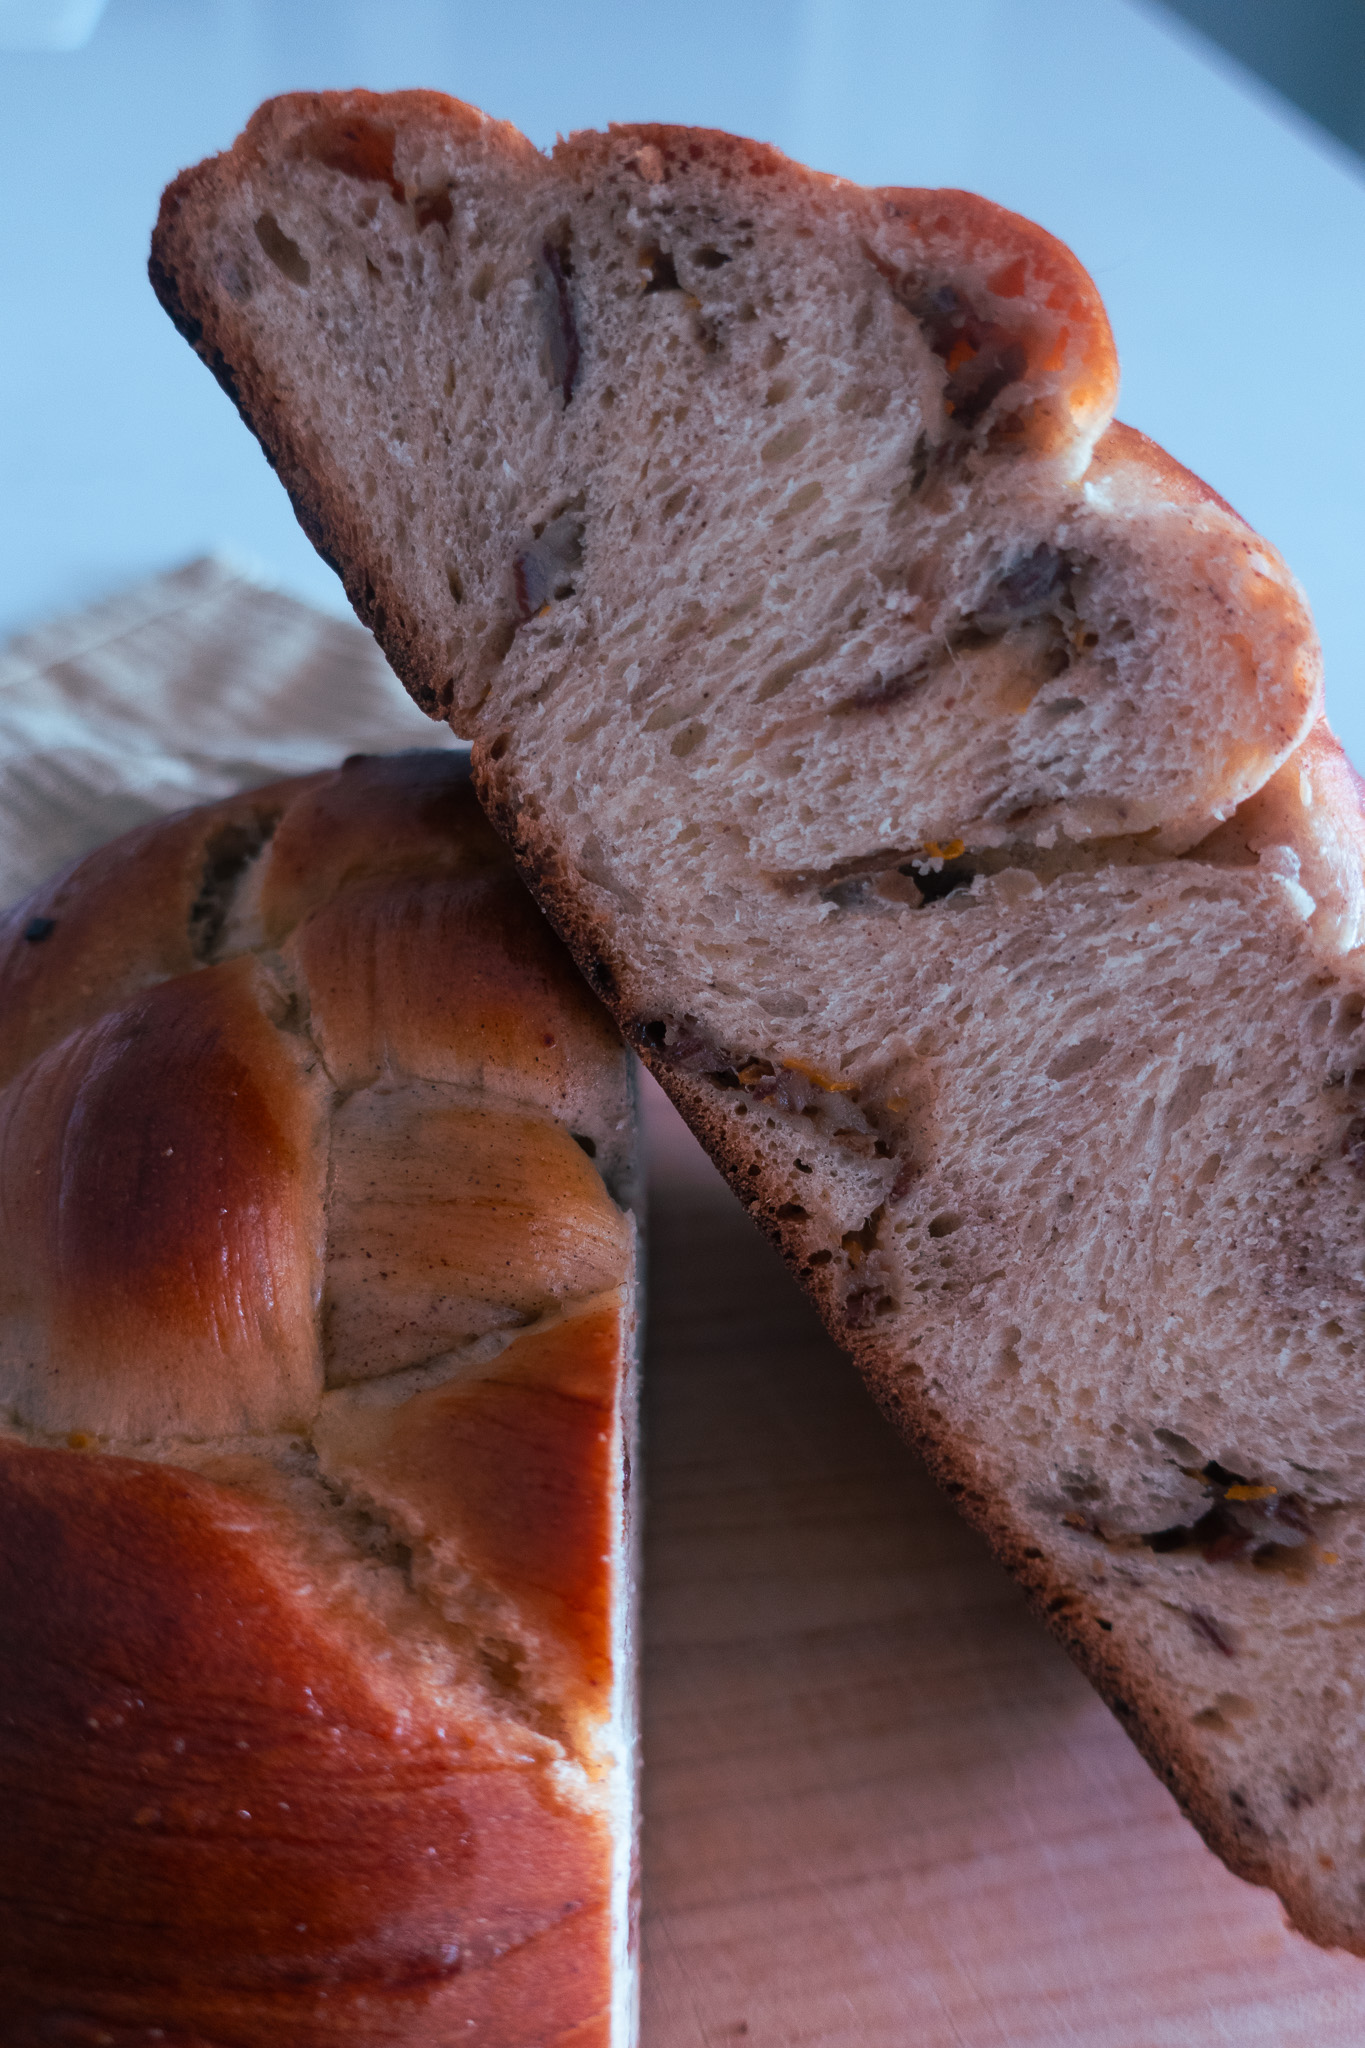
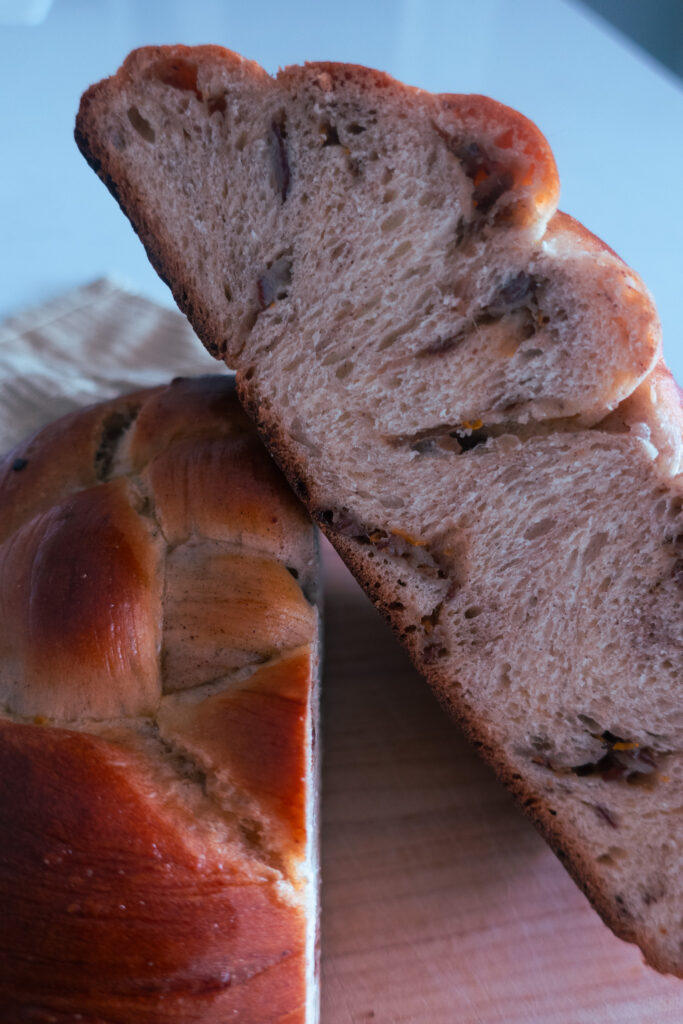
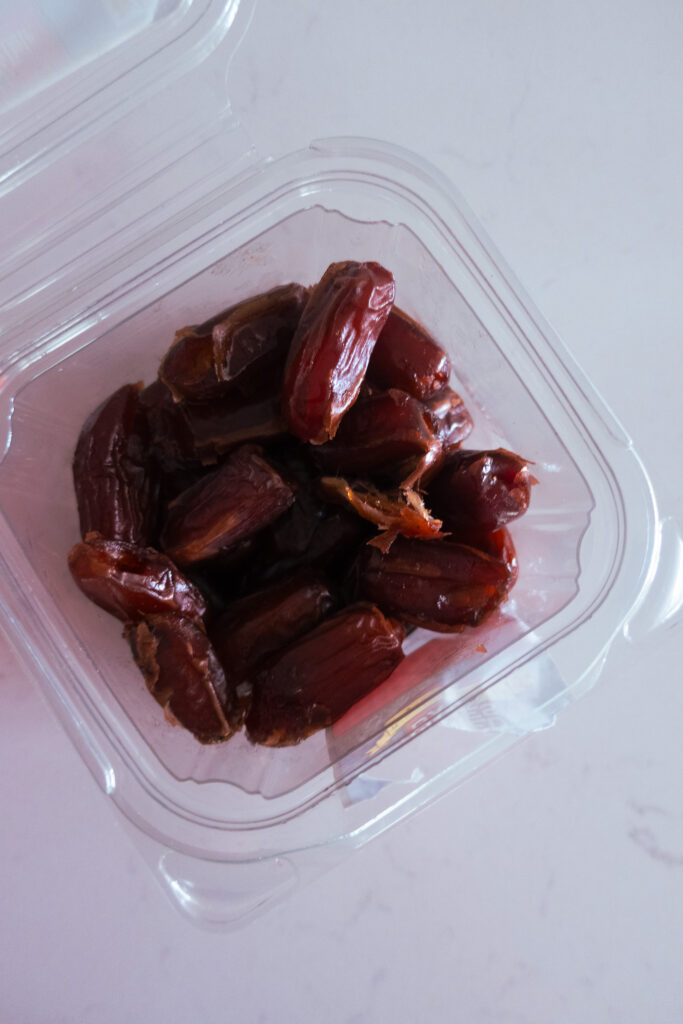
When I was in pastry school, there was another student who was big on cardamom and to be honest, it wasn’t a spice heavily in my repertoire. After a few occasions of smelling it on her bakes, I decided to try it in my bread and, well, I’m now in love. Thanks Sophie! Combine it with cinnamon and you’re basically in the best-smelling scent shop one ever done smellith. I’m also not typically a dates gal, not to say I don’t like them but as with the cardamom, not often in my baking circulation. After making this date filling (first displayed by the chef at school so I knew it’d be good), you may see me on the date train.
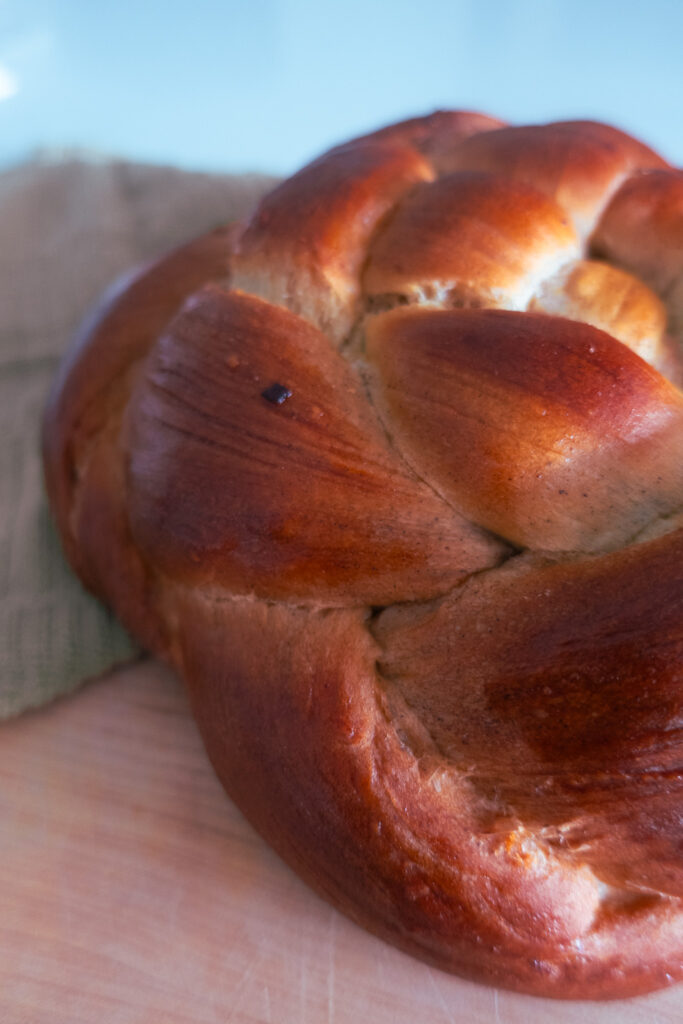
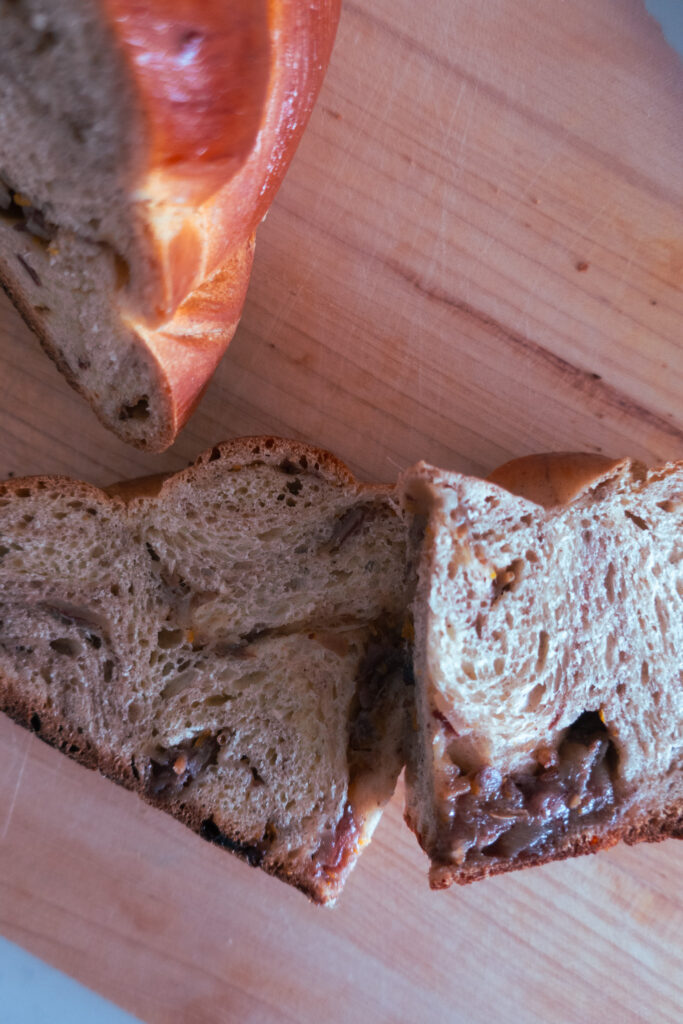
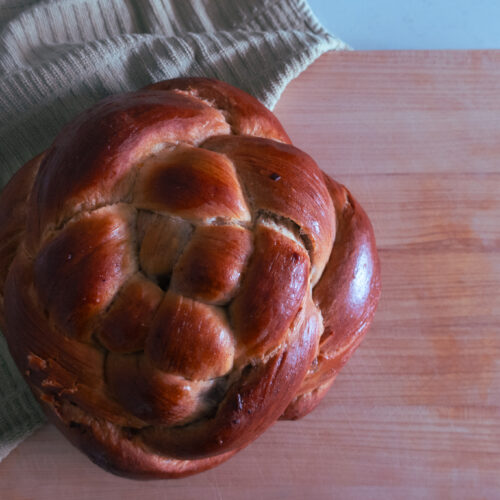
This bread is a deliciously soft treat, turned into cinnamon toast, or even a yummy french toast! Set aside a few hours (remember bread loves time to sit and grow, don’t we all?) and get to making this delicious knotted loaf.
SPICED CHALLAH BREAD
(sorry, coming soon with a website update – full recipe available at the bottom!)
How to: (sorry, coming soon with a website update – full recipe available at the bottom!)
INGREDIENTS
- (sorry, coming soon with a website update – full recipe available at the bottom!)
(sorry, coming soon with a website update – full recipe available at the bottom!)
HOW TO MAKE SPICED CHALLAH BREAD
(sorry, coming soon with a website update – full recipe available at the bottom!)
3 reasons you’ll love this bread
TIPS & VARIATIONS
- (sorry, coming soon with a website update – full recipe available at the bottom!)
MAKING AHEAD & STORING
(sorry, coming soon with a website update – full recipe available at the bottom!)
MORE COZY SPICED RECIPES
(sorry, coming soon with a website update – full recipe available at the bottom!)
Equipment
- Standing mixer with a dough hook
- Dough Scraper
- Zester
- Juicer
- Pot
- Digital Scale
- Parchment Paper
- Baking Tray
Ingredients
- 128 g warm water no more than 98.6F
- 6 g dry yeast
- 80 g beaten egg plus a little extra in a separate dish for brushing your dough before baking
- 64 g canola oil
- 68 g honey
- 400 g bread flour
- 8 g salt
- 1 tsp of ground cinnamon
- 1 tsp ground cardamom
- 100 g dates chopped
- 1 orange zested and juiced
Instructions
- In a mixing bowl fitted with a dough hook, combine your water and yeast and leave to sit for five minutes to allowit to bloom
- In a pitcher, combine your beaten egg, canola oil, and honey and give a good mix. Pour half of the mixture into the mixing bowl with the yeast/water.
- Add flour to the mixing bowl and set to lowest speed.
- Once mostly combined, add the remainder of your honey mixture to the mixing bowl
- When the dough starts to look like pancake batter, increase the speed to medium for five minutes
- Scrape down the bowl and put up to the next highest speed. Mix until the dough is clinging to the hook and basically cleaning the bowl
- If you need to, scrape the bowl down a final time and mix briefly to bring any remaining pieces together
- On low speed, add your salt, cardamom, and cinnamon, and mix until combined
- Scrape down the bowl and then cover with a towel, leave to rest until doubled in size
- While your dough is rising, make the filling. Place all ingredients into a pot, if you need to add some extra water to it to cover the dates, do it. Simmer for 15 minutes. As the dates soften, squish them down with a spoon. Cook until there is no longer any visible liquid on the bottom of the pot. Remove from heat and mash into a paste. Set aside.
- Press your finger gently into the dough, when the indent you made slowly releases it’s ready!
- Using a digital scale, place your mixing bowl with the dough inside of it, on the scale. Remove the dough from the bowl, place it on a clean counter, and immediately place the bowl back onto the scale. Note the weight – this is how much your dough weighs – and divide it by four
- Using a dough scraper, cut your dough into four pieces and weigh out evenly, cutting from other pieces until all come to equal weight. Do not tear or pull your dough to do this.
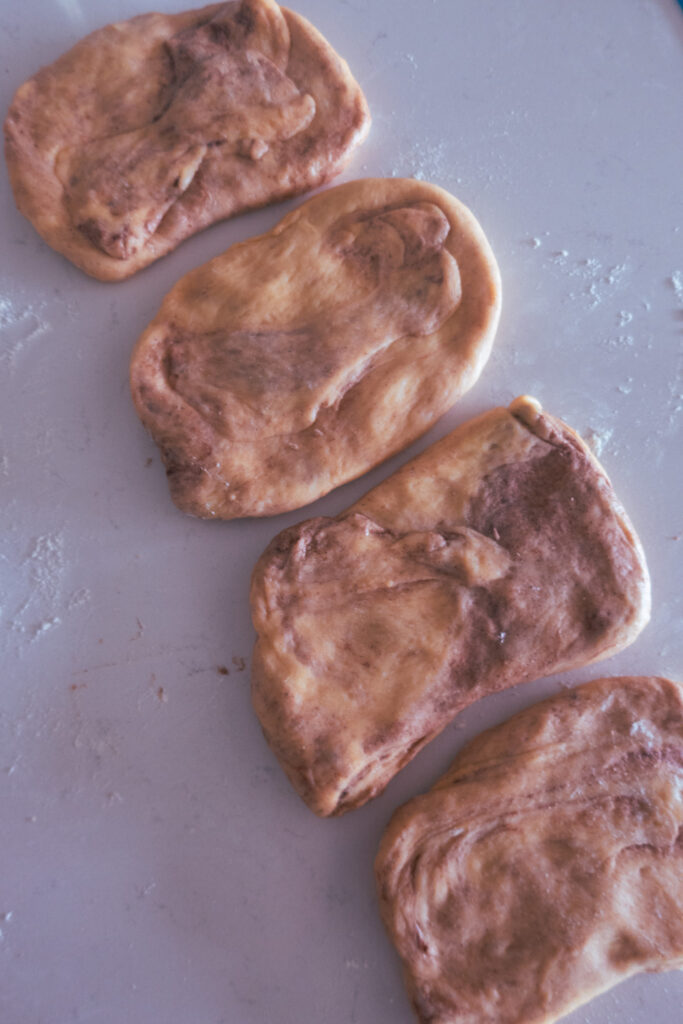
- Take each of the four pieces and de-gas them one by one, flattening lightly into a rectangle
- Place a thick line of filling evenly across the four squares, about ⅓ of the way up. Then roll the top of the dough over the filling, press in with your fingers to seal, and roll the rest of the way down, pressing in again. Make sure to pull in the edges of the dough as well, to seal in the filling.
- Gently roll out each piece of dough to just under 2ft long, tapering your ends so they are slightly pointed. Lightly flour your surface as needed, so the dough doesn’t tear.
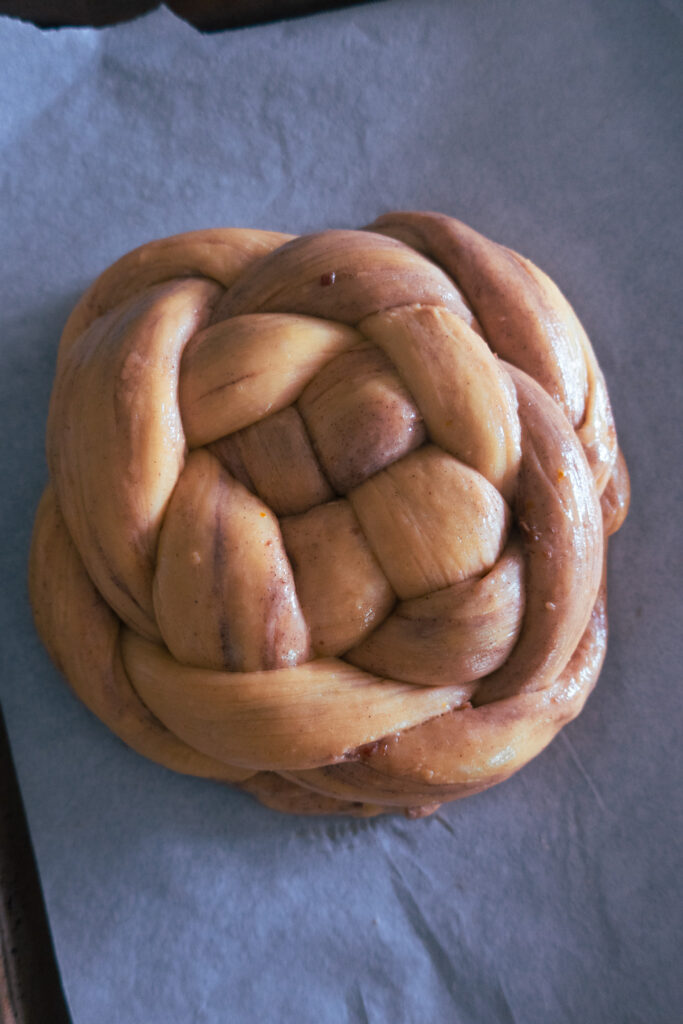
- To form your knot, cover your baking tray with parchment paper and shape directly on it. Lay two of the logs vertically with no space in between. Making sure they are perfectly parallel to each other. Then place the other two horizontally over the vertical dough logs, across the center, with the top horizontal log going over the first vertical log and under the second. Then place the second horizontal log below the first with no space between, this time going under the first vertical log and over the second one. You should now have the start of your knot, with each center piece going over-under-over-under. Then, working strand by strand, find a strand that is currently under another, and bring it over its neighbor, work clockwise until you’ve placed all of the four “under” strands “over”. Then going counterclockwise repeat, since you now have new strands that are under, and place them over their neighbor.
- Once you’ve made your knot, tuck your ends under and then use your dough scraper to gently swoop in the bottom, for a smooth knot. Cover and proof until double in size.
- Preheat your oven to 338F CONVECTION
- Brush your challah knot with some beaten egg, be careful not to let the brush pull at the dough
- Bake on the third shelf down in your oven for 25-35 minutes. You will need to insert a thermometer into the middle hole of the dough – probing through the middle crack, don’t poke through one of your pretty knot lines. The temperature should be between 188-194F for your dough to be fully cooked.
- Remove from oven and place on a wire rack to cool completely before slicing.
- Enjoy!

