
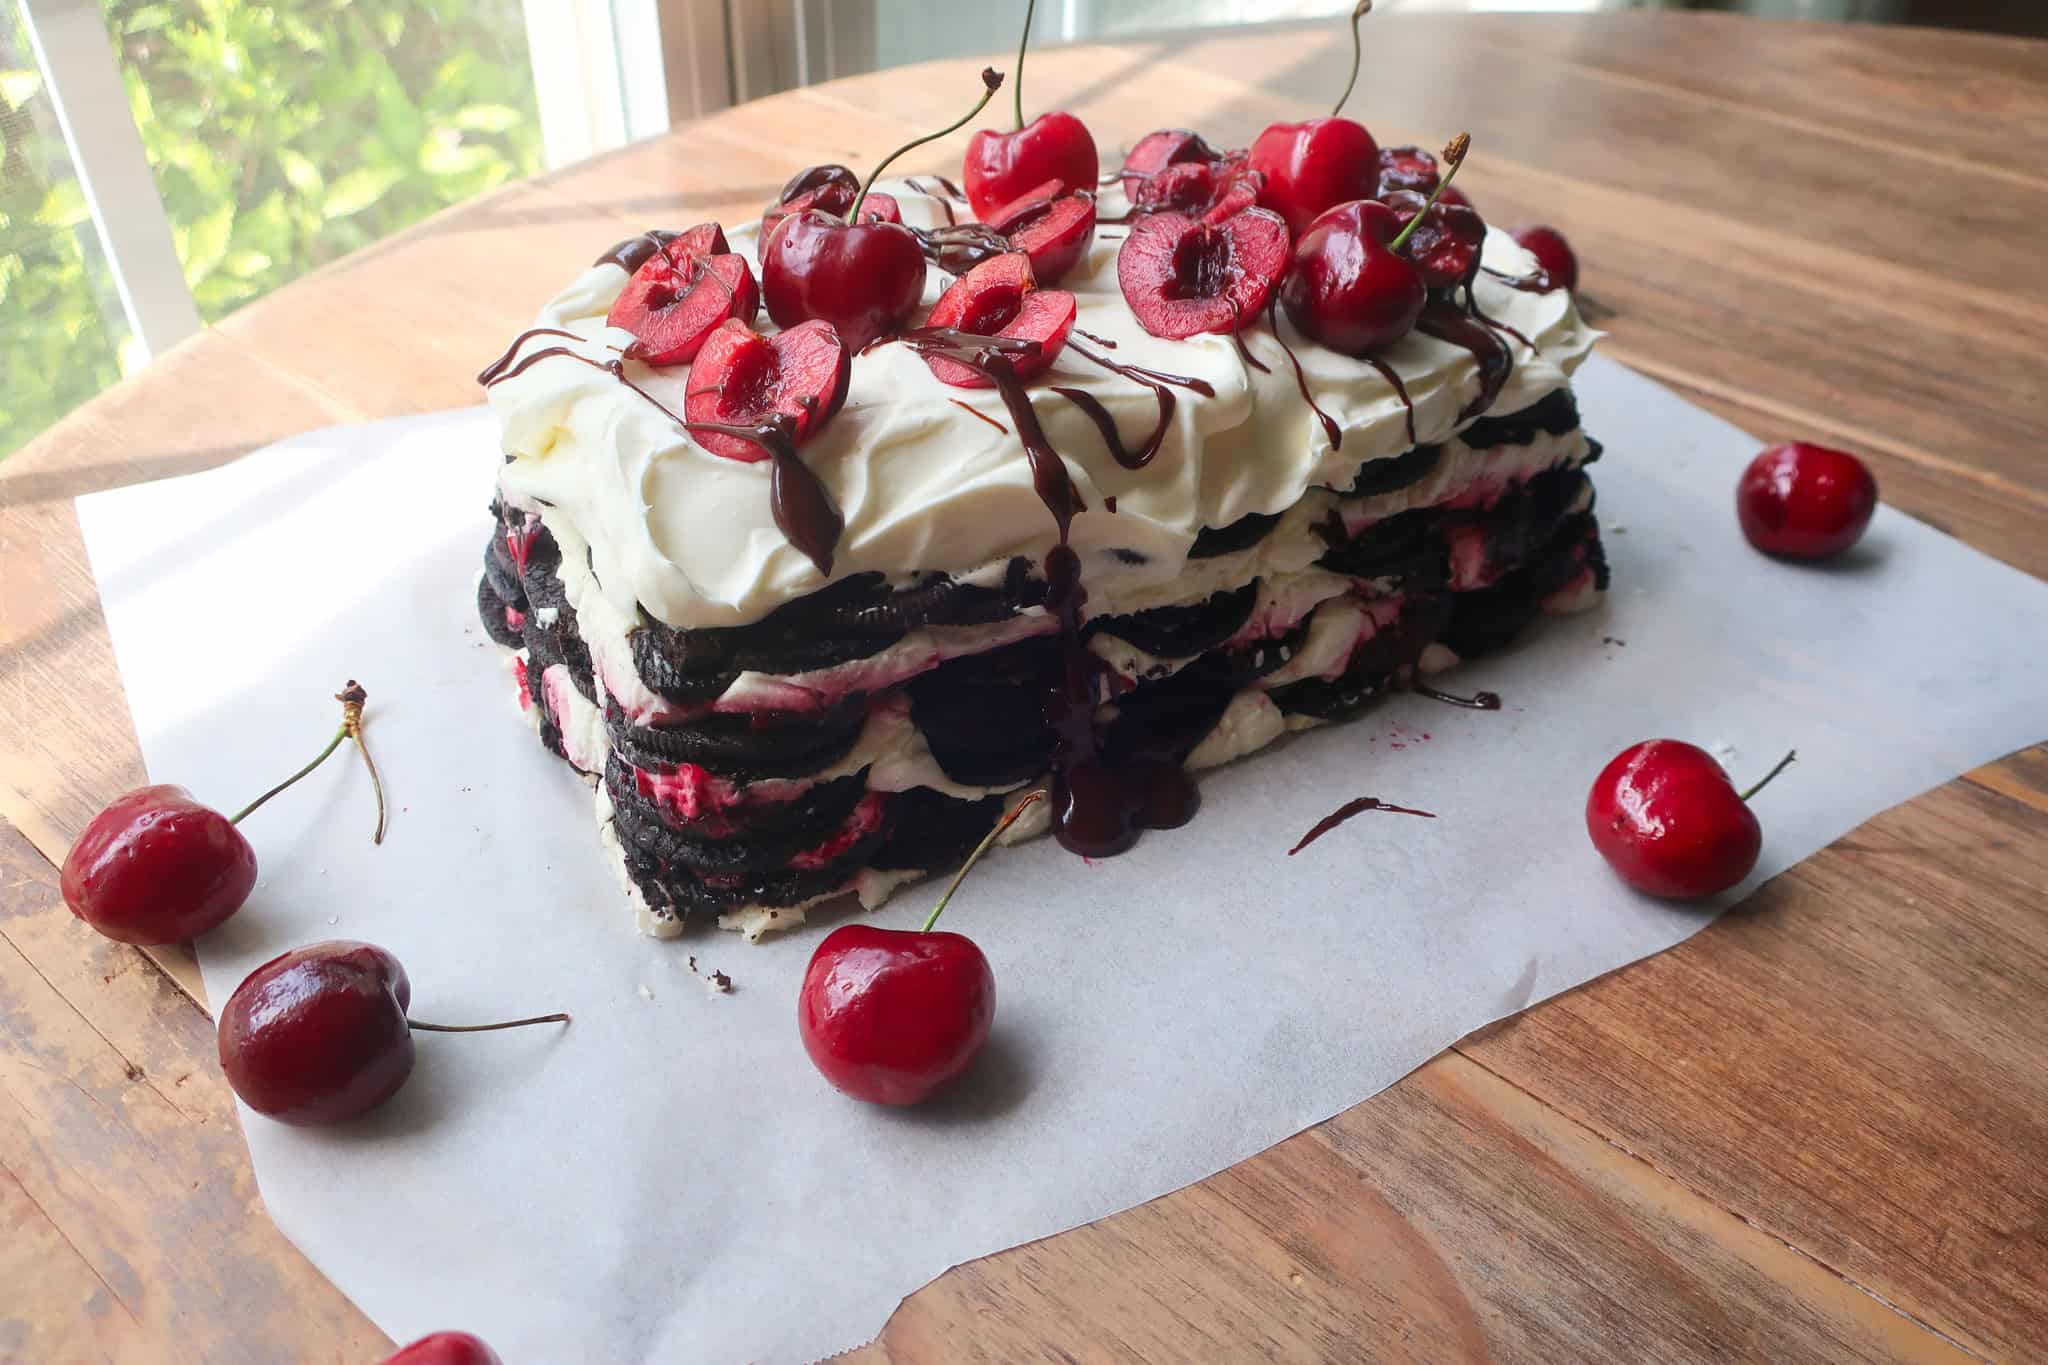
Black Forest Icebox Cake
As someone who doesn’t always love fruit in dessert, I do love a fruit layer in some desserts. For example, this Black Forest icebox cake.
Now, a traditional Black Forest cake features the flavors of chocolate, whipped cream, and cherries. For this icebox cake, I was inspired by the Argentinian chocotorta to get those delicious, almost cake-like layers, but in a much simpler way.
Is this a completely no-bake recipe? No, since you have to make the cherry sauce, but that’s a stove-top situation so… maybe?
If you love this recipe, please rate and review it below and tag @accentgolden in your posts on social!
This website uses affiliate links, which may earn commission for purchases made at no additional cost to you.
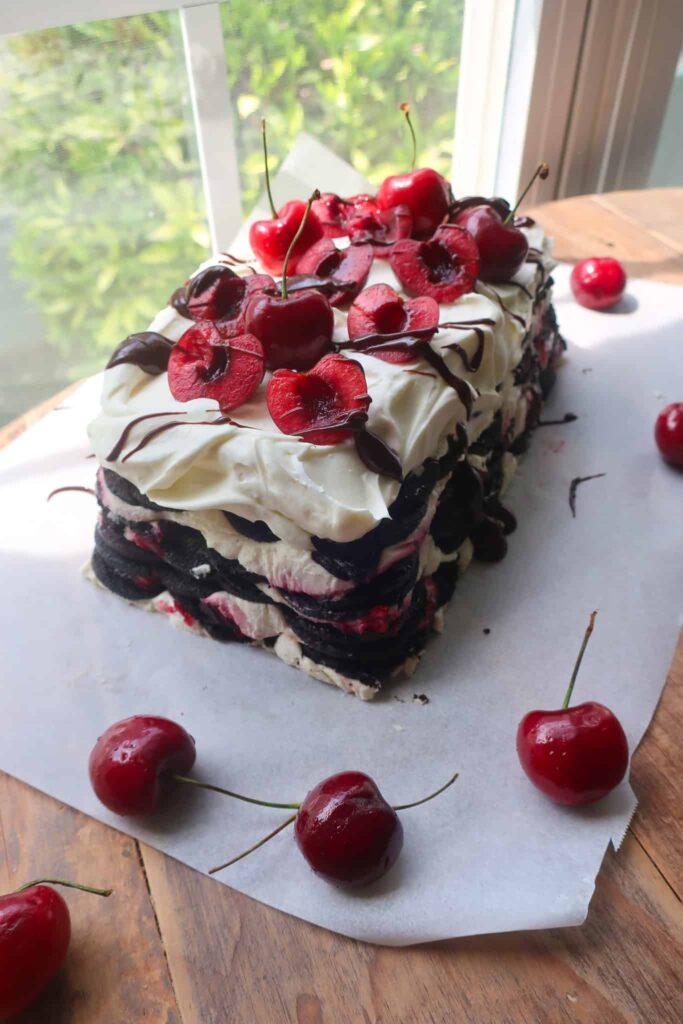
BLACK FOREST ICEBOX CAKE
We’re layering Oreos, cream cheese whipped cream, and homemade cherry sauce to make this Black Forest dessert. I recommend taking the cream out of the Oreos, since it’s not needed and it gives a better cake-y layer once they soften in the fridge.
You have the option of splitting the whipped cream evenly between all the layers or reserving some for the top. Personally, I love the look of it on top, but you do you, my friends.
Can I make the cherry sauce smooth? Yes! Once you’ve thickened it, you can use an immersion blender to blend it into a smooth sauce or take it a step further and strain it after blending.
INGREDIENTS
- Cornstarch: Thickens the cherry sauce so it coats the cookie layers without becoming runny
- Cherries: Create the fruity filling and classic cherry flavor throughout the dessert
- Granulated sugar: Sweetens the cherry sauce and enhances the fruit’s natural flavor
- Lemon juice: Balances the sweetness of the cherry filling
- Cream cheese: Gives the whipped cream layer a rich flavor and structure
- Powdered sugar: Sweetens the cream cheese filling
- Heavy whipping cream: For an airy whipped cream and helps to softly set the chocolate drizzle
- Oreos: Form the chocolate cookie layers that soften into a cake-like texture once chilled
- Chocolate chips: Drizzled for a final chocolate bite
Do I need to double the Oreo cookies in each layer? I never say no to more Oreos. Personally, I find the double layer gives the perfect “cake” layer once it’s set in the fridge, but you can do a single layer if you prefer.
HOW TO MAKE A BLACK FOREST ICEBOX CAKE
Make the cherry sauce for your Black Forest icebox cake…
Combine the cornstarch and water in a small bowl to create a slurry. Add the slurry to a pot with the pitted cherries, granulated sugar, and lemon juice.
Cook the sauce over medium heat, stirring and gently breaking up the cherries as they soften, until the sauce has thickened slightly, about 5-8 minutes.
Transfer the cherry sauce to a heat-safe bowl and let it cool completely to room temperature before assembling the dessert. This allows the filling to thicken further while cooling it enough so it doesn’t melt the whipped cream layer.
Prepare the cream cheese whipped cream…
In a clean bowl, beat the room-temperature cream cheese until smooth. Add the sifted powdered sugar and heavy whipping cream and continue beating until the mixture becomes thick, fluffy, and spreadable.
Divide the whipped filling between two bowls, cover, and refrigerate until you’re ready to assemble the Black Forest icebox cake. Keeping the filling chilled helps it maintain its structure while layering the dessert.
Assemble your Oreo icebox cake…
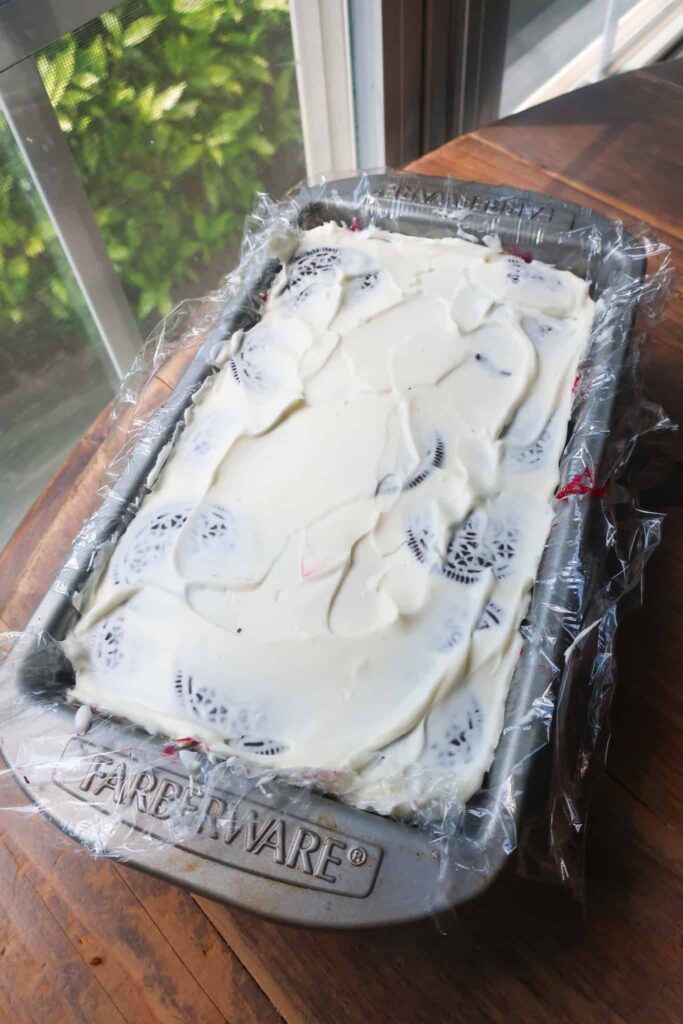
Remove the cream filling from the Oreos before assembling. Line all sides of a loaf pan with plastic wrap, leaving some overhang to make it easier to remove the chilled cake once it has set.
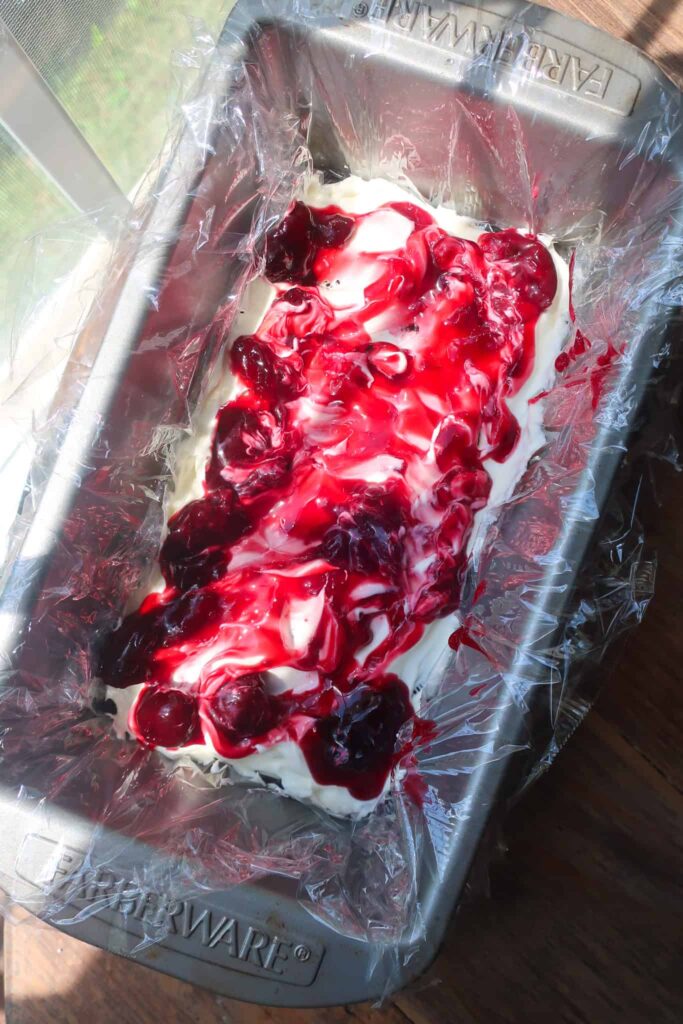
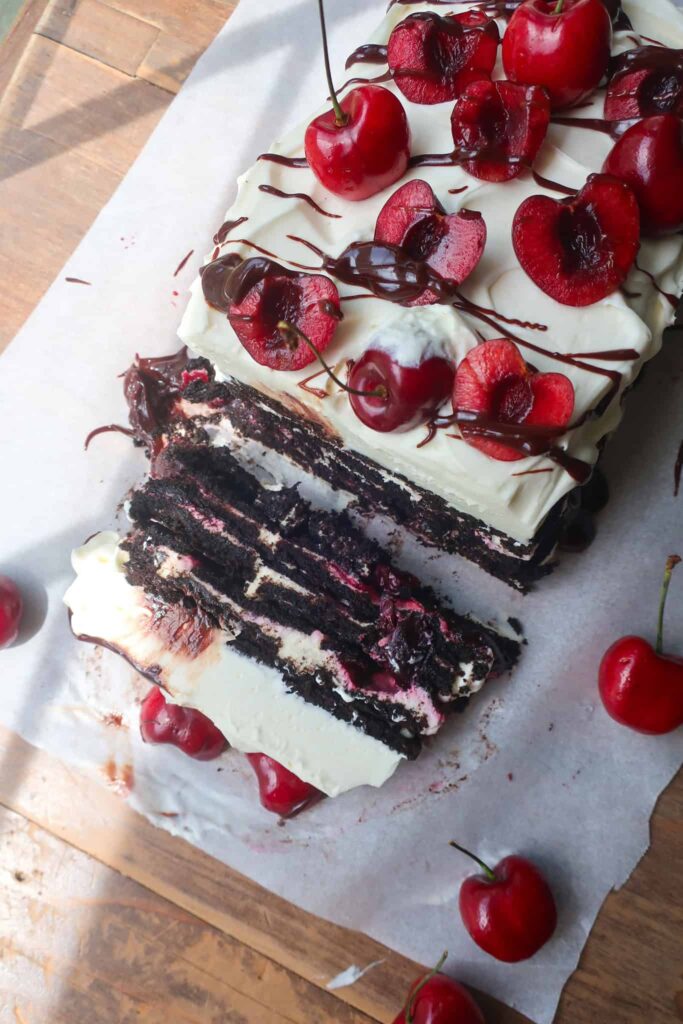
Arrange two layers of Oreo cookies across the bottom of the prepared pan, filling in any gaps to create an even base. Spread one-fourth of a bowl of whipped filling over the cookies, then one-third of the cherry sauce.
Repeat the layers of Oreo cookies, cream cheese whipped filling, and cherry sauce until all of the cherry sauce has been used, finishing with a final layer of whipped filling on top. Cover the loaf pan and refrigerate for at least 8 hours, or overnight, to allow the cookies to soften and the layers to set.
To serve your chocolate cherry cake…
Make the chocolate drizzle by combining the chocolate chips and 2 teaspoons of heavy cream in a microwave-safe bowl. Microwave for 10 seconds, then gently stir until the chocolate is completely melted and smooth.
Remove the chilled Black Forest Icebox Cake from the refrigerator and transfer it to a serving plate. The easiest method is to unwrap the top of the cake while it is still in the pan, place the serving plate over the pan, flip it upside down, and carefully peel away the plastic wrap.
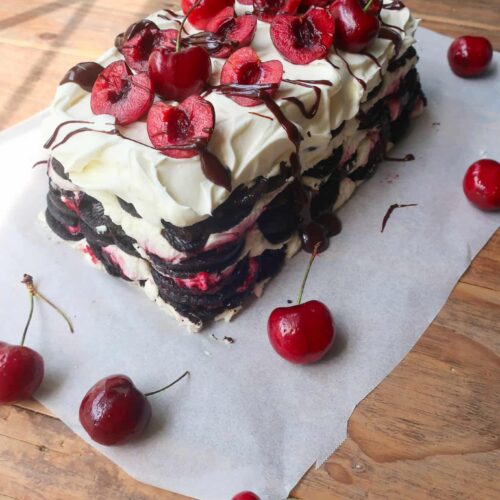
Spread the remaining whipped cream over the top of the cake, then garnish with extra cherries and drizzle with the melted chocolate sauce before slicing and serving.
3 reasons you’ll love this Black Forest icebox cake
TIPS & VARIATIONS
- Make your cherry sauce first, so it has time to cool completely before layering. If it’s hot, it will melt the cream cheese whipped cream, and you’ll mess up your layers.
- Your cherry sauce can be chunky, which gives a little extra bite, or blended smooth once thickened. Up to your personal preference!
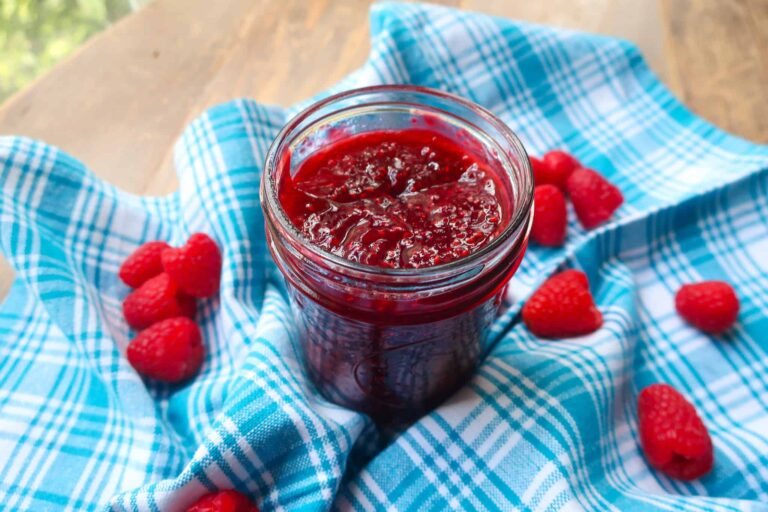
- Don’t like cherries? You can easily swap in a quick raspberry sauce instead!
- The Oreos give a distinct, Oreo-y flavor, but you can substitute for another thin chocolate cookie or chocolate graham cracker if you desire.
- I prefer to remove the cream from the Oreos for a full chocolate layer. Plus, the dessert doesn’t need the added cream and sweetness.
- Beat your cream cheese before adding your powdered sugar and heavy cream for the smoothest cream cheese whipped cream. I also highly recommend using a name-brand whipped cream, since the off-brand can sometimes not blend as smoothly.
- Carefully spread your whipped cream over the cookies as it will likely move some of them. Just pop them back in place and keep spreading.
- Try to avoid overmixing your cherry sauce with your whipped cream layer, to keep them distinct. Some swirling is unavoidable.
MAKING AHEAD & STORING
Once assembled, store your Black Forest icebox cake wrapped or in a sealed container in the fridge. It will last for up to 4 days, but the cookies will continue to soften as they sit, so eat earlier for the best texture.
MORE COLD DESSERT RECIPES
- Key Lime Coconut Icebox Cake
- Salted Vanilla Pistachio Frozen Yogurt
- Creamy Pistachio Dessert
- Black Forest Tiramisu
- Chocolate Mousse with Cranberries and Biscoff
EQUIPMENT YOU’LL NEED
Equipment
- Loaf Pan
- Plastic wrap
- Mixing Bowls
- Medium Pot
- Spatulas
- Measuring Cups
- Measuring Spoons
- Mixer
Ingredients
- 2 tbsp cornstarch
- 3 tbsp water
- 3 cups pitted cherries plus extra for topping
- 5 tbsp granulated sugar
- 3 tbsp lemon juice
- 8 oz cream cheese room temperature
- ½ cup powdered sugar sifted
- 2 cups heavy whipping cream
- 50-55 Oreos with cream filling removed
- ⅛ cup chocolate chips
- 2 tsp heavy cream
Instructions
- Start by making your cherry sauce. Combine your cornstarch and water in a small bowl to make a slurry, then add it to a pot with your cherries, granulated sugar, and lemon juice
- Place over medium heat and stir, breaking up the cherries with your spoon as they cook, until lightly thickened, about 5-8 minutes
- Transfer to a heat-safe bowl and leave to cool to room temperature
- In a clean bowl, make your whipped filling by beating your cream cheese until smooth. Then sift in the powdered sugar and 2 cups of heavy cream. Beat until thick and fluffy.
- Split your whipped cream into two bowls, cover, and place in the fridge until you’re ready to assemble
- If you haven’t already, remove the cream center from your Oreos
- Line all sides of your loaf pan with plastic wrap. This will make it easy to remove your torta once it’s chilled
- To assemble, place two layers of the chocolate Oreo cookies along the bottom of the pan, making sure to cover any cracks. Gently spread a fourth of one of your bowls of whipped filling into an even layer over top, followed by a THIRD of your cherry sauce
- Repeat those layers, ending on the whipped cream layer
- Cover your loaf pan and place it in the fridge for at least 8 hours
- Before removing your chilled cake from the fridge, make your chocolate drizzle. Add your chocolate and 2 teaspoons of heavy cream to a bowl and place in the microwave for 10 seconds. Gently stir until the chocolate is fully melted – the cream will get hot and help to melt the chocolate as you stir it, so don’t overheat it! Microwave a few more seconds at a time, only if necessary
- Remove your chilled torta from the fridge and transfer to your serving plate. I find it easiest to unwrap the top, while still in the pan, place your plate over it, and flip your cake onto it. Peel off the plastic wrap
- Spread the second bowl of whipped cream over the top, dot with extra cherries, and drizzle with your chocolate sauce

Any suggestions on what to do with the cream filling of the Oreos??
Oh there’s lots of uses! You can turn it into a frosting or whip it into a dip for fruit or even fold in with some whipped cream and Oreo bits for a little dirt dip!
This looks so good! What a great combination of flavors!
Thanks for sharing! Does it keep long?