The BEST Butterfinger Cheesecake
I’m just gonna say it: I make the best cheesecake. I’ll test your mom, your auntie, your gramps, you name it. I’m coming home with the blue ribbon. This Butterfinger cheesecake is no different.
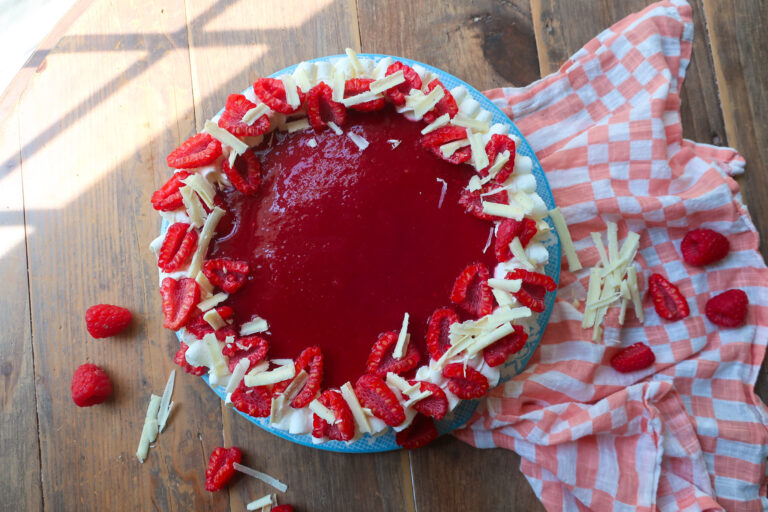
Between my white chocolate raspberry cheesecake and this one, I’m not sure which one I love more. Guess it just depends on what craving I’m trying to satisfy. Regardless, the texture of my cheesecakes is where they soar.
Certain *beloved* restaurants make a more stodgy, dense cheesecake. That’s not for me. I want creamstation or nothing at all. If I’m speaking your language, then you’re going to love this classic, Halloween candy re-imagined dessert.
If you love this recipe, please rate and review it below and tag @accentgolden in your posts on social!
This website uses affiliate links, which may earn commission for purchases made at no additional cost to you.


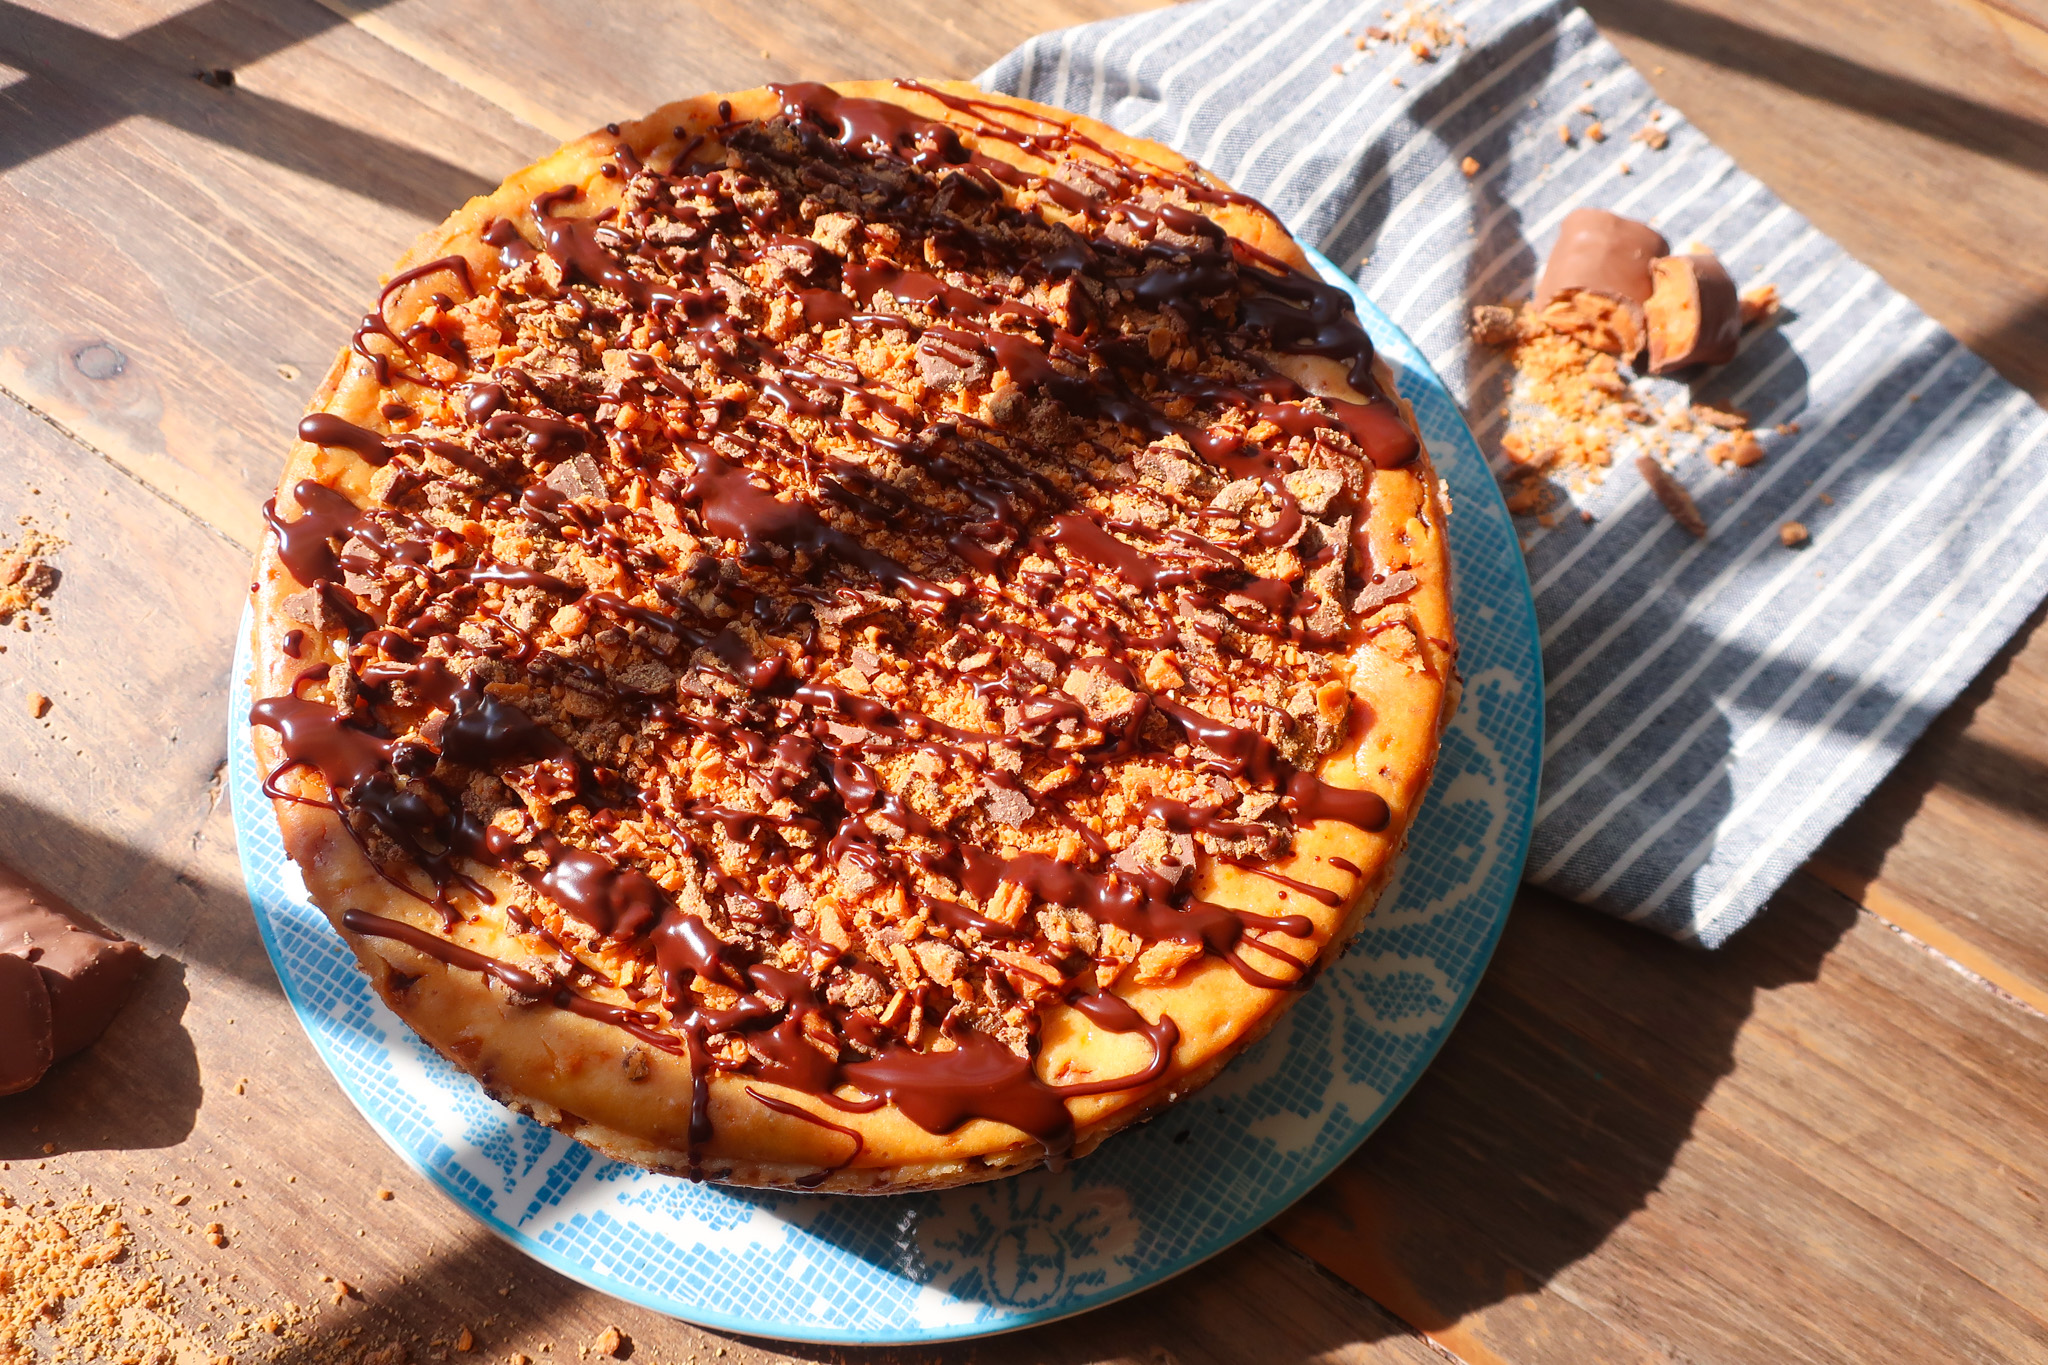
BUTTERFINGER CHEESECAKE
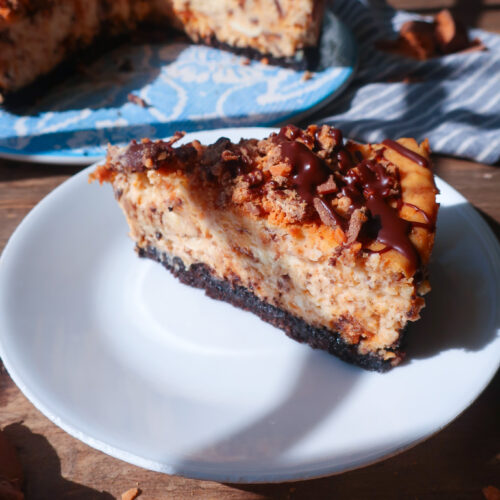
The perfect cheesecake for chocolate and peanut butter lovers, it’s creamy and rich, and one of my favorite cheesecakes to date.
The base is a simple Oreo crust – Oreos, butter, and a little sugar – for that extra chocolatey bite. It’s topped with a Butterfinger cheesecake filling, which is just my classic cheesecake with bits of crushed Butterfingers folded in. Easy peasy.
I topped mine with more crushed Butterfingers and a drizzle of chocolate because… go big or go home, ya know? You can absolutely omit, though, if you please.
Why do you press the Oreo crust into the pan before baking? This helps ensure all the elements of the crust are firmly stuck together, creating the perfect hold that won’t crumble when sliced. Do it gently, no need to be aggressive!


INGREDIENTS
- Oreos: create the chocolate cookie crust base
- Butter: binds the crust and smooths the chocolate drizzle
- Sugar: sweetens both crust and filling
- Cream cheese: forms the creamy cheesecake base
- Sour cream: adds tanginess and helps with a smooth texture
- Heavy cream: enriches the filling for a silky consistency
- Flour: stabilizes the cheesecake filling
- Eggs: provide structure and help the cheesecake set
- Butterfinger pieces: add crunch, peanut buttery flavor, and candy bar texture
- Chocolate: melts into a drizzle for a decadent topping
Why add sugar to the Oreo crust? The sugar not only helps to balance sweetness and enhance flavor, but it also gives the crust a firmer texture once baked.
HOW TO MAKE A BUTTERFINGER CHEESECAKE
Line the base of a 9-inch springform pan with parchment paper and grease the inside of the pan.
To make the crust, crush the Oreos in a food processor until finely ground, then stir them together with melted butter and sugar. Press the mixture evenly into the prepared pan, using the flat bottom of a glass or measuring cup to pack it down firmly.
Freeze the crust for 15 minutes while you preheat the oven to 325°F. Once chilled, bake the crust for 15 minutes, then remove it from the oven and let it cool completely in the pan.
For the filling, beat the cream cheese in a stand mixer until smooth, then mix in the sour cream and heavy cream. In a small bowl, whisk together the sugar and flour to remove any lumps, then add it to the batter and mix until just incorporated. Add the eggs one at a time, mixing after each addition, then gently fold in the crushed Butterfinger pieces. Pour the batter over the cooled crust and smooth the top with a spatula.
Bring 4–6 cups of water to a boil. Place the cheesecake on the center rack of your oven, and on the rack directly below, set a large casserole dish. Carefully pour the boiling water into the dish until it reaches about halfway up the sides, then close the oven quickly to trap the steam.
Bake the cheesecake at 325°F for 70 minutes. The edges should look set, while the center will have a slight wobble. Turn off the oven, crack the door open slightly, and let the cheesecake rest inside for another hour.
Remove it from the oven and let it cool completely at room temperature. Cover with foil and refrigerate for at least 8 hours, or overnight, to set.
For the topping, melt the chocolate and butter together in a microwave-safe bowl, heating in 20-second intervals and stirring until smooth. Remove the cheesecake from the pan and sprinkle the top with the remaining crushed Butterfingers. Drizzle with the melted chocolate, then place in the fridge for 10 minutes to let the topping firm up before slicing and serving.


3 reasons you’ll love this creamy dessert
TIPS & VARIATIONS
- This recipe uses roughly 19 fun-size Butterfingers. To crush, just unwrap and pop them into a zip-top bag. Then use a rolling pin or the bottom of a glass to break apart. You want it mostly crumbly with a few small chunks.
- Room temperature cream cheese is a MUST! This will ensure it seamlessly blends into the cheesecake mixture. We don’t want any unmixed cream cheese chunks.
- Mix your cheesecake ingredients only until just combined. You don’t want to whip too much extra air into the batter, or it’s likely to crack as it bakes/cools.
- The topping is optional. You can omit if you don’t want extra crushed peanut butter, chocolatey goodness. Could also swap (or add, go nutsss) for a quick little whipped cream!
- If you make the chocolate drizzle, keep an eye on the chocolate as it melts. Once it’s close to melted, only microwave for a few seconds at a time between stirs or risk it burning!
MAKING AHEAD & STORING
The Oreo crust can be made the night before and kept in the fridge until ready to use.
Once baked and assembled, your Butterfinger cheesecake should be stored, wrapped in the fridge, where it will last up to 5 days. You can also slice and freeze individually, perfect for when you want a sweet treat down the road. The Butterfinger cheesecake will last in the freezer for up to 3 months.
MORE CHOCOLATE-PEANUT BUTTER RECIPES
For the Oreo fans, you have to try these perfect Oreo Cookies with Peanut Butter Ganache. Simple to make and the perfect crowd pleaser. Love a cookie cake? This Peanut Butter Chocolate Chip Cookie Cake always hits the spot (and it’s topped with peanut butter frosting!). If you love something creamy and no-bake, this Chocolate Chip Cookie Peanut Butter Pie is a dream!
EQUIPMENT YOU’LL NEED
Equipment
- 9" Springform Pan
- Parchment Paper
- Mixer
- Mixing Bowls
- Measuring Cups
- Measuring Spoons
- Spatulas
- Whisk
Ingredients
- 2 cups Oreo crumbs roughly 22 Oreos
- 5 tbsp butter melted
- 2 tbsp sugar
- 24 oz cream cheese softened
- ¾ cup sour cream
- ½ cup heavy cream
- 1 cup sugar
- 1 tablespoon flour sifted
- 3 large eggs
- 1 ½ cups crushed Butterfinger pieces
- ½ cup crushed Butterfinger pieces
- 2 tbsp semi-sweet chocolate chips or chopped chocolate
- 1 teaspoon butter
Instructions
CRUST
- Line the base of a 9-inch springform pan with parchment paper and grease the inside of the entire pan
- For the crust, blitz your Oreos in a food processor until finely ground. Then pour into a bowl with melted butter and sugar, and stir to combine
- Press the mixture evenly into your greased and lined baking dish. Then, use the flat bottom of a glass or measuring cup to gently press down into the bottom of the pan
- Freeze the crust for 15 minutes and preheat your oven to 325°F
- Remove from the freezer and bake for 15 minutes
- Remove from the oven and cool completely in the pan
FILLING
- For the cheesecake, add your cream cheese to the bowl of a standing mixer and beat on medium-high until smooth. Add in your sour cream and heavy cream, and mix to combine
- In a small bowl, combine your sugar and flour with a whisk. This will help ensure there are no clumps of flour in your mixture. Pour over cheesecake batter and mix until just incorporated
- Crack your eggs into your batter, one at a time, mixing between each egg until combined
- Gently fold in your crushed Butterfingers
- Pour your cheesecake batter over your cooled crust; spread evenly in the pan with a spatula
- Bring 4-6 cups of water to a boil. Place your cheesecake on the center rack of your oven. Place a large casserole dish on the rack below where your cheesecake will be and immediately (but carefully!) pour your boiling water into it until it reaches about halfway up your dish. Shut the oven as soon as possible, once you pour in your water. You want to trap all of that steam inside the oven!
- Bake your cheesecake at 325°F for 70 minutes. When it’s done, there will be a slight wobble in the center of the cheesecake, but the edges will look set. Turn the oven off, but crack the door slightly, leaving the cheesecake in the oven for another hour
- After an hour, remove the cheesecake from the oven and allow it to cool completely at room temperature before covering it with foil and refrigerating it for 8 hours or overnight
TOPPING & ASSEMBLY
- Add your melted chocolate and butter to a microwave-safe bowl. Microwave for 20 seconds, stir, and repeat until smooth
- Remove your cheesecake from the pan and top your cooled cheesecake with the remaining crushed Butterfingers. Drizzle with melted chocolate and let sit in fridge for 10 minutes for the chocolate to firm, before slicing

Perfect pairing! Sinfully delicious!
Glad you love it!