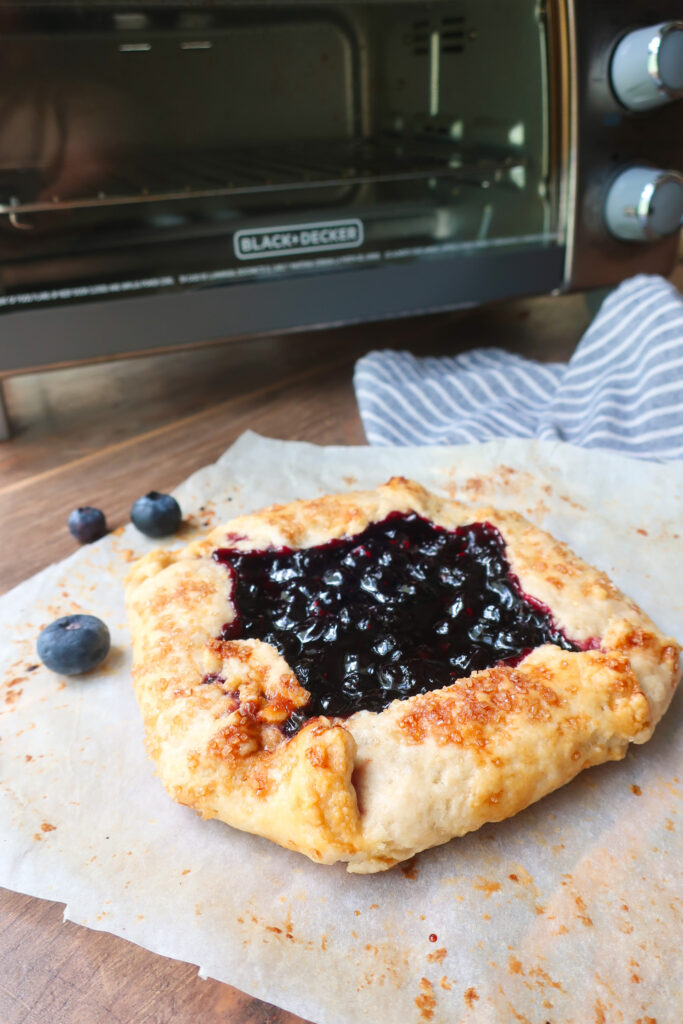
Simple Mini Galette (Toaster Oven Friendly Recipe)
As a lover of small-batch, often single-serve recipes, I wanted to make some that served the small to no-kitchen crowd. I used to live in a tiny studio apartment in the Upper West Side of New York City, and while I did have a full kitchen, I knew plenty who didn’t. So this super simple, mini galette (toaster oven friendly!) is perfect for those in small spaces, who lack standard-sized appliances.
This galette recipe is easily adaptable based on your needs. Don’t want to make your own jam? Use store-bought! Prefer a different fruit to blueberries? Swap it in (but see notes!). Plus, if you’re feeling kind, you can split it with a friend.
If you love this recipe, please rate and review it below and tag @accentgolden in your posts on social!
This website uses affiliate links, which may earn commission for purchases made at no additional cost to you.
WHAT IS A GALETTE?
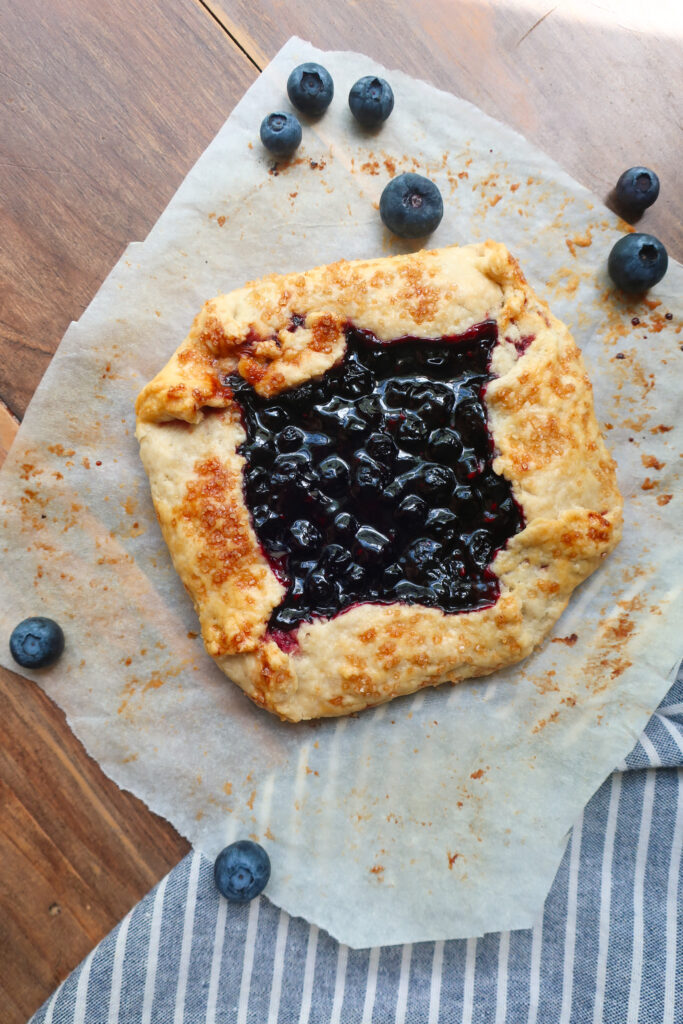
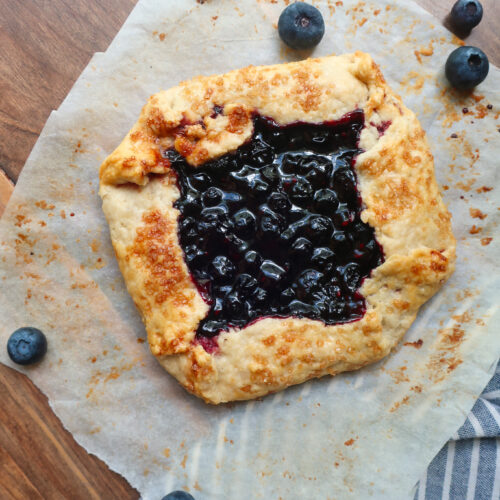
A galette is a pie without the pie dish. Instead of using grandma’s cute, crimped dish, you simply form your galette on a baking sheet. We don’t crimp the edges of a galette either. Just fold them over your filling, leaving a gap in the middle for it to breathe, and bake.
Galettes are kind of a lazy pie, and I absolutely love them. You still get all the buttery flakiness from the classic pie crust, but in a more chill manner.
I don’t like blueberry jam, can I use a different flavor? Yes! Use this recipe as a base for any jam flavor you prefer. You can also make a smaller version of a fresh fruit galette, like this peach one!
INGREDIENTS
- Blueberries: Provide the fruity filling and burst of flavor.
- Sugar: Sweetens the jam and balances the tartness.
- Lemon juice: Brightens the flavor and enhances the fruit’s natural acidity.
- Cornstarch: Thickens the jam so it doesn’t run out during baking.
- All-purpose flour: Forms the base of the crust and gives it structure.
- Salt: Enhances the overall flavor of the crust.
- Unsalted butter: Creates flakiness and richness in the dough.
- Cold water: Helps bind the crust dough without making it tough
- Egg: Used for egg wash to give the crust a golden, glossy finish.
- Coarse sugar: For an optional sweet, crunchy topping to the crust.
Does my jam need to be cold before making this mini galette? No, but it shouldn’t be hot. You need to allow time for your jam to cool (if making homemade) so that it doesn’t melt the butter in your crust when you go to form your galette.
HOW TO MAKE A MINI GALETTE IN YOUR TOASTER OVEN
Start by making the jam. In a small saucepan, combine the blueberries, sugar, and lemon juice, then place over medium-low heat, stirring occasionally. If you prefer not to make your own jam, simply measure out about half a cup of your favorite pre-made jam instead.
Once the mixture begins to bubble, sprinkle in the cornstarch and stir it in quickly, then continue stirring constantly until the jam thickens to a thin, spreadable consistency. Remove it from the heat and transfer to a heat-proof bowl. Keep in mind that it will thicken more as it cools, so don’t overcook it. Let the jam cool completely at room temperature — this should take about an hour.
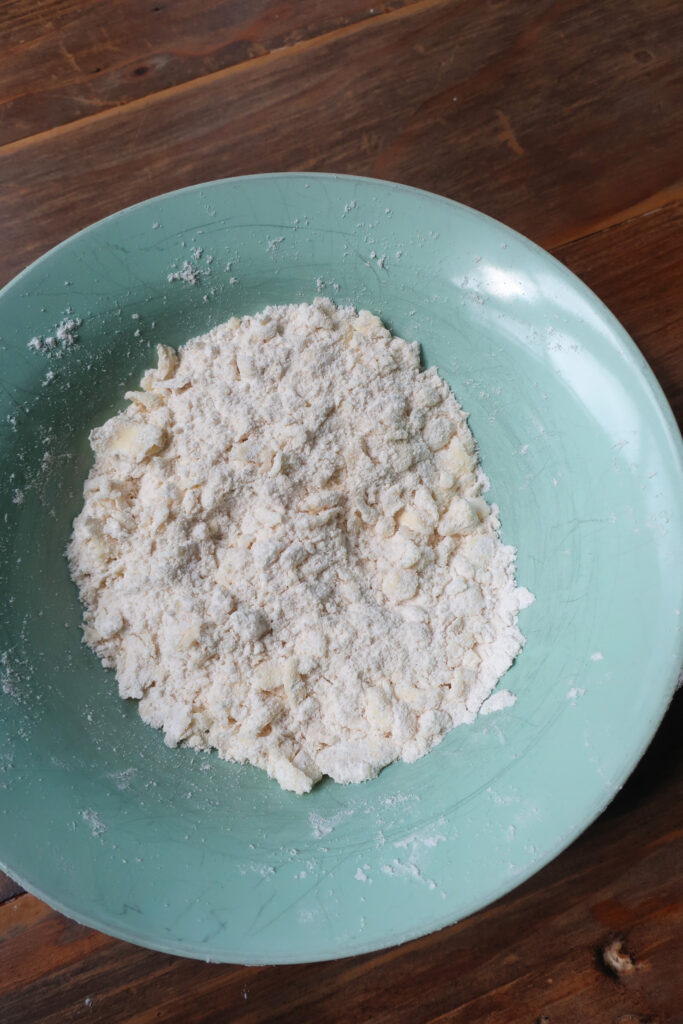
While the jam is cooling, prepare the crust. In a medium bowl, stir together the flour and salt. Add in the cold, cubed butter and use your fingers to rub it into the flour until the mixture resembles coarse sand. Add the cold water, stir, and gently bring the dough together with your hands to form a ball. Roll the dough out into a circle about ⅛-inch thick, between two sheets of parchment paper. Keep it covered with the parchment and place it in the fridge to chill for 15 minutes.
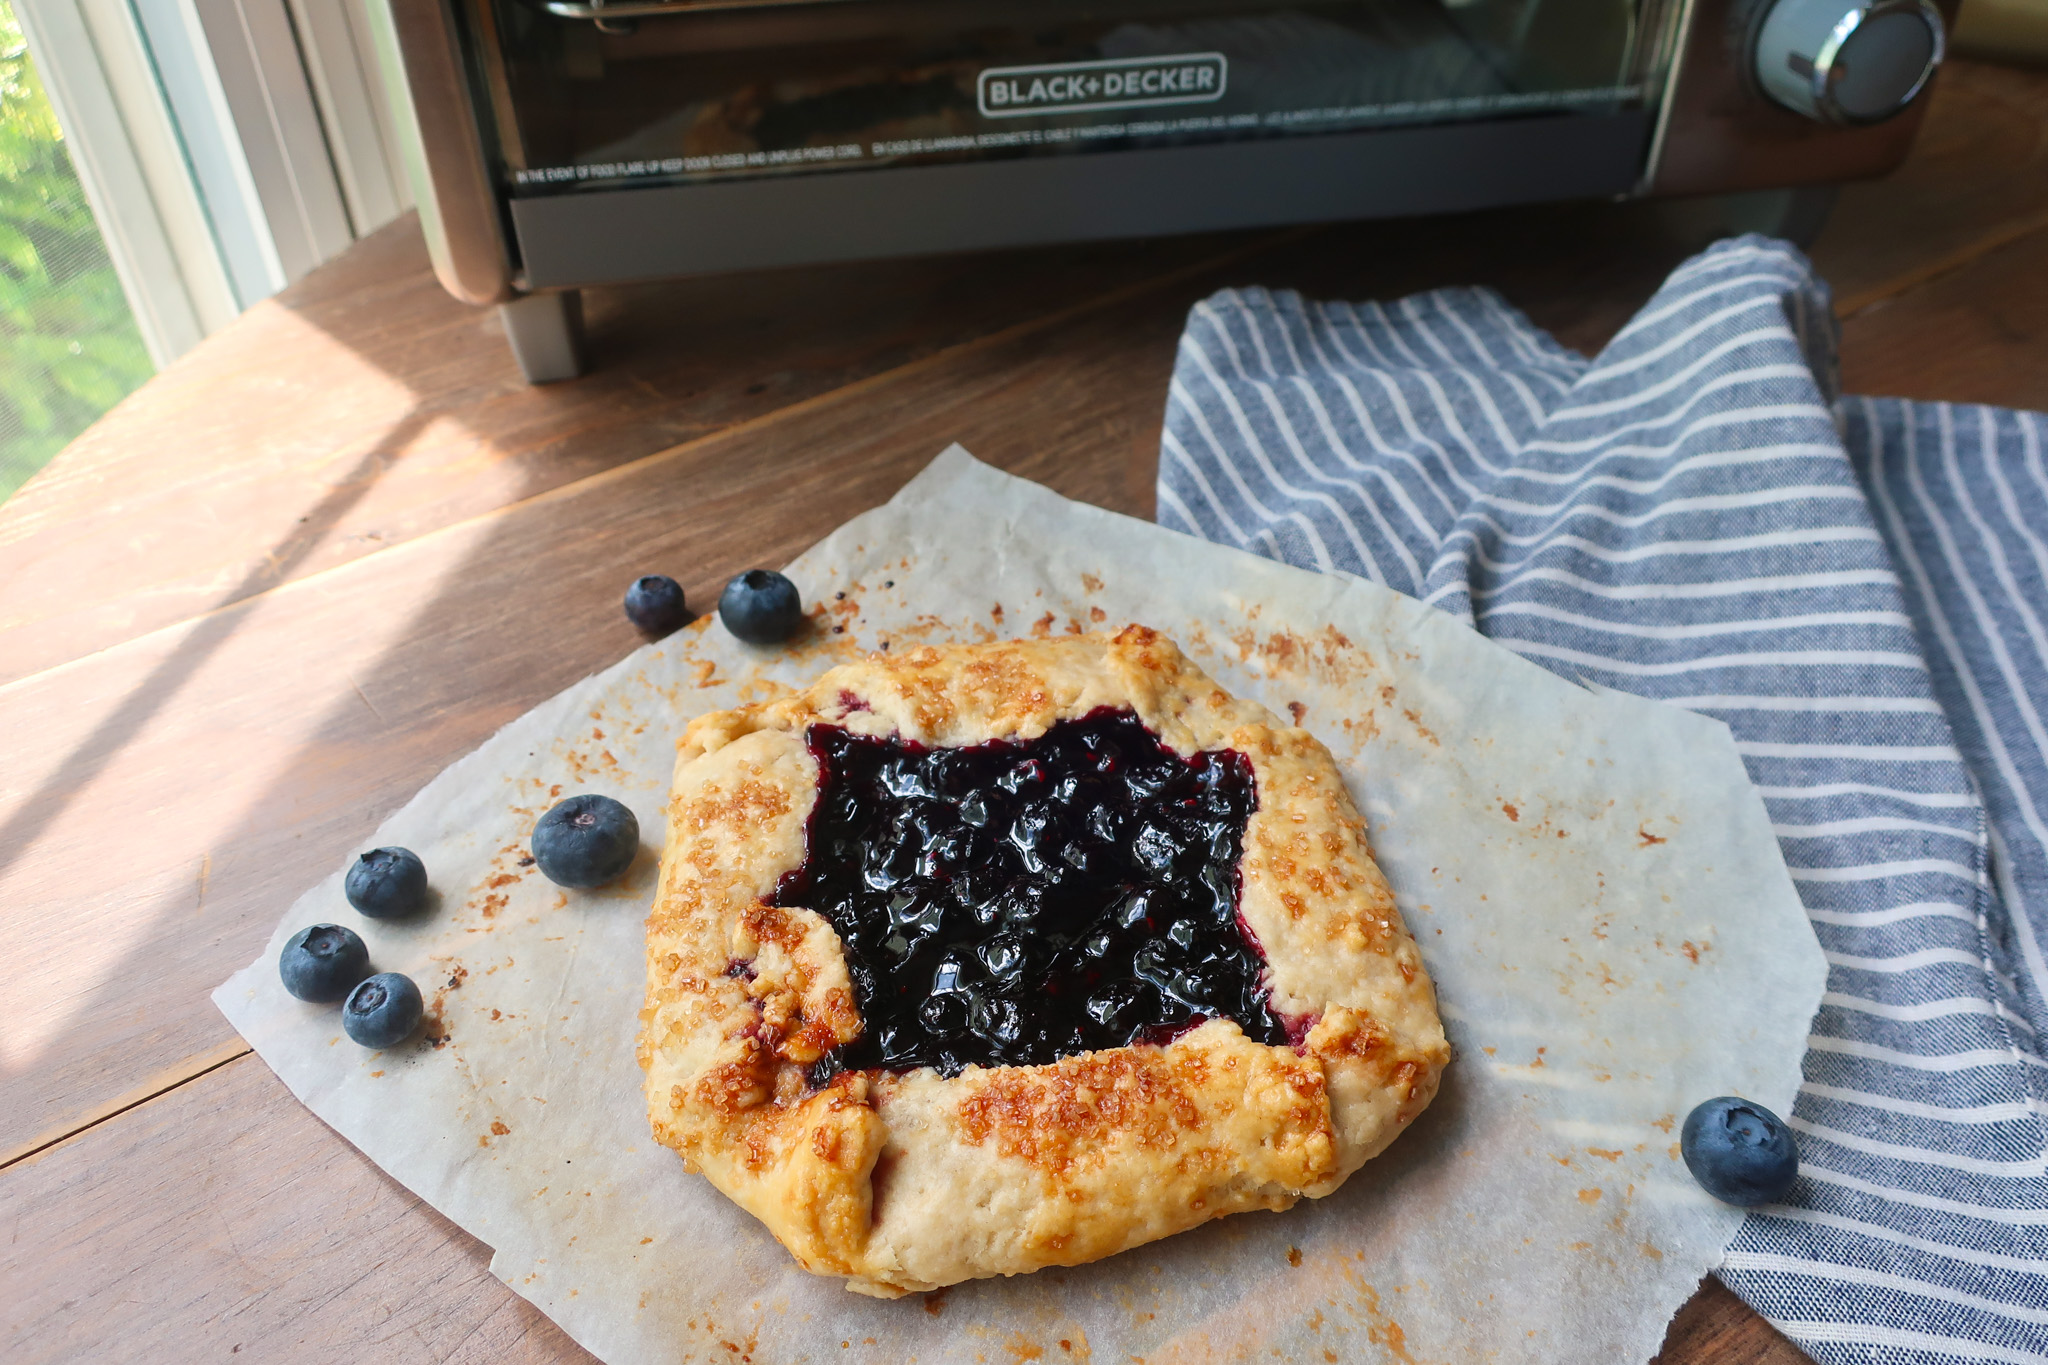
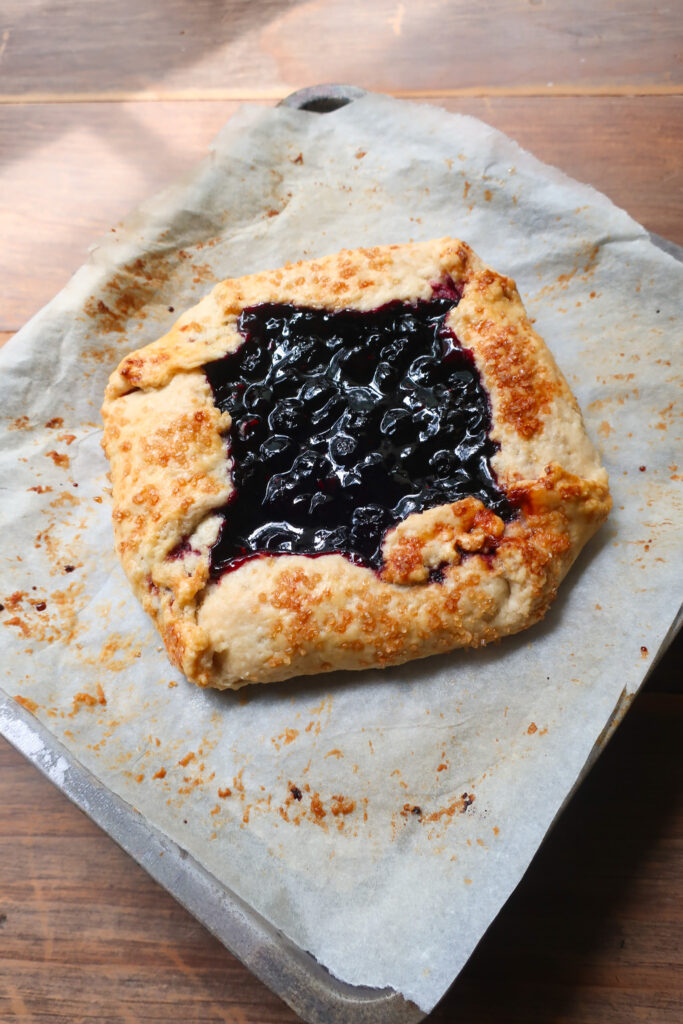
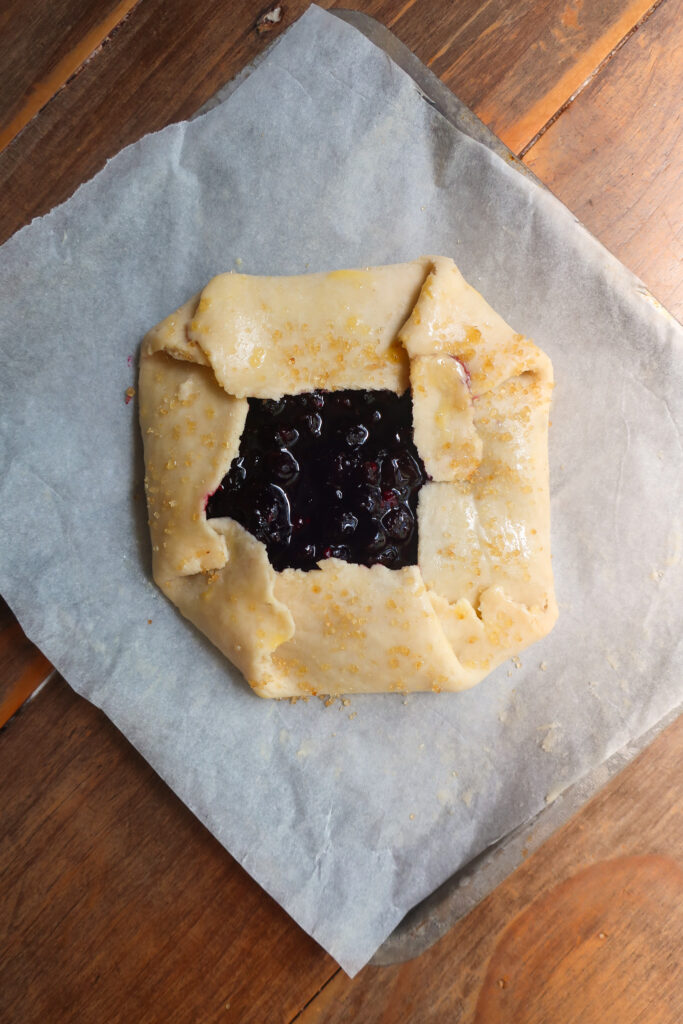
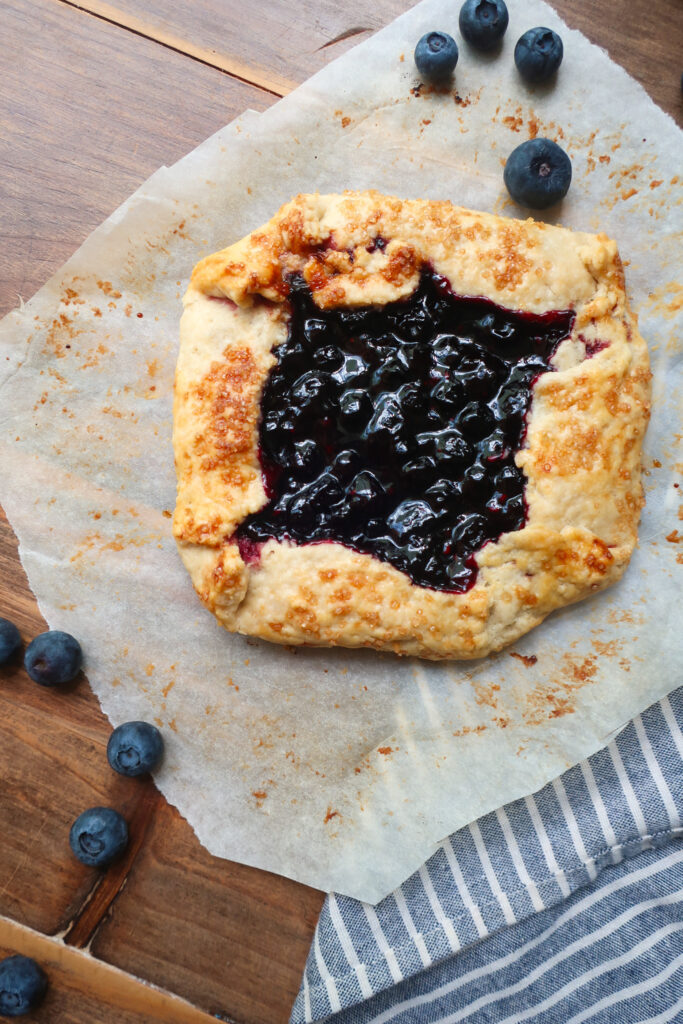
Preheat your toaster oven to 400°F. Once the dough is chilled, peel off the top sheet of parchment, replace it loosely, flip the dough over, and then remove the second sheet. Place the rolled dough—still on the bottom layer of parchment—onto the toaster oven’s baking tray. Spread the cooled jam into the center, leaving about a one-inch border around the edges. Gently fold the edges of the dough over the filling, leaving the center exposed.
In a small bowl, beat the egg with a splash of milk or water to make an egg wash. Brush this mixture over the exposed crust edges, then sprinkle with coarse sugar for a golden, crunchy finish. Trim any excess parchment paper so it doesn’t hang over the baking tray.
3 reasons you’ll love this toaster oven-friendly mini galette
TIPS & VARIATIONS
- Don’t like blueberries? No worries. You can swap in raspberries, strawberries, or even blackberries to make your jam. Note that because blueberries are low in natural pectin, which helps to thicken the jam, I’ve added some cornstarch. If you swap for another berry like the ones mentioned, you can omit the cornstarch. Just heat your jam until it reaches 220°F, so it sets properly.
- If you don’t want to make your own jam, just use ½ cup of your favorite pre-made jam!
- If your toaster oven doesn’t have a baking sheet, don’t fret. Place your prepped galette on a piece of foil and very gently transfer it to the rack in your toaster oven.
- Keep an eye on your galette as it bakes. Your heat source might vary depending on your toaster oven, so if you need to rotate your pan halfway through baking, do it!
- Make sure to trim off any excess parchment paper around your baking sheet before placing it in the oven. We’re not trying to start fires here.
- You can also make this recipe in a regular oven if you’re just looking for a small batch galette. Because of the more even heat distribution, your galette should bake faster. Begin checking around the 30-minute mark to gauge how much longer it might need to bake.
MAKING AHEAD & STORING
You can prep the dough for the crust in advance. It will keep in the fridge for up to three days or in the freezer for close to 3 months. If prepped in advance, once you’ve rolled it out, pop it back in the fridge to give that butter time to re-firm, before spreading on your filling.
The blueberry jam can also be made in advance. It will keep in the fridge for up to 3 weeks in or frozen for up to 6 months.
Once baked, your mini toaster oven galette should be stored in an airtight container (if you have leftovers). It will keep at room temperature for up to two days or in the fridge for around 5 days.
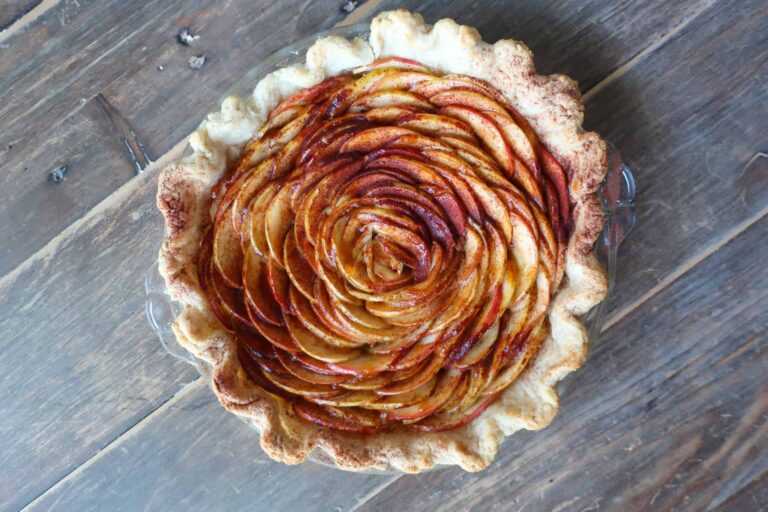
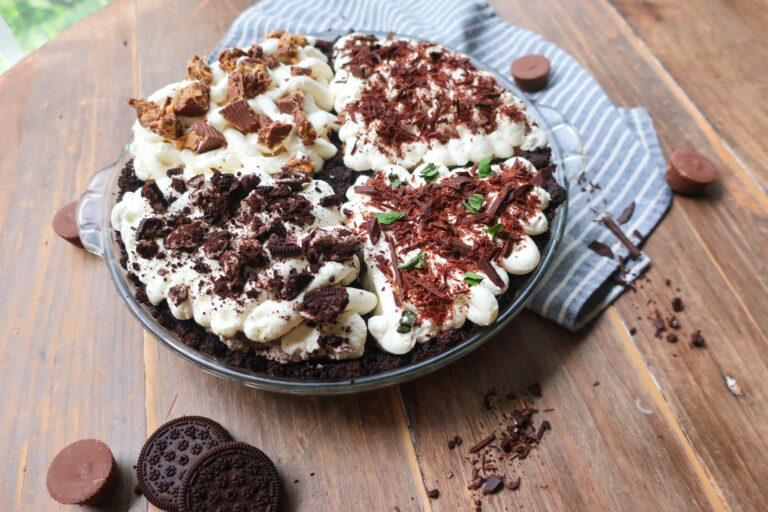
MORE SMALL-BATCH RECIPES
Pie crust, but make it savory? Try this Mini Mediterranean Quiche For something sweet and salty, this Black & White Popcorn is one of my go-to snacks! Looking for something bright and fresh? Try this single-serve Lemon Tart, with a sweet tart crust and fresh whipped cream.
EQUIPMENT YOU’LL NEED
Equipment
- Parchment Paper
- Rolling Pin
- Toaster Oven with Baking Sheet
- Pot
- Spatulas
- Mixing Bowls
- Measuring Cups
- Measuring Spoons
- Wire Rack
Ingredients
- 1 ¼ cup blueberries fresh or frozen
- ⅓ cup sugar
- 1 tbsp lemon juice
- 1 ¼ tsp cornstarch
- ½ cup all-purpose flour
- ⅛ tsp salt
- 3 tbsp unsalted butter cold and cubed
- 1 tbsp cold water
- 1 egg
- Coarse sugar optional for sprinkling
Instructions
- Start by making your jam. In a small pan, combine berries, sugar, and lemon juice. Place on the stove over medium-low heat, stirring occasionally. Note if you don’t want to make your own jam, just skip this step and use ½ cup of your preferred pre-made jam.
- Once the mixture begins to boil, sprinkle over your cornstarch if using and quickly mix it in. At this stage, you should be stirring constantly
- Continue to stir until it’s a thin jam consistency. Remove from heat and immediately pour into a heat-proof bowl. The jam will continue to thicken as it cools, so don’t cook it down too much!
- Allow to cool completely at room temperature (about an hour)
- For your crust, stir together your flour and salt in a medium-sized bowl. Add in your butter and rub together until it resembles coarse sand. Add in your cold water, stir, and start to compress with your hands to form a ball
- Roll into a circle between two sheets of parchment paper until ⅛” thick
- Cover your crust with the parchment paper and place it in the fridge for 15 minutes
- Preheat your toaster oven to 400°F
- Peel your parchment paper off the top of your dough, place back on, flip over, and peel off the other side of parchment paper. Place your rolled dough, with the parchment underneath, centered on the baking sheet for your toaster oven (not in the oven yet!)
- Spread your cooled jam into the center of your dough, leaving an inch rim. Fold your dough over the edge of your jam circle, leaving the center open
- In a bowl, beat your egg with a splash of milk or water. Brush your egg wash along the edge of your exposed pie crust. Sprinkle the crust with coarse sugar
- Trim away any excess parchment paper, so it doesn’t hang over the sheet in the toaster oven
- Bake your galette for 40-45 minutes until you have a golden crust and the filling is bubbling
- Remove and allow to cool on the pan for 10 minutes, before carefully moving to a wire rack to cool completely. Slice and enjoy!