How to Make a Spring Bunny Cake: Yellow Cake with Raspberry Buttercream
Every year, my family makes a bunny cake. Sometimes they are hideous (well, let’s be honest, most of the time they are hideous, and sometimes they are halfway decent – like the year we did a whipped cream frosting and a simple decor of fresh berries, loved her.
Last year, I made two bunny cakes. One that resulted in absolute hilarity with the ketchup and mustard color palette and overwhipped white chocolate ganache. And one that was a simple beauty covered in flowers and truly delicious (cause I made it with my favorite chocolate cake and vanilla buttercream).
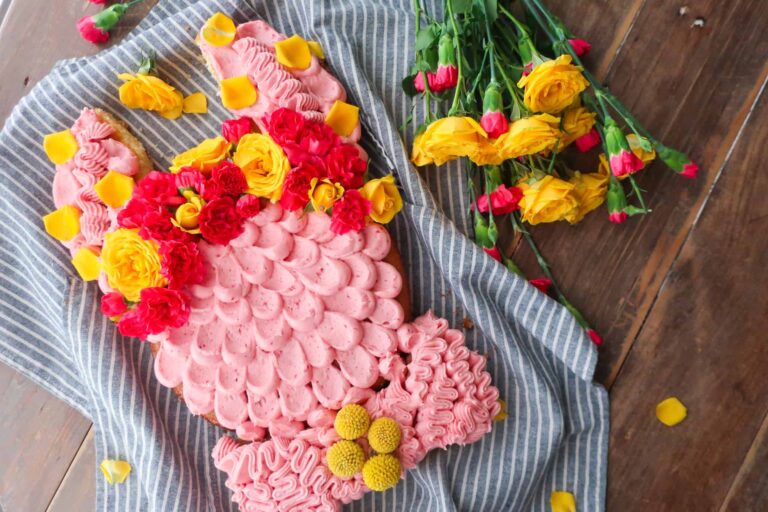
This year, I wanted a floral beauty again, but went with a “flower crown meets simple bow-tie moment” bunny and I have to say, it’s my prettiest spring bunny cake yet. I used a simple raspberry buttercream with a quick homemade puree and my classic yellow cake. I LOVE HER.
If you love this recipe, please rate and review it below and tag @accentgolden in your posts on social!


WHAT IS A BUNNY CAKE?
Some people are holiday people and some people are not. I am a holiday person, so any chance to celebrate most holidays – the fluffier the better – I’m gonna take it. For spring and, if you celebrate it, Easter, a bunny cake is a perfect way to sunshine-in the season.
The bunny is formed by baking two identical cake rounds – my recipe calls for 9-inch but you can play as you wish – cutting the ears and bowtie from one and then using the other, uncut round, as the face. Decorate as you please but over the years, I’ve found simple is best (especially if there are kiddos involved – but then also expect a big dose of chaos).
How do I make a bunny out of cake? After baking your two, 9-inch cake rounds, one of those rounds will act as the face, and the other will be cut to make your bowtie and ears. Grab a large sheet tray or board and place your uncut “face” towards the bottom, but not all the way. For your remaining cake round, cut it in the design of a tennis ball – one swoop of the top section, one swoop of the bottom. This will give you two ears, on top and bottom, surrounded by your bowtie. Your head will nestle right into the cut of your bowtie and the ears will go on either side of the head!


INGREDIENTS
- Flour: Structure, structure, structure
- Cornstarch: Gives a deliciously soft final texture
- Baking Powder & Baking Soda: Give your cakes their puff and rise
- Salt: Always there for taste balance
- Unsalted Butter: Adds flavor and air to your bake
- Granulated Sugar: Sweetens and provides some hold for your cake
- Eggs: Whole and just the yolks for structure, moisture, and that distinct color
- Canola Oil: Helps to yield a soft cake
- Mayo: Reduces the quantity of eggs while adding moisture (and no mayo flavor!)
- Vanilla Extract: A little flavor for your yellow cakes
- Buttermilk: The acidity in the milk aids the rise of the cakes
- Raspberries: Color and flavor for your buttercream
- Lemon Juice: Helps balance the flavors in the puree and thicken it as it cooks down
- Salted Butter: You can use unsalted, just add ⅛ tsp of salt if you do to make up for it!
- Powdered Sugar: A smooth sweetener for your raspberry frosting
- Edible Flowers: For decoration of course (and if you want to try a bite)
Are all flowers edible? Nope! Be sure to check if the flowers you are buying are either edible or at least safe to decorate a cake with, before using as a topper. Some safe classics are roses, pansies, marigolds, dandelions, daisies, and more!
HOW TO MAKE A SPRING BUNNY CAKE
Preheat your oven to 350°F and prep your cake pans by greasing and then lining with parchment paper. This will make it easy to get them out of the pans and save you from having any cake bits sticking to the edges!
Grab a bowl and whisk together your flour, cornstarch, baking powder, baking soda, and salt, then set it off to the side. In a large mixing bowl, cream together your butter and sugar for three minutes, until the mixture is fluffy and has lightened in color. This will add air to your cake for any even fluffier bake! Add in your eggs and yolks, mixing before adding your oil, mayonnaise, vanilla, and buttermilk. Pour your dry ingredients into your wet and mix until just combined!
Split your cake batter between your prepared cake pans, spreading evenly with a spatula to make for a smooth bake. Bake for 22-27 minutes or until a toothpick inserted into the center comes out clean. Be careful not to check your cakes too early, or risk the center deflating. Remove your cakes from the oven and allow them to cool in their pans for 10 minutes before transferring to a wire rack to cool completely.
For your raspberry buttercream, you’re going to start by making a quick raspberry puree. To a small pot, add your raspberries, lemon juice, and water and place over medium heat. Stir occasionally until the mixture simmers, smashing the raspberries with your spoon as they cook down. Once the mixture begins to simmer, reduce the heat to low and allow the mixture to reduce by half – you should be able to draw a line through the middle of your pot, and it can hold without the mixture running back together. Place a fine mesh sieve over a bowl and pour your mixture through it, pressing any remaining bits through to squeeze out all the goodness. Set aside and allow to cool completely before adding to your buttercream.
In a mixing bowl, beat your butter until smooth and then sift in your powdered sugar. Beat until combined before adding your cooled raspberry puree. Mix until just combined and then place ⅓ of the frosting into a piping bag with a 1D piping tip and the rest in a piping bag with no tip.
In a pot, make a quick, simple syrup – this will keep your cake moist and flavor it with a little lemon. Add your ingredients to a small pot and place over low heat on the stove. Whisk over the heat until the sugar has dissolved, then remove and set aside.
To create your bunny, place one of your cake rounds on a cutting board and cut out your ears and bowtie. To do this, at the bottom of your round, about a third of the way up, cut a line curving downward from one side to the other. Now you have one ear and the bottom of your bow tie! From the top of your round, about a third of the way down a line curving upward, from one side to the next. You should see two bunny ears (top and bottom of your round) and a bowtie in the middle. On a large cookie sheet or tray, place your bowtie at the bottom. Then, above the bow tie, fit your remaining 9-inch round that hasn’t been cut – this is your face! Lastly, place one of your bunny ears on either side of the face. Now you have your bunny!
Brush your bunny cake with the simple syrup. Decorate your bowtie and bunny ears with squiggles of frosting using the buttercream in the piping bag with the tip. Then pipe fluffy puffs onto your bunny’s face and decorate with flowers around the top of its head and the center of the bowtie. Slice and enjoy!


3 reasons you’ll love this cake
TIPS & VARIATIONS
- I used a 1D piping tip for the ribbons on the bowtie and ears, and then just cut the tip off my other piping bag to pipe dots along the face. For the dots, I piped a row and then used an offset spatula to swipe them up, before piping another row.
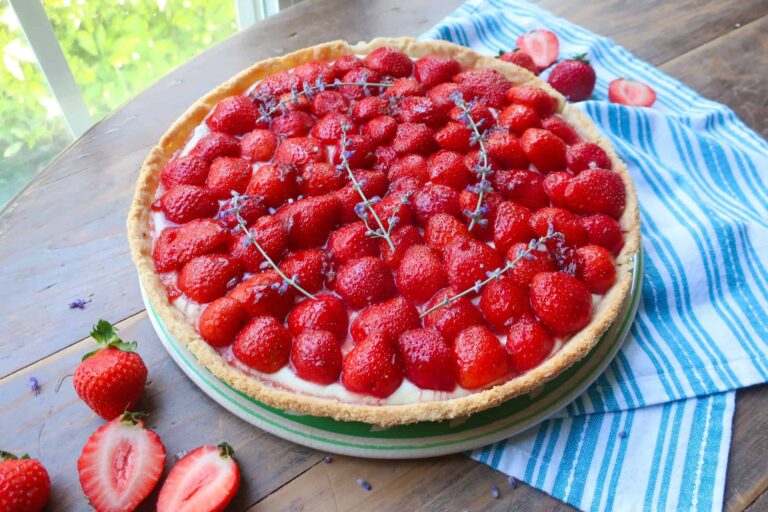
- If you prefer not to use flowers (and make a glorious flower crown) you can easily just decorate this cake with fruit, using a mix of raspberries, strawberries, or any fruit you wish. You could also make a little white chocolate ganache and make little frosting pools filled with white chocolate goodness
- My only decoration flag, mainly if you’re decorating with kids, is candy. Candy can be a great way to style your cake, but keep in mind that any flavors will transfer, so… gummy candy, gummy cake
- This cake and frosting combo is bomb, but if you have your own cake recipe or just a box cake, feel free to use what you have and simply follow the steps to shape the bunny!
- If you’re doing a partially “naked” cake like I did, make sure to spray your cake pans really well, especially in the corners. You want a smooth release, especially since your edges will be visible!
MAKING AHEAD & STORING
You can make your raspberry buttercream in advance and keep it in an airtight container in the fridge for up to a week or in the freezer for up to three months.
The decorated bunny cake will keep covered at room temperature for about two days. I would recommend removing the flowers before storing, as they can transfer an “earthy” taste to your cake – up to you!
MORE SPRING RECIPES
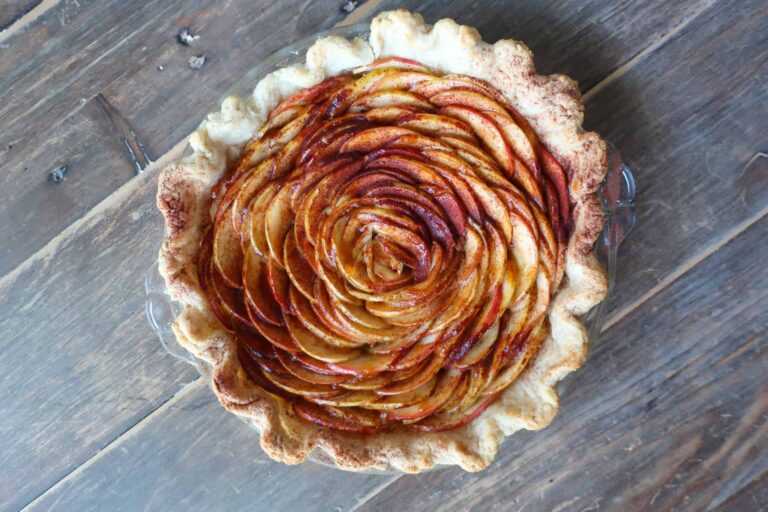
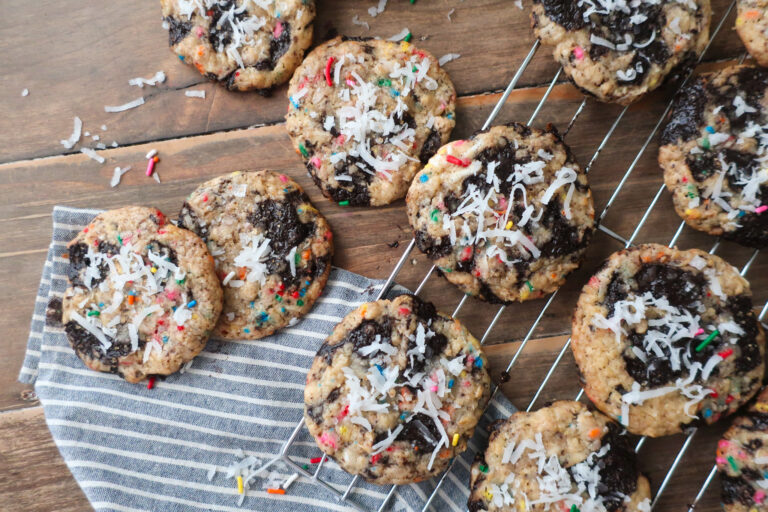
Because sprinkles and spring go hand in hand, go ahead and celebrate the season with these Rainbow Sprinkle Sandwich Cookies. For a sweet and fruity bite, try these Lemon Raspberry Thumbprint Cookies made with melt-in-your-mouth cookies and filled with homemade jam. Or, if you’re like me and forever obsessed with a fruit tart, make these Simple Orange & Lime Fruit Tarts!

Equipment
- Mixing Bowls
- Spatulas
- Hand or Standing Mixer
- Measuring Cups
- Measuring Spoons
- 2, 9-inch Round Cake Pans
- Wire Rack
- Fine Mesh Sieve
- 1D Piping Tip, option
- Piping Bags
- Offset spatula
- Pastry Brush
- Scissors
Ingredients
- 2 ¼ cups all-purpose flour
- ¼ cup cornstarch
- 1 ½ tsp baking powder
- ½ tsp baking soda
- ½ tsp salt
- ¼ cup unsalted butter softened
- 1 ½ cups granulated sugar
- 1 large egg room temperature
- 2 egg yolks room temperature
- ¼ canola oil
- 1 cup mayo
- 1 tbsp vanilla extract
- 1 cup buttermilk
- ¼ cup frozen raspberries fresh is fine too
- 1 tbsp lemon juice
- 1 tbsp water
- 2 cups salted butter room temperature
- 6 cups powdered sugar
- ¼ cup lemon juice
- ¼ cup sugar
- Edible flowers
Instructions
CAKE
- Preheat your oven to 350F and grease and line two 9-inch round cake pans with parchment paper
- In a bowl, whisk together your flour, cornstarch, baking powder, baking soda, and salt. Set aside
- In a separate large mixing bowl, beat your softened butter and sugar together for 3 minutes, until light and fluffy
- Add your eggs and yolks to the butter mixture and combine before adding in your oil, mayo, vanilla, and buttermilk
- Pour your dry ingredients into the bowl with your wet ingredients and mix until just combined, being careful not to overmix your batter
- Divide your batter evenly between your greased and lined cake pans and spread evenly with a spatula
- Bake for 22-27 minutes or when a toothpick inserted into the center of each cake comes out clean or with just a few moist crumbs
- Leave the cakes to cool in their pans for 10 minutes before removing them and allowing them to cool completely on a wire rack
BUTTERCREAM
- Start by making your raspberry puree. Add your raspberries, lemon juice, and water to a small pot and heat over medium heat until simmering. Once simmering, turn down to low and stir until you’ve reduced the liquid by half – you should be able to coat the back of a spoon and draw a line down the middle, without the liquid running back together. Pour through a small fine mesh sieve and set aside to cool
- In the bowl of a mixer, add your softened butter and beat until smooth. Sift in your powdered sugar and mix until combined before adding in your cooled raspberry puree. Beat until fully incorporated and place into a piping bag
SIMPLE SYRUP
- Place your ingredients into a small pot over low heat and whisk until the sugar dissolves. Remoe from the heat and set aside.
ASSEMBLY
- To form your bunny, place one of your cake rounds on a cutting board and cut out your ears and bowtie. To do this, at the bottom of your round, about a third of the way up, cut a line curving downward from one side to the other. Now you have one ear and the bottom of your bow tie! From the top of your round, about a third of the way down a line curving upward, from one side to the next. You should see two bunny ears (top and bottom of your round) and a bowtie in the middle. On a large cookie sheet or tray, place your bowtie at the bottom. Then, above the bow tie, fit your remaining 9-inch round that hasn’t been cut – this is your face! Lastly, place one of your bunny ears on either side of the face. Now you have your bunny!
- Brush your bunny cake with your lemon simple syrup and decorate as desired. I piped my frosting on top and decorated with flowers and petals
- Slice and enjoy!