How to Make a Bunny Cake
Almost every year, I make a bunny cake with my niece or nephew (sometimes both, if the chaos gods are at play). It’s a cute way to bring spring to your table and include the whole family in the flowery fun.
You can mix and match flavors as you please, as well as toppings, to make your own edible, furry… friend? I don’t know if we’d call it that since we’re about to smash our faces into it. Anywho, enjoy the spirit of spring with this delicious rabbit.
If you love this easy recipe, please rate and review it below and tag @accentgolden in your posts on social!
This website uses affiliate links, which may earn commission for purchases made at no additional cost to you.
WHAT IS BUNNY CAKE?
A bunny cake is more about the way you shape the cake than the actual taste. There are so many flavor varieties to choose from (see the tips section below for inspo)!
This cute spring cake is easily made from two baked cake rounds. One will act as your face, and the other will be easily cut into the ears and bowtie. Because every bunny needs a bowtie.
It’s the perfect cake to bring a group together, whether for a girls’ night or fun with kiddos!
How to shape a bunny cake: One of your baked cake rounds will make the face. The second, you’ll cut kind of like a tennis ball. A third down from the top, cut a curved line upward (like a smile). From the third up from the bottom, cut a curved line down (like a frown). Now you have two ears and a tie!
INGREDIENTS
- Frosting: Used to decorate your cake (where you can see it or to provide a base to stick your toppings)
- Baked Cake Rounds: Circles are key to creating the face, as well as cutting out the ears and bowtie
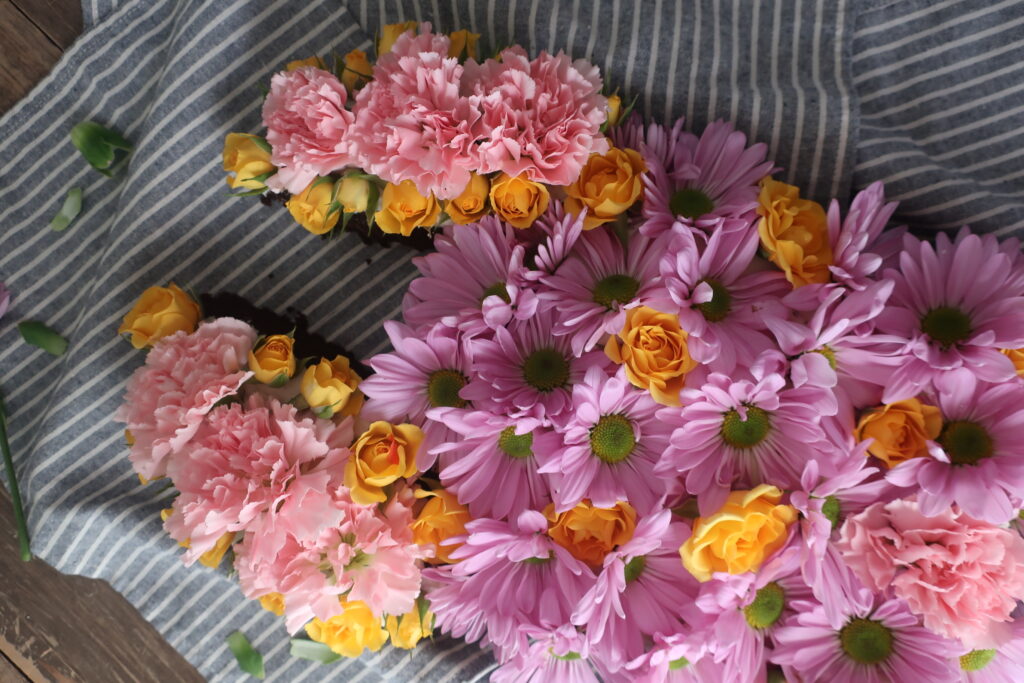
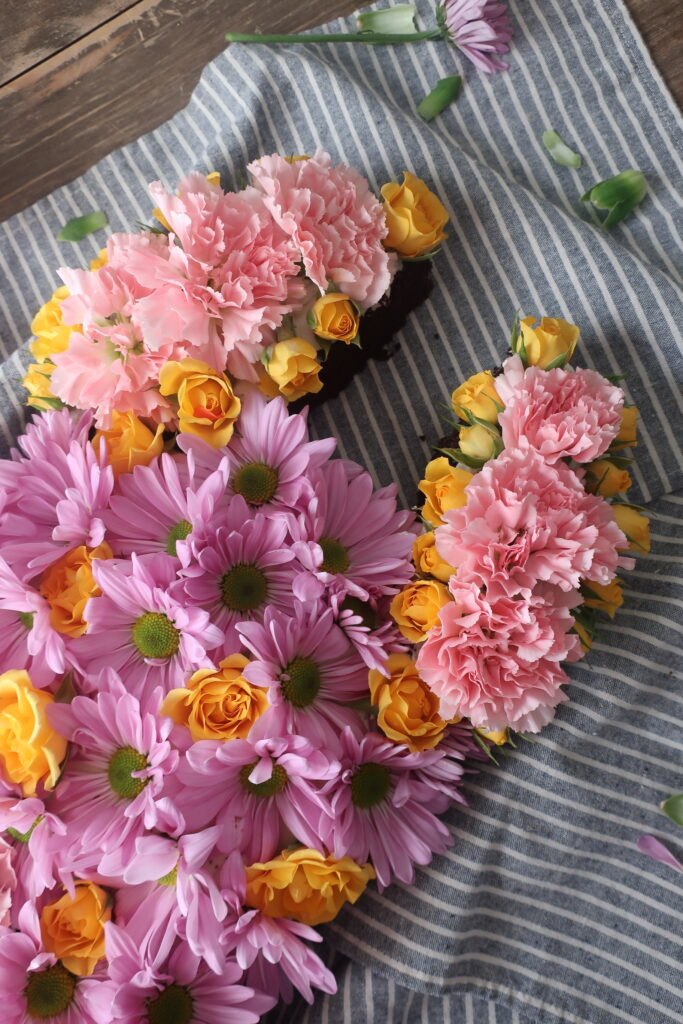
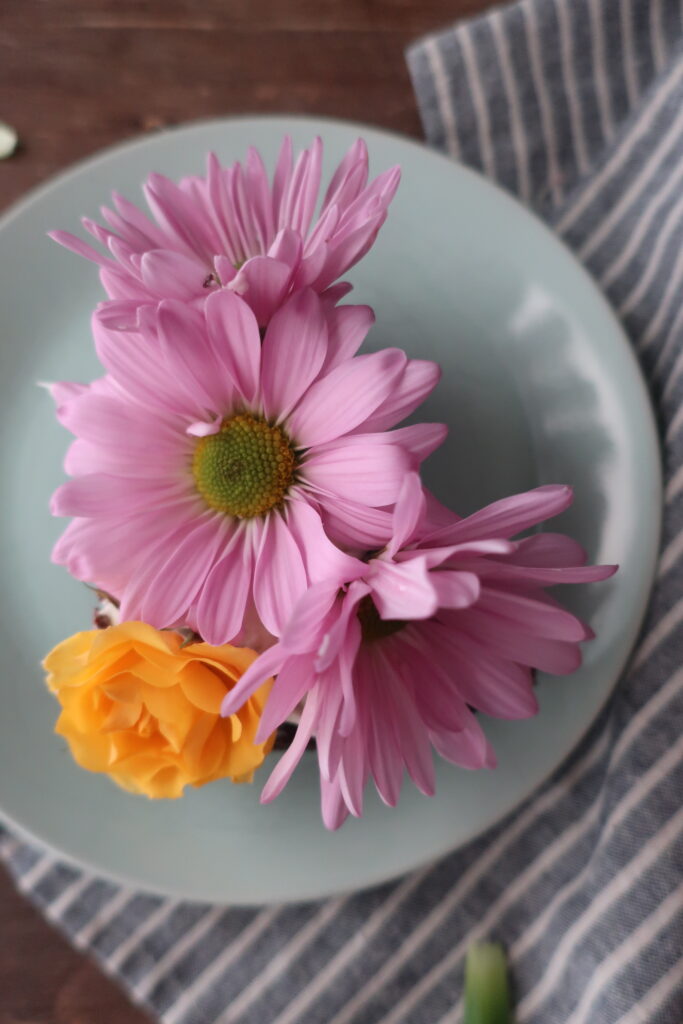
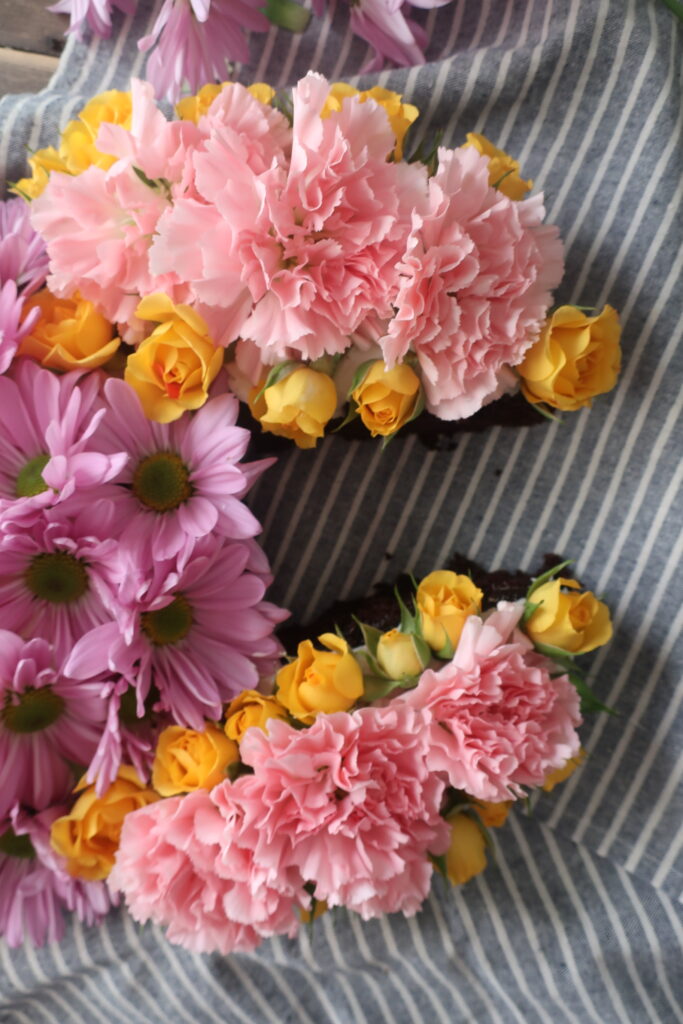
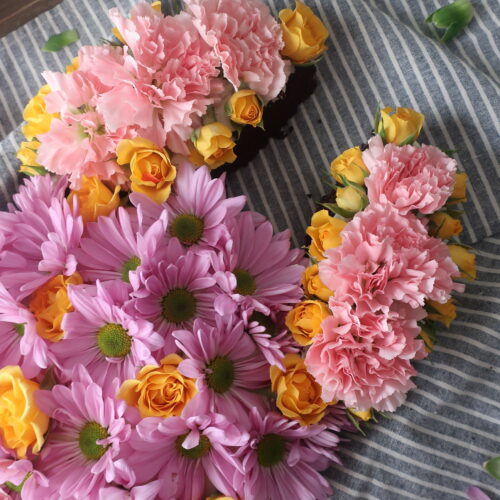
- Toppings: Anything from fruit to flowers or candies and chocolate, to bring your bunny to life
To decorate your bunny cake, flowers make for an easy but beautiful topping. Just make sure they are edible! You can also use chocolate (pieces or shavings), candy, or show off your piping skills with a flavored buttercream!
HOW TO MAKE THE PERFECT SPRING BUNNY CAKE
Place one of your cake rounds on a cutting board to create the bunny’s ears and bowtie.
At the bottom of the round, about a third of the way up, cut a curved line from one side to the other — this forms one ear and the bottom of your bowtie. From the top of the same round, about a third of the way down, cut another curved line from side to side to form the second ear and the top of the bowtie.
You should now have two bunny ears and a bowtie shape from your first cake round.
On a large cookie sheet or platter, place your bowtie at the bottom, then position the uncut 9-inch round directly above it to create the bunny’s face. Add one ear on each side of the face to complete the bunny shape.
Once your cake pieces are arranged, frost the entire bunny. Decorate however you like to bring your spring bunny cake to life!

3 reasons you’ll love this bunny cake
TIPS & VARIATIONS
- Allow your cake to fully cool before cutting out the bunny ears and bowtie. If you cut too early, you risk your cake being too fragile and falling apart.
- There are so many options for flavor combinations. I love a great chocolate cake with vanilla buttercream. This can easily be topped with sprinkles or fruit (or you can feel fancy and top with edible flowers).
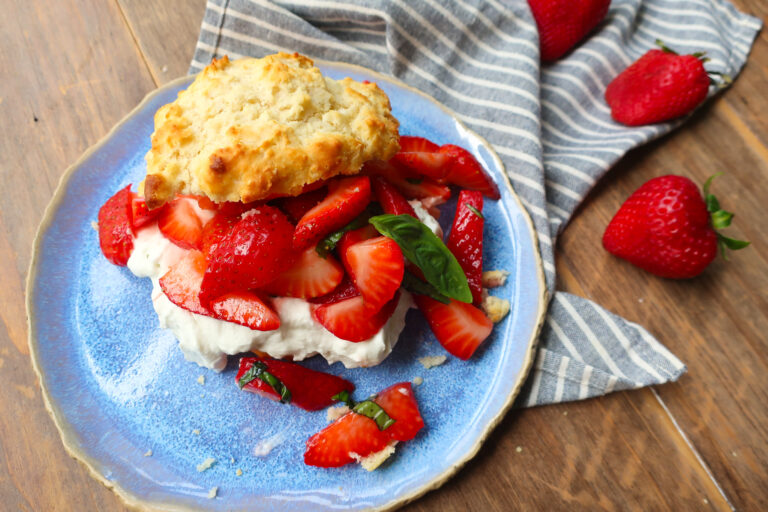
- Another crowd-favorite flavor combo is whipped cream with strawberries, blueberries, raspberries, etc. This works deliciously with a white or yellow cake.
- Heads up, plenty of kids want to decorate the cake with candy. While fun, keep in mind that those flavors are going to permeate the frosting so… prepare yourself for sour gummy buttercream.
- If you want to go the extra mile for your guests with varying preferences, make one cake round yellow and one chocolate!
- For another fun flavor, try this bunny cake made with yellow cake and homemade raspberry buttercream! As pretty as she is delicious.
MAKING AHEAD & STORING
You can make your cake and frosting in advance and freeze them accordingly until you’re ready to assemble your bunny cake.
Once assembled, storing your cake will depend on what toppings you used. If you used whipped cream or cream cheese frosting, your cake will need to be kept in the fridge. Topping with fresh fruit will also limit the shelf life of your cake.
MORE SPRING RECIPES
- Orange & Lime Fruit Tarts
- Easy Homemade Fruit Punch
- White Chocolate Raspberry Cheesecake
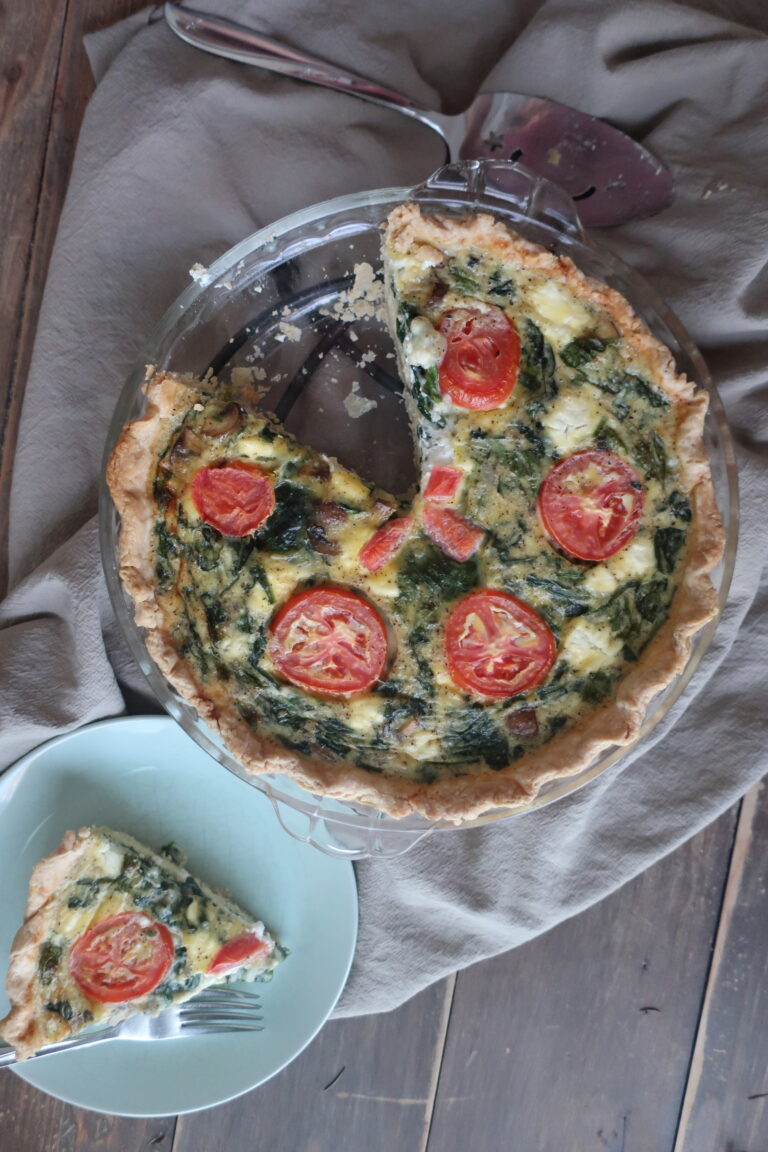
- Spinach & Feta Mediterranean Quiche
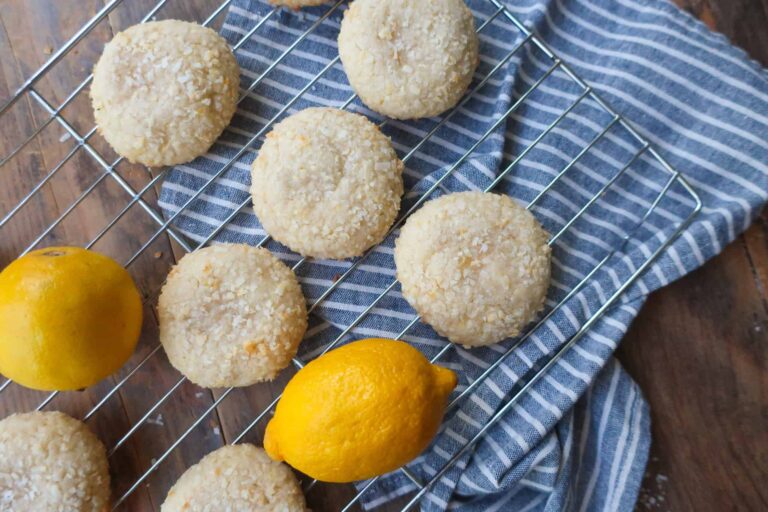
- Lavender Thumbprints with White Chocolate Raspberry Ganache
EQUIPMENT YOU’LL NEED
- 9-inch round cake pans (2)
- Large baking tray or platter
- Knife
- Spatula
- Cutting Board
Equipment
- 9-inch round cake pans (2)
- Large baking tray
- Knife
- Spatula
- Cutting Board
Ingredients
- 4 cups Frosting
- 2 9-inch Cakes baked and cooled
- Desired toppings
Instructions
- Place one of your cake rounds on a cutting board and cut out your ears and bowtie. To do this, at the bottom of your round, about a third of the way up, cut a line curving downward from one side to the other. Now you have one ear and the bottom of your bow tie! From the top of your round, about a third of the way down a line curving upward, from one side to the next. You should see two bunny ears (top and bottom of your round) and a bowtie in the middle.
- On a large cookie sheet, place your bowtie at the bottom. Then, above the bow tie, fit your remaining 9-inch round that hasn’t been cut – this is your face! Lastly, place one of your bunny ears on either side of the face. Voila! You’ve made a rabbit head!
- From here, frost your cake and decorate as desired!