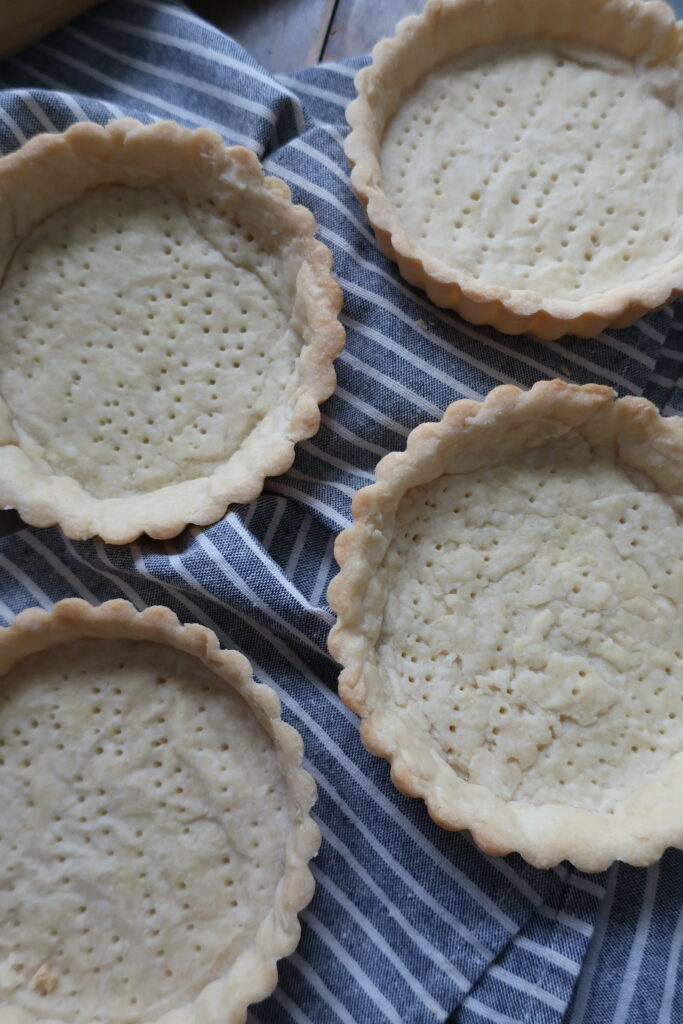
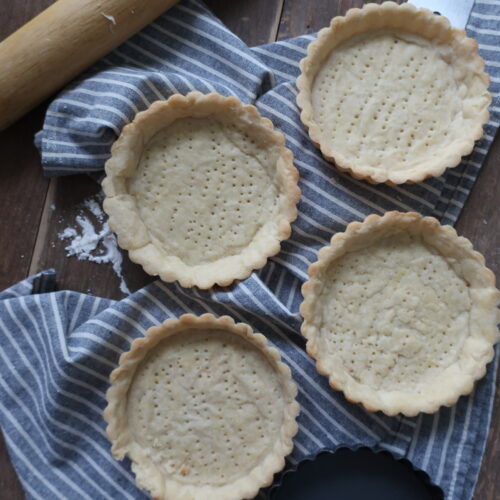
Pâte Sablée Recipe (Sweet Tart Crust)
It’s hard for me to walk past a pastry case in general, but one containing tarts and pies? Nearly impossible. With this pâte sablée recipe, you’ll notice a difference between this French crust and others. It’s more cookie-like, almost like a buttery sugar cookie in tart form. Amazeballs right?
This recipe is the perfect base for your pies, fruit tarts, or, honestly, just to bite directly into out of the oven (cooled, of course, we’re not animals). Take your time with it – rub that butter in – and respect the process. You’ll be rewarded with melt-in-your-mouth crust at the end, I promise.
If you love this recipe, please rate and review it below and tag @accentgolden in your posts on social!
This website uses affiliate links, which may earn commission for purchases made at no additional cost to you.

WHAT IS PÂTE SABLÉE?
Pâte sablée is a classic French tart crust. It’s a sweet pastry dough that, when baked, results in a tender, crumbly, almost cookie-like texture. Before the dough comes together, you’ll get a sand-like consistency, hence the name, which translates to “sandy dough.”
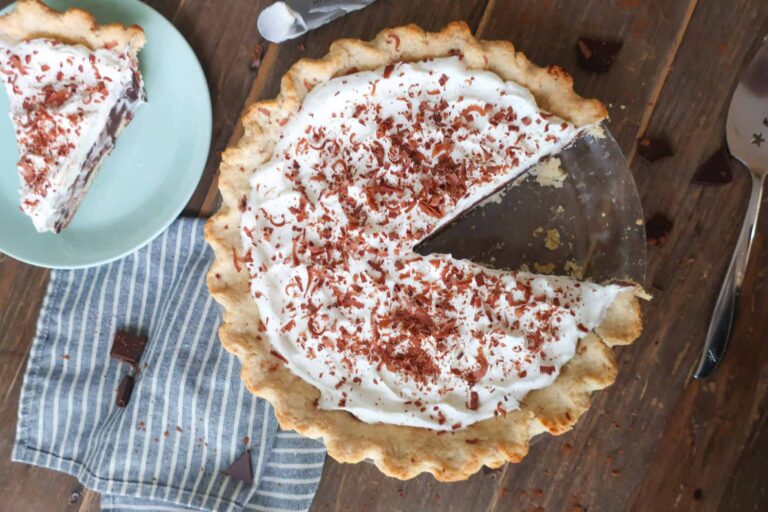
The dough itself is made tender and delicious through lots of butter, and lightly sweetened with sugar. You’ll find this tart crust as the base for delicious fruit tarts, chocolate toffee tarts (like this one!), and more. Unlike traditional pie crust, pâte sablée has a firmer hold and is less typically flaky.
Why do you smear the dough when forming it? This is called the fraisage technique. Instead of cutting the butter into the dough, you smear it into thin layers. This helps not only to fully hydrate the dough but also to create thin pockets of steam as the crust bakes.
INGREDIENTS
- Unsalted butter: adds richness and creates a tender, crumbly texture
- Powdered sugar: sweetens the dough and gives it a smooth, delicate crumb
- Egg yolk: enriches the dough and helps bind the ingredients
- Egg (for brushing): optional; adds shine and a golden finish to the baked crust
- Salt: enhances overall flavor and balances the sweetness
- All-purpose flour: forms the structure of the pastry
- Coarse sugar (optional): adds crunch and a decorative finish when sprinkled on top
How do I know when to stop mixing my dough? Once there are no more dry spots, your dough is ready. You don’t want to overwork it, as this will make the dough’s texture tougher once baked.
HOW TO MAKE PÂTE SABLÉE
Start by stirring the dry ingredients together in a bowl. Add the butter, toss to coat, then rub it into the mixture with your fingers until it resembles fine sand. Add the beaten egg yolk and cut it in with a dough scraper. Begin gently pressing the mixture together, then transfer it (including any remaining dry bits) onto your work surface.
Using a smearing technique (fraisage), smear small portions of dough outward with the scraper and pull them back in. Repeat until the dough comes together with no dry spots. Form into a rough ball, place between folded parchment paper (about 12–13 inches wide), and roll into an 11-inch circle. Chill flat for 30 minutes.
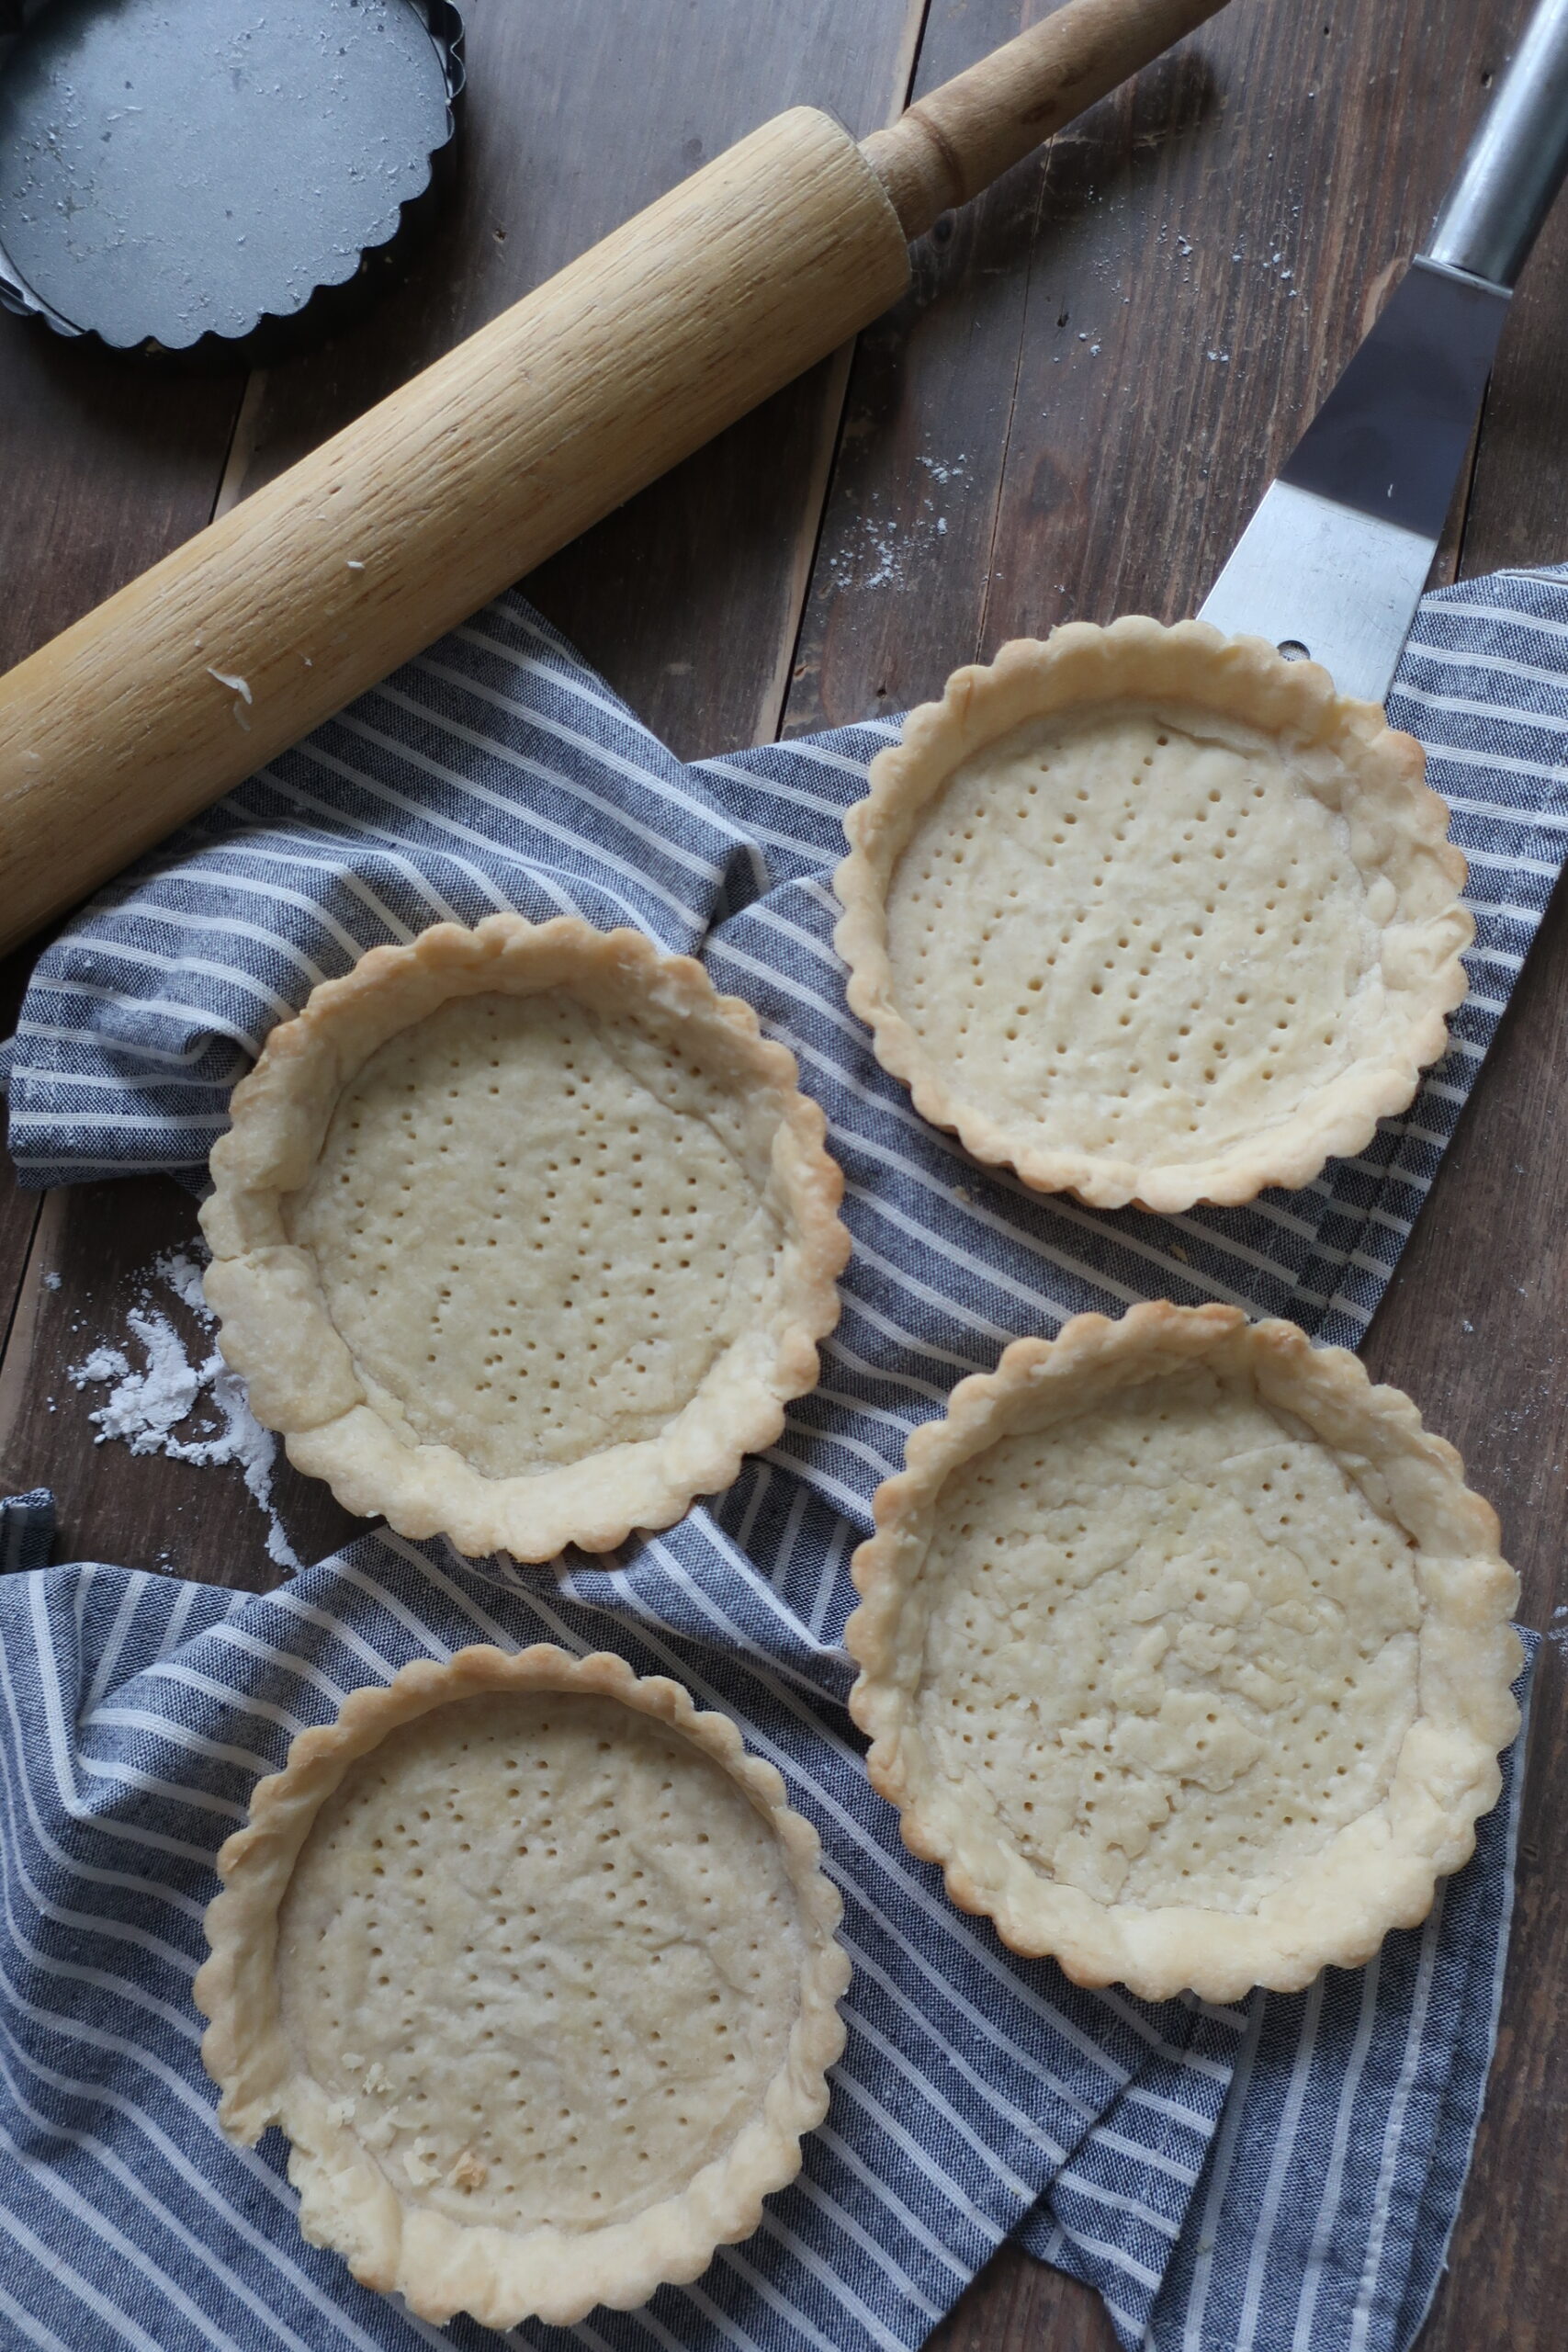
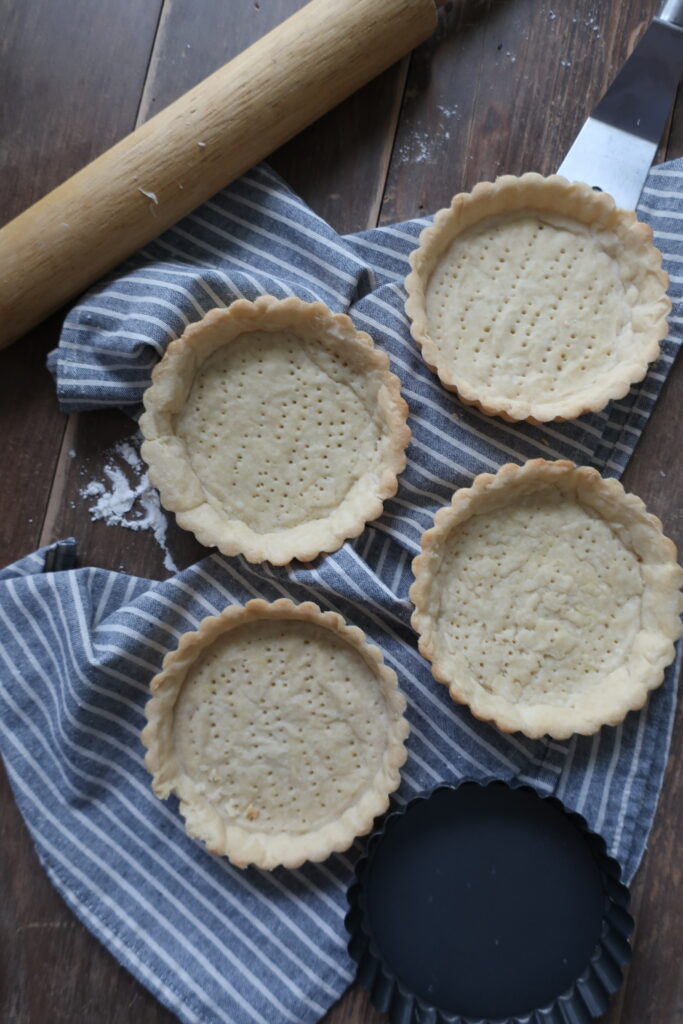
For smaller pies, grease and flour your tart pan(s). Then invert your tin(s) over the dough and cut to shape, leaving a bit of overhang. Fit the dough into the tin, using a floured scrap of dough to press evenly into the edges. Trim excess with a rolling pin and prick the base with a fork. Chill again for 10 minutes.
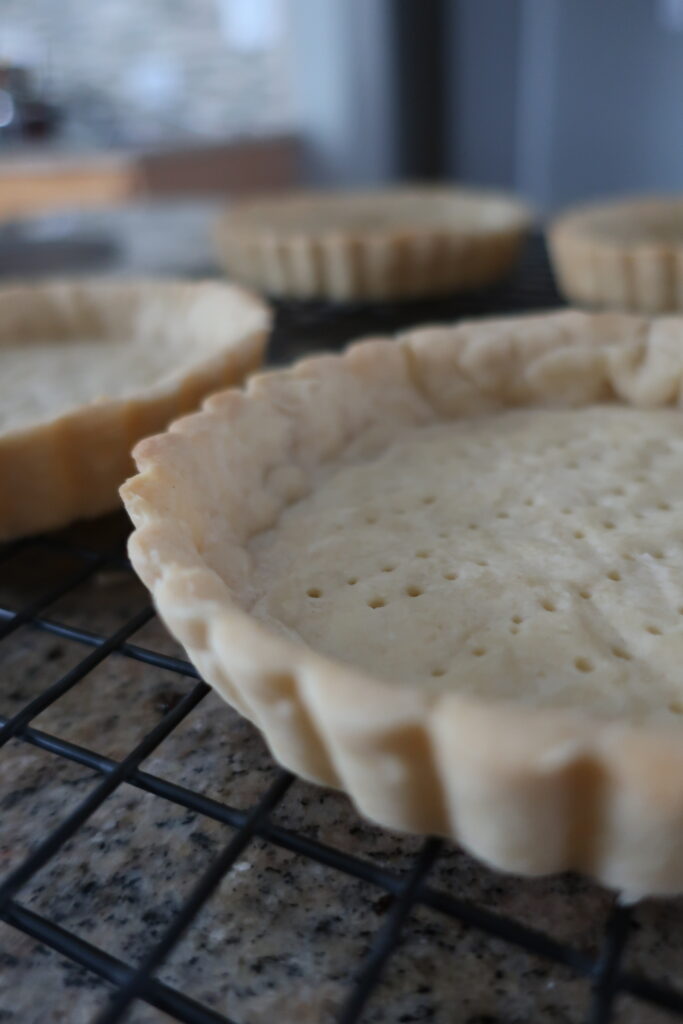
Preheat the oven to 320°F (convection) with a cookie sheet inside. Once hot, place your tart on the sheet. Line the crust with crinkled parchment paper and fill with baking weights or uncooked rice/beans. Blind bake for 11–13 minutes, until the edges begin to brown.
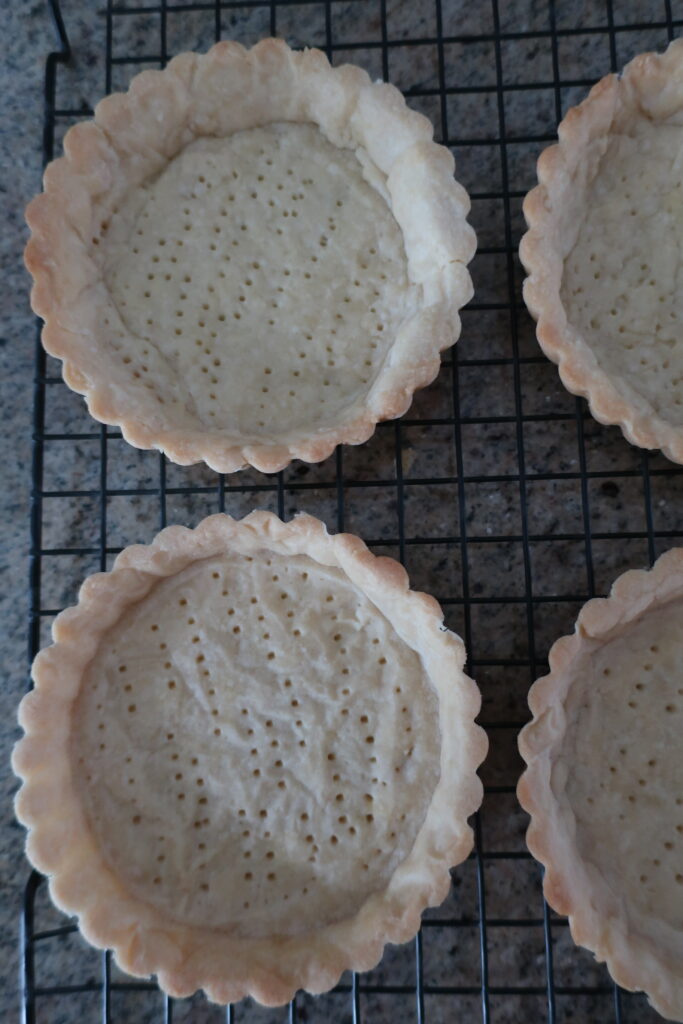
If baking again with filling, remove the weights and bake 4 more minutes. Let it cool, then remove from the tin by placing it over a small, stable object and sliding the ring off. Lift the base carefully.
If only baking once, remove the weights and bake 5–10 more minutes, until the center is golden. For filled tarts, let the crust cool before adding filling and baking per your recipe.
3 reasons you’ll love this sweet tart crust
TIPS & VARIATIONS
- Chill time is very important when working with any type of tart or pie crust. This ensures that the dough is both properly hydrated as well as able to hold up in the oven. If your dough is not cold before being placed in the oven to bake, it will likely lose it’s structure and melt faster than it can bake.
- For extra flavor, your can add in fresh or dried herbs to your dough. I recommend mixing them in with the dry ingredients, before adding your butter. This will ensure the herbs are evenly dispersed throughout.
- Greasing and flouring your tart pan(s) will ensure an even bake and clean removal once baked. The grease provides a nonstick barrier while the flour acts to both prevent sticking and to absorb any excess grease from the crust.
- Don’t roll your dough too thin! As you shape your dough, make sure it is rolled evenly throughout and to no more than an 11″-inch circle. If too thin, it will be hard to shape into your pan without breaking, and will burn more easily as it bakes.
MAKING AHEAD & STORING
If making in advance, your pâte sablée dough should be wrapped tightly in plastic wrap and can be placed in the fridge for up to 5 days. It can also be frozen for up to two months.
Once baked, your sweet tart crust should be wrapped up tight and can last at room temperature for a few days or frozen for up to three months.
MORE TART CRUST RECIPES
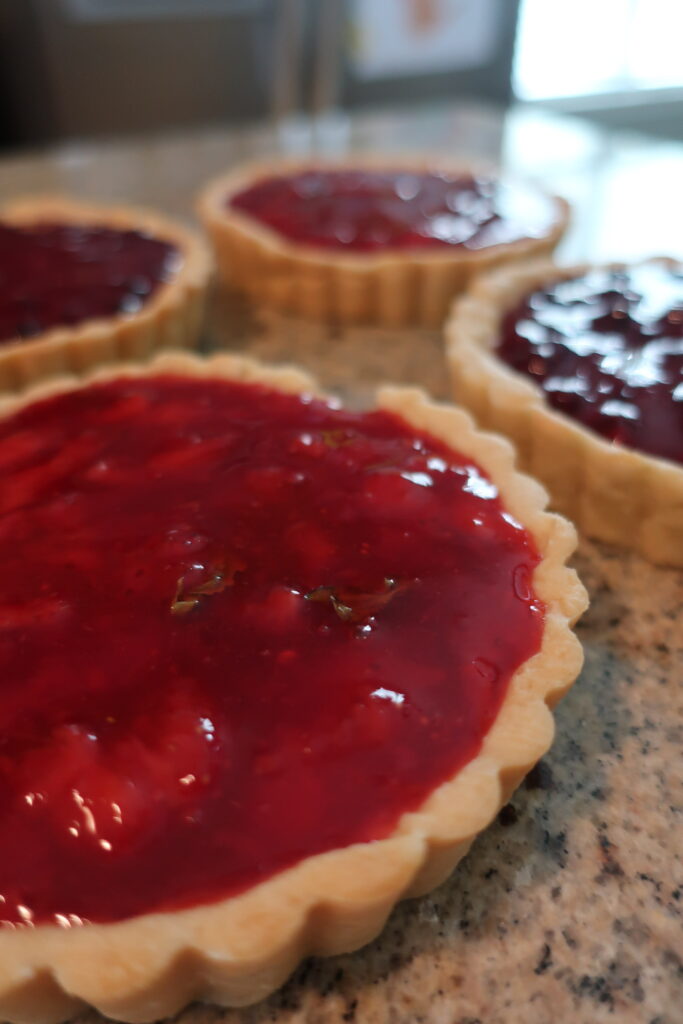
Perfect for strawberry season (or with frozen fruit), try this gorgeous Strawberry-Basil Tart. If you’re more of a blueberry fan, this simple Blueberry Tart hits all the right cravings. If you love an individual-sized tart, try these Orange & Lime Fruit Tarts!
EQUIPMENT YOU’LL NEED
- Mixing Bowl
- Dough Scraper
- Fork
- Parchment Paper
- Rolling Pin
- 4.5-inch tart pans or 9-inch tart pan
- Pie weights or baking beans/rice*
Equipment
- Mixing Bowl
- Dough Scraper
- Fork
- Parchment Paper
- Rolling Pin
- 2 4.5-inch pans or one 9-inch pan
- Pie weights or baking beans/rice*
Ingredients
- 8 tbsp unsalted butter slightly soft but firm
- ⅓ cup powdered sugar
- 1 large egg yolk beaten
- 1 egg beaten for brushing crust, optional
- ½ tsp salt
- 1 ¼ cups all-purpose flour
- Coarse sugar for top crust sprinkling optional
Instructions
- Place all dry ingredients in a bowl and give them quick stir to combine.
- Add butter*, gently stir to coat. Rub the butter through the dry ingredients to combine until fine, sand-like consistency.
- Add beaten egg yolk and cut through mixture with dough scraper.
- Gently compress dough with dough scraper to begin to bring it together into a ball, then dump the dough and any “dust” onto your work surface.
- Using a smearing technique, gently smear out a few sections with dough scraper – pushing section out – and then scrape back together, towards dough ball. Keep an eye on your dough, once there are no more dry spots stop mixing.
- Gently form your dough into ball of sorts and place between a folded piece of parchment paper (roughly 12-13 inches wide when folded) and roll into an 11-inch* circle.
- Refrigerate dough for 30 minutes. Make sure it lays flat!
- If doing smaller pies, first grease and flour your tart pan(s).Then invert tin(s) onto dough and cut to shape, leaving some excess to fit around rim.
- Lightly loosen edges of the dough so it fits into mold. Use a bit of excess dough with a little bit of flour to gently press dough into edges, making sure the dough is a consistent thickness throughout.
- Use a rolling pin to roll off any excess dough from the rim. Press in any thick spots remaining.
- Fork dough at the bottom of the tin and place back in the fridge for another 10 minutes. Bring together and re-roll any excess dough, if making smaller tarts
- Place a cookie sheet in the oven and preheat to 320F CONVECT.
- Once the temperature is reached, remove the cookie sheet and place the pie(s) onto it. Crinkle a bit of parchment paper and lay it into the the pie tin(s), then fill with rice/baking beans and gently even out.
- Place the cookie sheet with pie(s) on top back into the oven on a rack placed in the top third. Blind bake for 11-13 minutes, until edges just begin to brown.
- If baking again with a filling: Gently to avoid tearing, remove weights/beans/rice and return to oven another 4 minutes. Cool completely and then remove the crust from the tart pan. Simply place the pan over a stable circular object, smaller than the rim of the pan (for example, an inverted glass for a small tart pan) and gently push the rim of the tin down to release. Use a knife or your fingers to remove the base of the tin from the bottom of your crust.
- Once you’re ready to add your filling, pour it into your cooled shell and let the filling sit and “dry” before adding any desired toppings (raw top crust/streusel). Then finish baking per filling instructions.
- If only baking once: Remove weights/beans/rice and return to oven for another 5-10 minutes until center of crust is nicely golden in color.