Single-Serve Mint Chocolate Tiramisu (Easy Dessert for One)
Since more people than not seem to love tiramisu, and chocolate and mint are flavor bffs, I figured, let’s make a single-serve mint chocolate tiramisu for people who just want a treat, all for themselves. Late-night cravings satisfied!
I wasn’t always a tiramisu fan, but after someone suggested I try a fruit version, I fell in love with this Very Berry Tiramisu, and now I’m hooked.
P.S. If you’re looking for more single-serve desserts, try my Drop Biscuit with Cinnamon Plum Compote or Spiced Poached Pear with Streusel & Creme Anglaise!
If you love this recipe, please rate and review it below and tag @accentgolden in your posts on social!
This website uses affiliate links, which may earn commission for purchases made at no additional cost to you.

SINGLE=SERVE MINT CHOCOLATE TIRAMISU
This recipe is a twist on two classics (tiramisu and chocolate + mint). The result is a single-serve sweet treat with delicious texture in every layer.
You’ll whip together homemade chocolate lady fingers (I promise they’re not as intimidating as they sound). Then dip them into your favorite hot cocoa before layering with a minty whipped cream filling and topping with the classic dusting of cocoa powder.
Get to getting yourself a perfect chocolatey-mint sweet treat!
What are lady fingers? With a texture between a cake and a cookie, lady fingers are a light and airy sponge cookie, made with just a few ingredients. The key is to whip air into them, which is what gives them their structure to pipe and bake.
INGREDIENTS
- Egg: creates structure and lift in the homemade chocolate lady fingers.
- Granulated sugar: sweetens the lady fingers while creating a light texture.
- All-purpose flour: provides structure and stability to the sponge-like cookies.
- Cocoa powder: adds rich chocolate flavor to both the lady fingers and topping.
- Coarse sugar: adds a light crunch to the tops of the lady fingers.
- Hot cocoa mix: enhances the chocolate flavor and softens the lady fingers.
- Fresh mint leaves: add that fresh mint flavor.
- Whipping cream: creates a light, fluffy filling and classic tiramisu texture.
- Cream cheese: adds rich tanginess and stability to the whipped filling.
- Powdered sugar: sweetens the filling while keeping it smooth and creamy.
I overmixed my lady finger batter. Can I still use it? Yes! Overmixing happens to the best of us, and while your batter might be a little looser, which will result in wider lady fingers when piped, they’ll still bake up fine. Remember, they’re hidden in layers, so no one will see them!
HOW TO MAKE SINGLE-SERVE MINT CHOCOLATE TIRAMISU
Make your homemade chocolate lady fingers…
Preheat your oven to 356°F convection and line a baking tray with parchment paper. Separate your egg, placing the white in a large bowl and the yolk in a separate bowl.
Using a mixer, beat the egg white until frothy, then gradually add most of the granulated sugar one-third at a time, mixing well between each addition. Continue whipping until stiff peaks form, and the mixture is glossy.
Add the remaining sugar to the egg yolk and whisk for about 1 minute, until pale and creamy. Gently fold the yolk mixture into the whipped egg whites with a metal spoon, being careful not to deflate the batter.
Sift the flour and cocoa powder over the mixture and carefully fold until just combined. Transfer the batter to a piping bag or zip-top bag with a small corner snipped off.
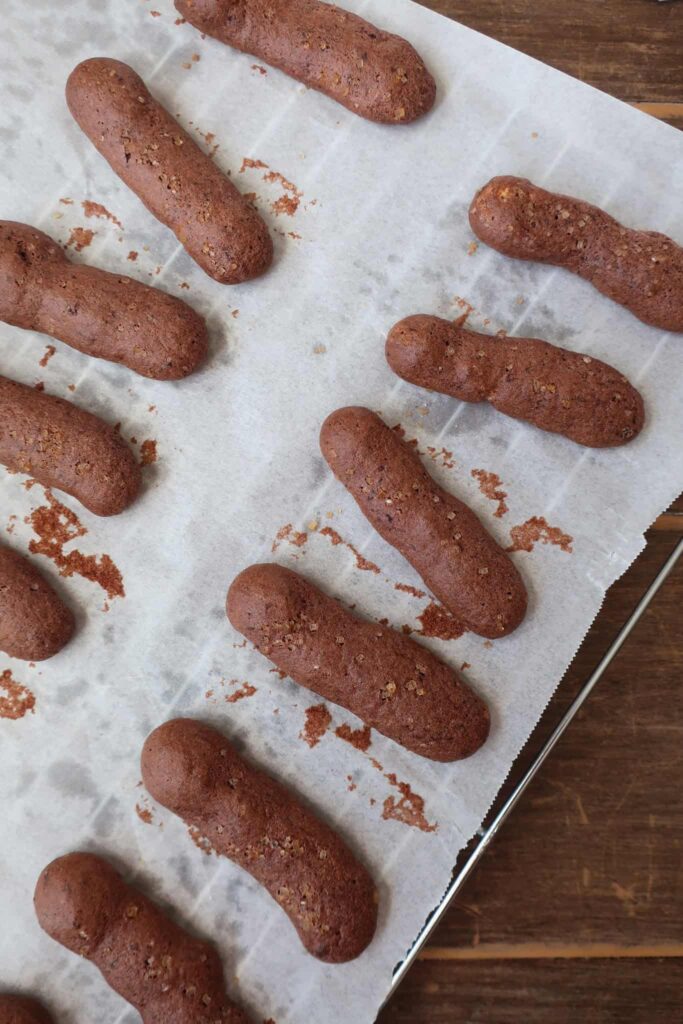
Pipe half-inch-wide lady fingers about 3–4 inches long onto the prepared baking tray, leaving a little space between each one. Sprinkle the tops with coarse sugar for a delicate crunch and lightly crisp finish.
Bake the chocolate lady fingers for about 8 minutes, or until lightly puffed and dry to the touch. Slide the parchment paper onto a wire rack and allow the cookies to cool completely.
To make the mint whipped filling and cocoa soak…
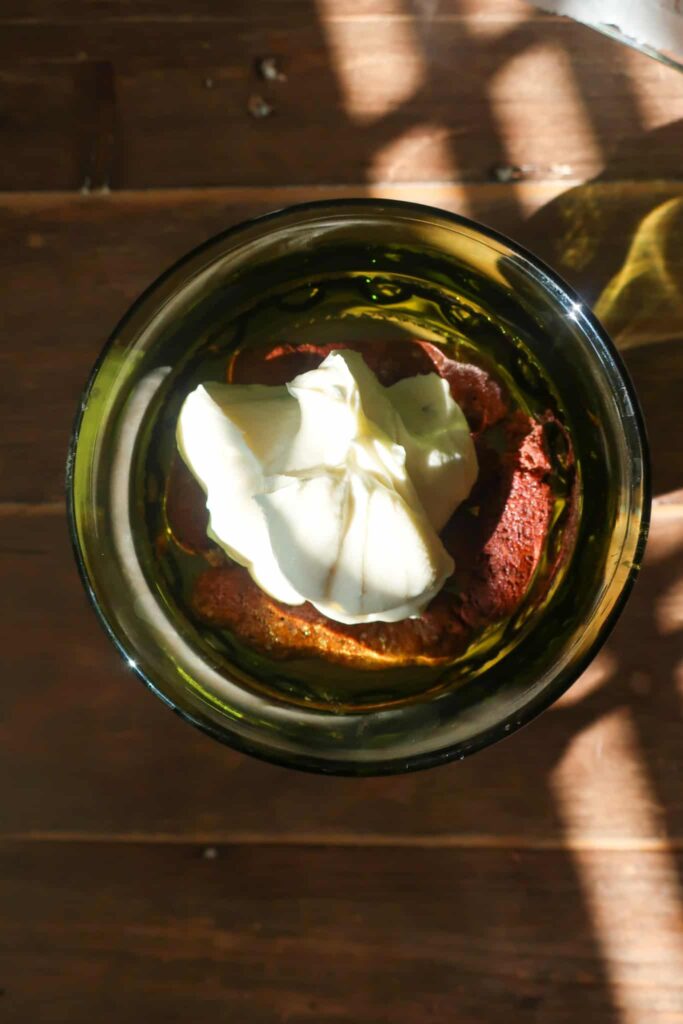
Beat the cream cheese in a medium bowl until smooth and creamy. Add the whipping cream and sifted powdered sugar, then whip until light and fluffy.
Fold in the chopped fresh mint leaves and give the mixture one final quick mix to evenly distribute the mint flavor. Set aside while you prepare the cocoa soak.
Pour the hot cocoa mix into a small bowl and prepare it with half the amount of warm water listed on the packet instructions.
Assemble your mint chocolate tiramisu for one…
Dip half of the chocolate lady fingers into the cocoa mixture one at a time, then arrange them in an even layer in the bottom of your serving dish. Break the cookies as needed to create a snug layer.
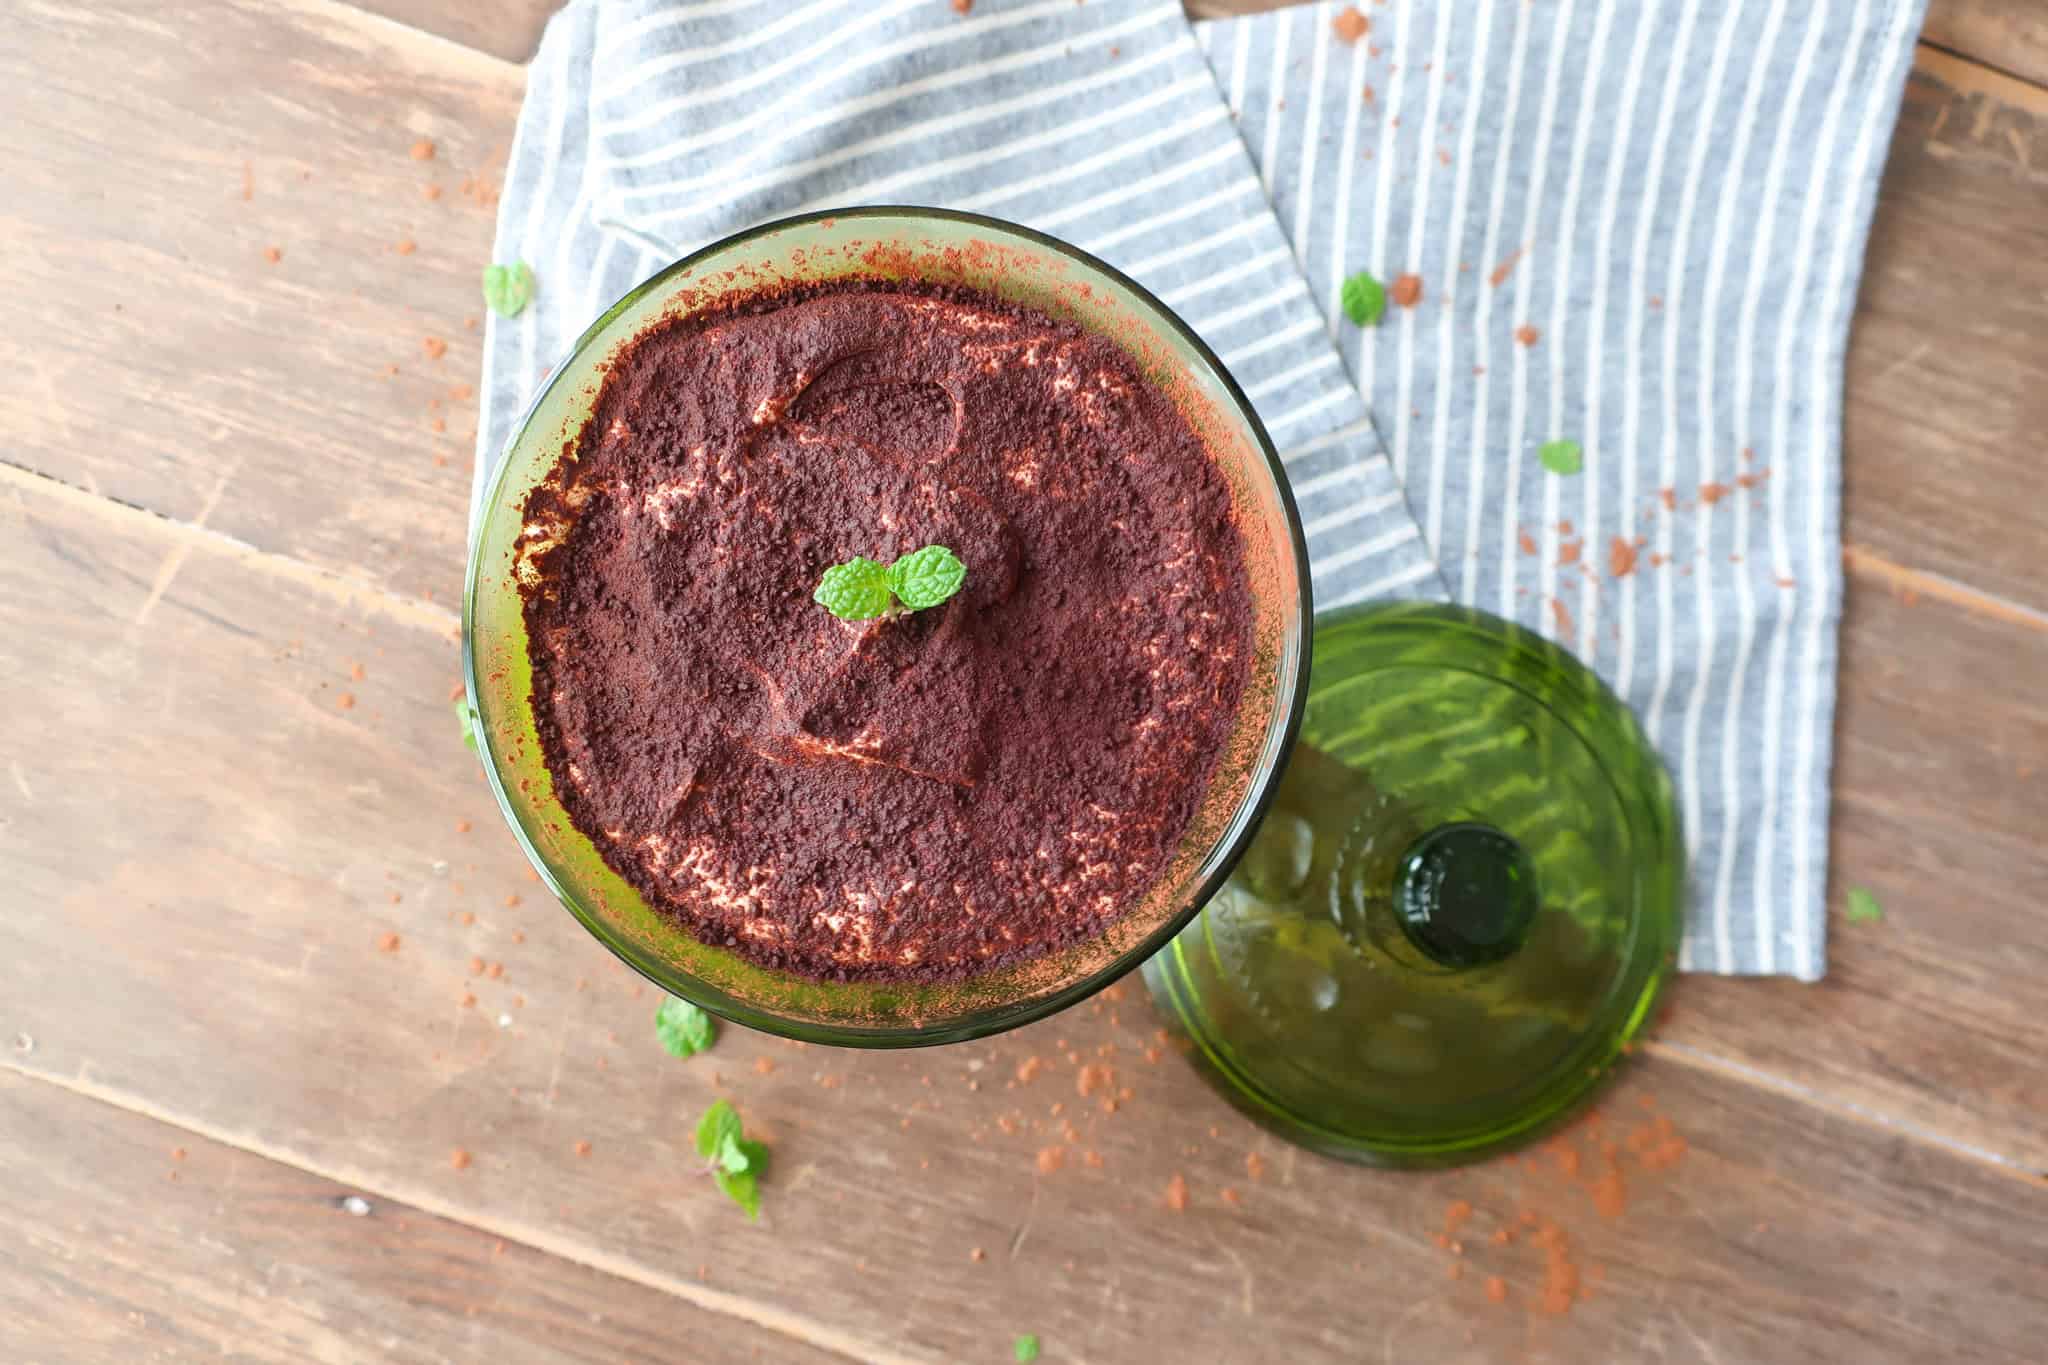
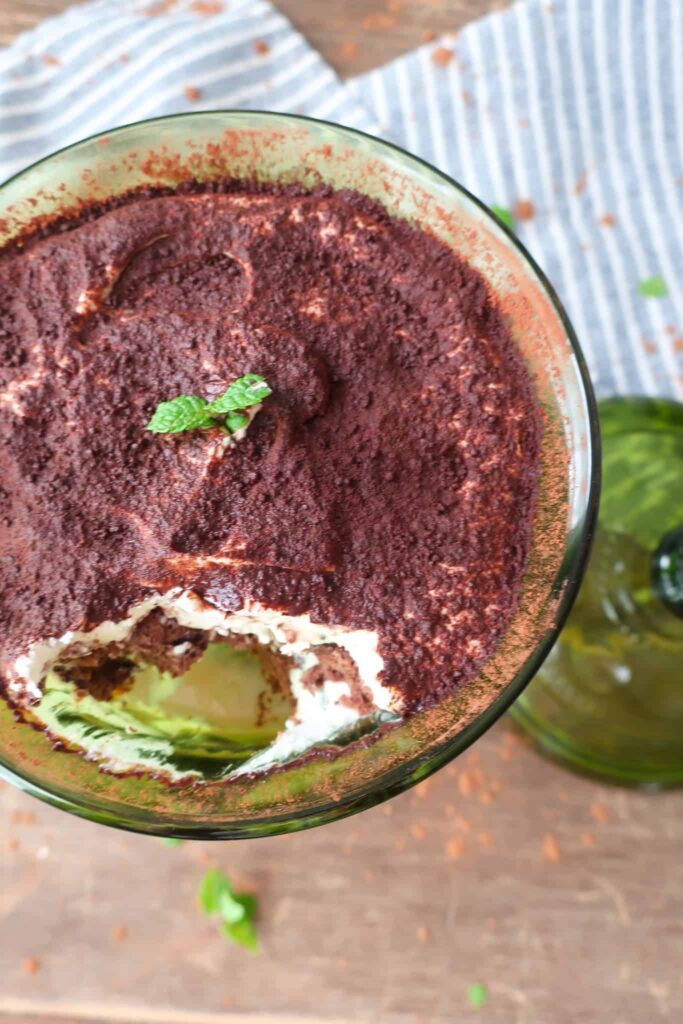
Spread half of the mint whipped filling over the soaked lady fingers, then repeat with another layer of dipped cookies and the remaining filling. Finish with the whipped filling on top for a classic tiramisu-style presentation.
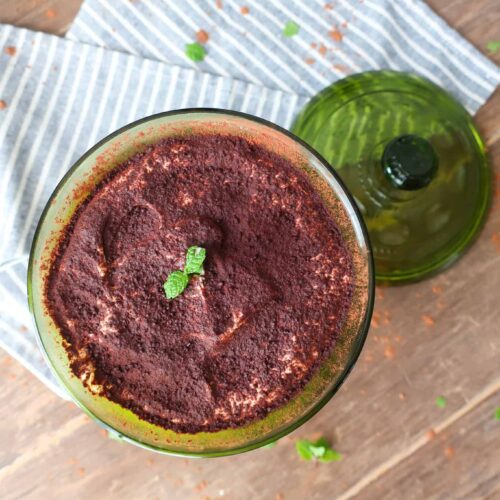
Lightly dust the top with cocoa powder, then cover and refrigerate the single-serve mint chocolate tiramisu for at least 2 hours before serving. Chilling allows the layers to soften and the flavors to meld together deliciously.
3 reasons you’ll love this single-serve mint chocolate tiramisu
TIPS & VARIATIONS
- Lady fingers are thin sponge cookies. This means they need all the air they can get for the perfect puffy bake. Be careful as you mix in your ingredients to avoid knocking out any excess air!
- That being said, if you overmix your chocolate lady fingers, it’s OK. You can still bake with them. They’ll likely just spread more when piping and bake a smidge flatter. You’ll never know once you hide them in the layers!
- If you don’t have fresh mint leaves, you can substitute 1/8 tsp of mint extract. Mint extract is POTENT, so be very careful not to add too much.
MAKING AHEAD & STORING
You can prep your chocolate lady fingers the day before. Just store them in an airtight container at room temperature before you’re ready to assemble.
Once assembled, your single-serve mint chocolate tiramisu should be stored covered in the fridge. It will keep for up to 3 days!
MORE LAYERED DESSERT RECIPES
- No Bake Key Lime Graham Cracker Dessert
- Cherry Pie Cake with Lattice Crust
- Chocolate Eclair Cake
- Homemade Black Forest Tiramisu
- No Bake Mint Chocolate Bars
EQUIPMENT YOU’LL NEED
Equipment
- Baking Tray
- Parchment Paper
- Piping Bag
- Whisk
- Fine Mesh Sieve
- Mixer
Ingredients
- 1 egg separated
- 5 tsp granulated sugar
- 2 tbsp all-purpose flour
- 1 tsp all-purpose flour
- 2 ¼ tsp cocoa powder
- 1 tsp coarse sugar for sprinkling
- 1 packet hot cocoa
- 2 tsp fresh mint leaves chopped
- ½ cup whipping cream
- 2 oz cream cheese room temperature
- 1 ½ tbsp powdered sugar sifted
- Cocoa powder topping
Instructions
LADY FINGERS
- Preheat oven to 356°F CONVECTION; line a baking tray with parchment paper
- Separate your egg white from your yolk, placing your white into a big bowl and your yolk into another
- Using a mixer, beat your egg white until frothy, then, one-third at a time, add in 3 teaspoons of your sugar. Mix in between each addition until all is incorporated. Once all the sugar is added, beat until stiff peaks form*
- In your bowl with your egg yolk, once your whites are whipped, add your remaining 2 teaspoons of sugar and whisk for about one minute, until the mixture becomes pale yellow
- Add the yolk mixture to your egg white and use a metal spoon to lightly fold together. Don’t fully combine at this stage, it’s important not to over-mix this mixture as you don’t want to risk losing too much air
- Sift your flour and cocoa powder into the mixture and fold it until it is combined. Again, do not overmix
- Place the mixture into a piping bag or zip-top bag and snip a small opening at the tip
- Pipe half-inch fingers about 3-4 inches long. Give them a little space on the tray as they may spread slightly as they bake (but they won’t spread too much)
- Sprinkle piped fingers with coarse sugar
- Bake for 8 minutes until lightly puffed and appear dry
- Remove from the oven and slide your parchment paper, with your baked fingers on it, onto a wire rack to cool completely
FILLING
- Place your cream cheese into a medium bowl and beat to smooth out. Pour in your heavy cream and sift in your powdered sugar. Whip until fluffy, about a minute
- Add in your chopped mint leaves and give one last quick beat to mix through
ASSEMBLY
- Using the hot cocoa packet, pour it into a bowl, add half the amount of warm water stated on the packet, and stir. Cool slightly so you’re not dipping your lady fingers into hot liquid
- Dip half of the lady fingers, one by one, into your cocoa liquid and place them in one layer at the bottom of your small dish. Breaking them as needed to have one even layer
- Top with half of your mint whip and repeat one more time, until all your filling has been used, the top layer should be the whipped cream mixture
- Lightly sift cocoa powder over the top, cover, and refrigerate for at least two hours
- Enjoy!