
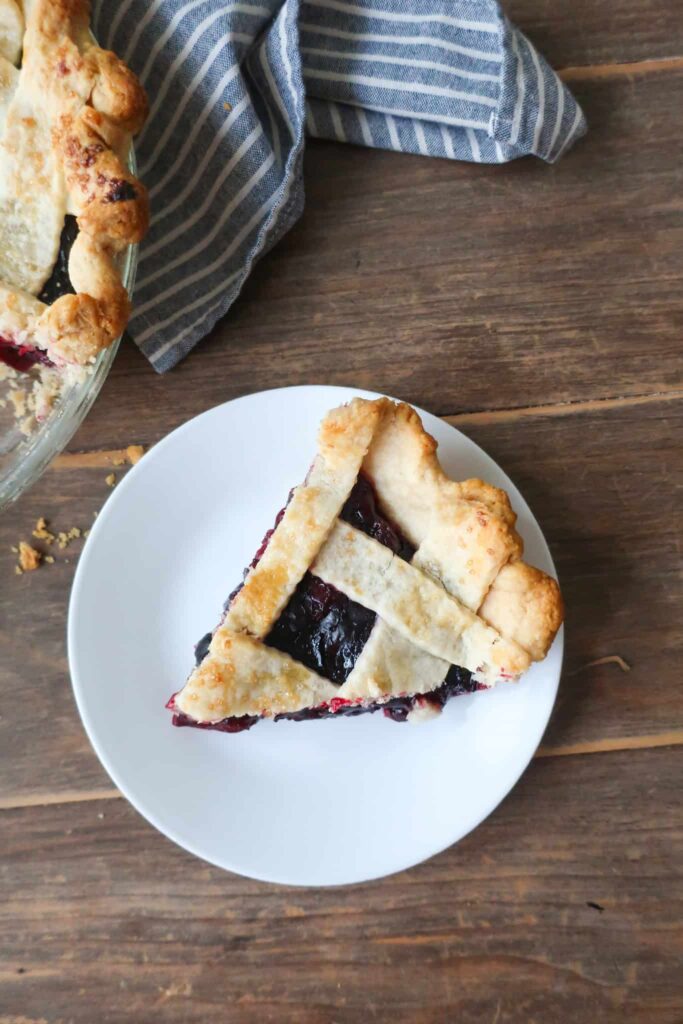
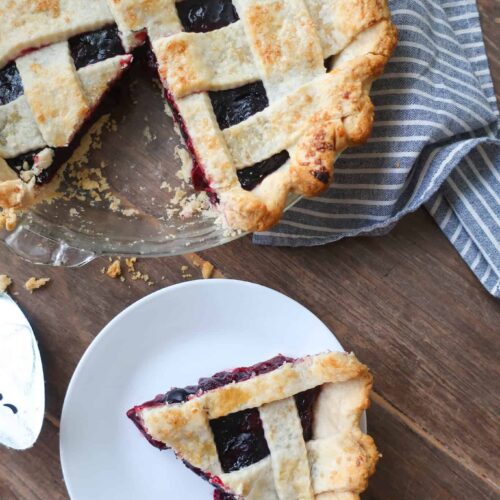
Classic Cherry Pie with Lattice Crust
One of my absolute favorites. Thanksgiving dessert tables aren’t complete without a classic cherry pie in my (correct) opinion.
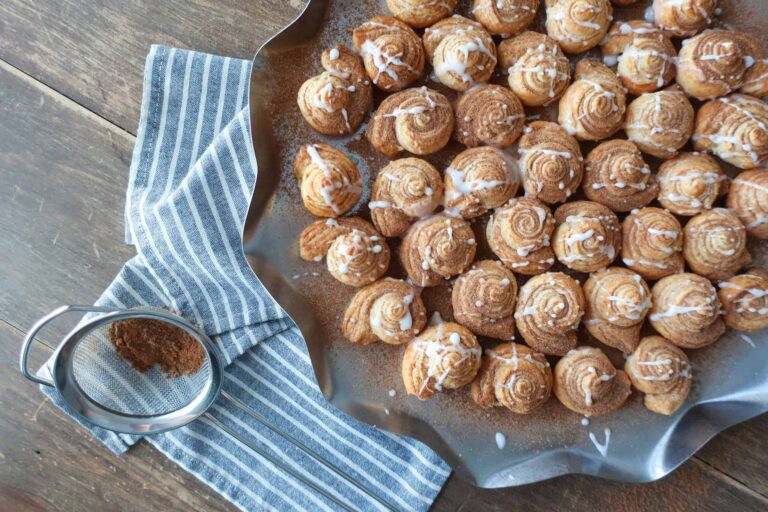
It’s the perfect way to break up the apple and pumpkin fall craze, which I also thoroughly enjoy (see my adorable Apple “Pumpkin” Puffs and/or the fluffiest Pumpkin Cake Roll for proof). A classic cherry pie just adds the right sweet but tart balance to your dessert lineup.
I didn’t grow up in a cranberry sauce family, so this homemade pie adds a lovely, deep pop of red (yes, that fake cherry red isn’t realistic). Top it with a lattice crust, and you have yourself a centerpiece-worthy dessert.
If you love this recipe, please rate and review it below and tag @accentgolden in your posts on social!
This website uses affiliate links, which may earn commission for purchases made at no additional cost to you.
CLASSIC CHERRY PIE with LATTICE CRUST
Cherry pie is a classic dish, and one of my favorites. It’s the perfect balance of sweet and tart, all wrapped up in a buttery crust.
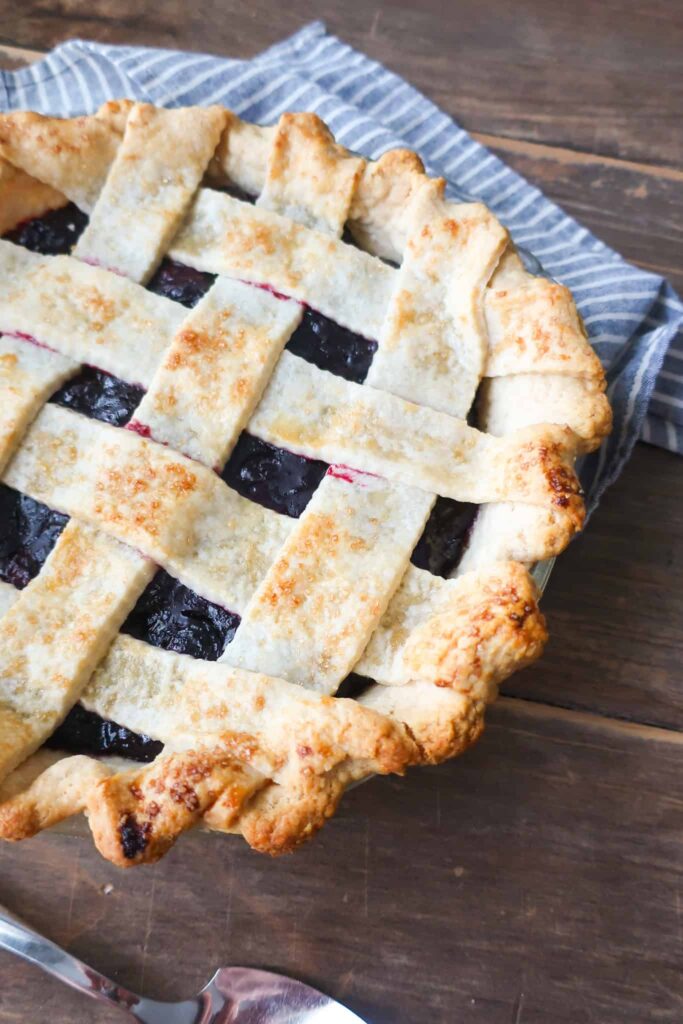
You can use fresh or frozen cherries for this recipe, but I do prefer a cherry pie with a lattice top crust. It just looks right, ya know?
The sugar on top is optional, but the extra crunch just adds a lovely texture to finish off an amazing pie. Personally, I don’t think pies get nearly enough love and attention year-round as they should.
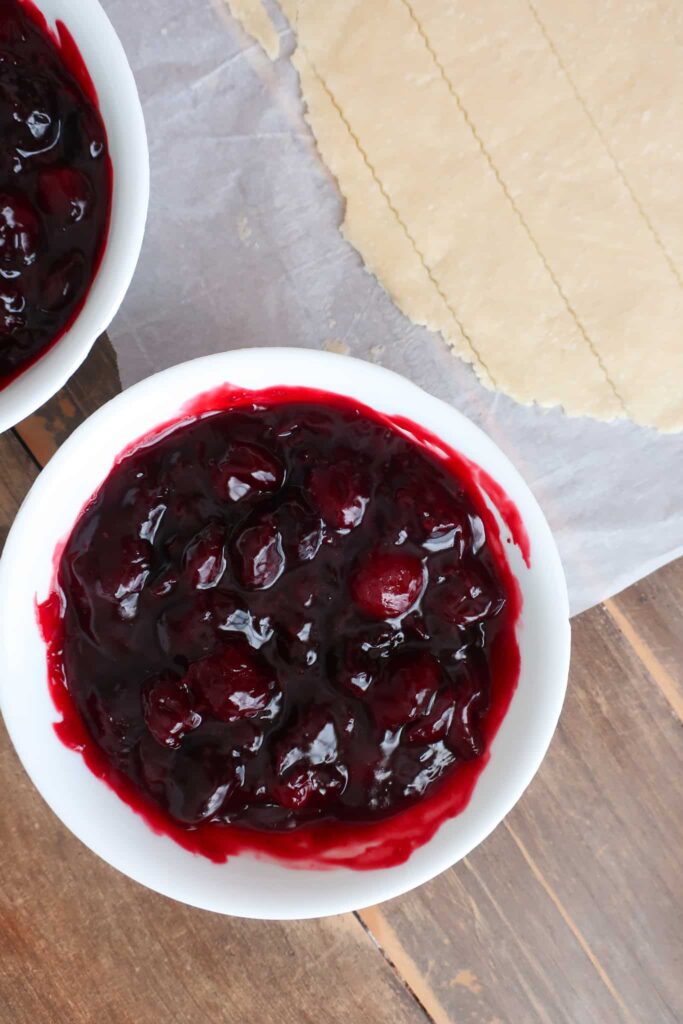
How to make classic cherry pie filling: All you need is 5 ingredients – cherries, sugar, cornstarch, water, and lemon juice! Mix your cornstarch and water to form a “slurry.” This will help thicken your filling. Simply pour everything into a medium pot and heat on the stove until lightly thickened, then remove to cool.
INGREDIENTS
- Flour: To bring structure to your crust and bind it together
- Salt: To balance the flavors and help them pop
- Butter: For flavor and those flaky layers
- Water: Brings the dough together while hydrating it and helping with that gluten formation
- Sweet Cherries: The key to our filling! You can also use a mix of sweet and sour cherries
- Sugar: Works with the natural pectin in the cherries to help thicken the mixture while bringing sweetness and preservation to the filling
- Cornstarch: Gets our cherries to their desired thickness for the pie
- Lemon Juice: Works with the pectin and sugar to help thicken and bring some of that tart flavor
- Egg: Whisked with milk or water and brushed over our lattice for a nice golden finish
- Turbinado Sugar: Sprinkled over the crust before baking, because who doesn’t love a sugary crust?
How do you form a crimped pie crust? Form a peace sign with one hand and get your pointer finger ready on your other hand. Working in a circle, place your peace sign on the edge of your crust and pull the crust through the middle, going the opposite way of your peace sign, with your pointer finger. Move your peace sign to the next divet, and repeat, working your way around the crust.
HOW TO MAKE A CLASSIC CHERRY PIE
Make the dough for your cherry pie…
Combine your salt and flour in a bowl and cut your butter into it. You want a sand-like consistency before adding in your water and compressing it into a dough.
Cut your dough in half; one will be the bottom crust and one the top, and place between two large sheets of parchment paper. Roll each dough ball to ⅛” thickness, making sure your dough is an even thickness throughout.
Peel the parchment off both sides of one dough circle and invert it into your pie dish. Remove the top layer of parchment paper and gently shift the dough until it is lying flat along the bottom and sides of the dish.
Tuck under the excess dough to form your crust, and crimp the edges. Place in the fridge for at least 15 minutes, along with your other rolled sheet of dough, while you make your cherry pie filling.
Blind bake your crust and prep the cherry filling…
Preheat your oven to 425°F.
For your filling, mix your cornstarch and water. Add it to a medium pot with your sugar, cherries, and lemon juice. Stir until lightly thickened before pouring into a bowl and cooling to room temperature.
Remove your bottom crust from the fridge and lay a piece of parchment paper inside it. Fill your dish with your baking weights, spreading them out evenly, and bake your chilled crust for 10 minutes.
Remove from the oven, carefully lift out your parchment paper and baking weights. Return to the oven to bake an additional 6 minutes, just until the inside of your crust no longer looks wet. Cool completely at room temperature.
Forming the lattice crust…
Pour your cooled cherry pie filling into your cooled crust. Remove your other sheet of rolled dough from the fridge.
Peel the parchment off the top, place it back on, flip, then remove it from the bottom and leave it off. Use a knife, pizza cutter, or pastry wheel to cut long vertical strips about an inch thick.
To form your lattice, place 4-5 strips horizontally across the top of your classic cherry pie, about an inch apart. Then, using one strip at a time, weave it vertically over and under each horizontal strip of dough.
If you went under for the first time, with your next dough strip, start over the first horizontal strip. This will create that patchwork lattice top.
Bake your homemade fruit pie…
In a small bowl, whisk together your egg with a splash of milk or water. Brush your egg wash over the top of your lattice crust and sprinkle with coarse sugar.
Place your pie in the fridge for at least 10 minutes while you preheat your oven to 400°F. Bake your cherry pie for 20 minutes, then, with the pie still in the oven and the door closed, drop the temperature to 375°F.
If needed, remove your pie from the oven and cover the edges with foil before returning and baking for an additional 20-30 minutes. You want a nice golden color on your top crust.
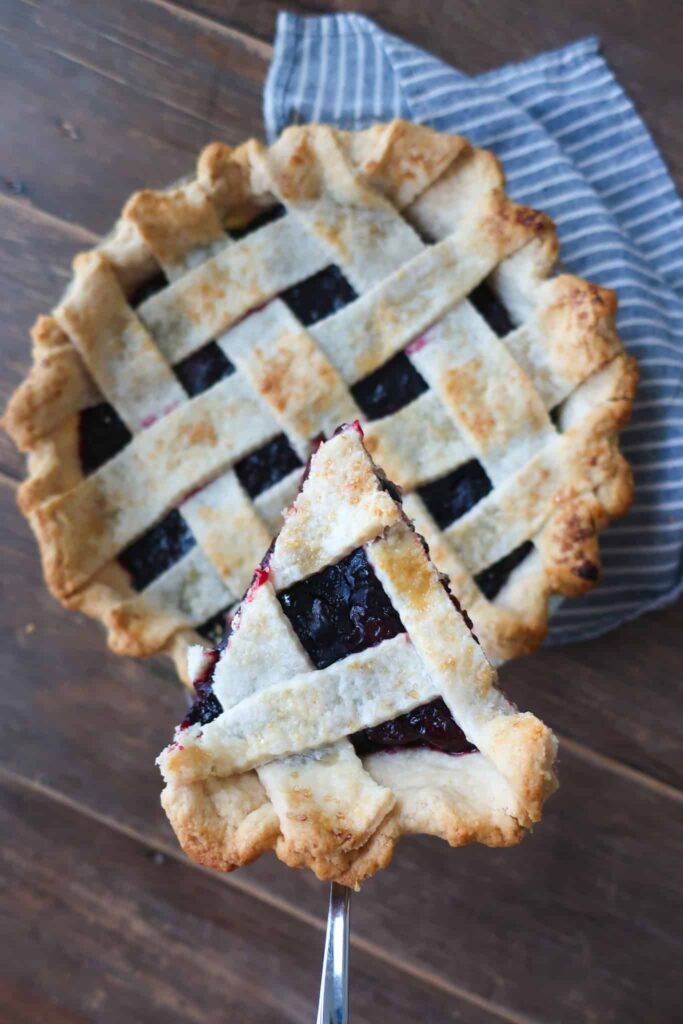
Remove and cool for at least 30 minutes to allow the pie to set before slicing. Enjoy!
3 reasons you’ll love this classic cherry pie
TIPS & VARIATIONS
- I’ve had trouble finding sour cherries in stores, which is why I list sweet cherries in this recipe. If you can find sour cherries, you can easily do half and half sour and sweet cherries for your filling.
- When cooking down your cherries, remember that they will thicken more as they cool, and they will cook down further as the pie bakes. Be careful not to overthicken your cherries in the pot, or your filling will become too stodgy in the pie itself.
- If you have a food processor, pulse together your flour and salt before adding in your cubed cold butter. Pulse until combined, then add in your cold water and give a few more pulses. Pour into a large bowl and press the dough together with your hands to form a ball.
- Four tablespoons of water should be enough for your dough. You likely just need to press and squeeze it together a little more. You want the dough to be on the dryer side for easy rolling.
- This crust has a lot of butter! It’s crucial that you place it in the fridge before you bake it so you don’t risk your butter melting out of your crust as soon as it hits the oven.
- For the blind bake, I use uncooked rice as I feel it fits in all the nooks and crannies best. Once the rice cools completely after the bake, you can store it in a container and reuse it for your next bake!
- I prefer a lattice crust on top, but you can use a whole sheet of crust over the filling if you prefer. Just cut holes in it ahead of baking, so your pie can breathe.
- Make sure your dough is no thicker than ⅛”. If it’s too thick, it likely won’t bake properly in the time allotted. Also, be sure not to roll it too thin, or it will be harder to handle and will likely burn.
- Keep an eye on your classic cherry pie as it bakes. If the edges seem to be browning too quickly, remove the pie from the oven and cover the edges in foil before returning and finishing the bake.
MAKING AHEAD & STORING
Your classic cherry pie filling will last for up to a week in the fridge and 3-4 months frozen. To save time, you can make and freeze it in advance, just make sure to thaw it completely before adding it to your crust.
The baked and cooled cherry pie can be kept at room temperature for up to two days or in the fridge for up to four!
MORE PIE RECIPES
- Apple Streusel Pie
- Easy Cinnamon Roll Pie
- Spinach & Chicken Pot Pie
- The Best Blueberry Pie
- Chocolate Fudge Pie
EQUIPMENT YOU’LL NEED
Equipment
- 9" Pie Dish
- Rolling Pin
- Parchment Paper
- Blind Baking Weights I use uncooked rice
- Medium Pot
- Spatulas
- Measuring Cups
- Measuring Spoons
Ingredients
- 4 cups flour
- 1 ½ tsp salt
- 1 ½ cup butter
- 8 tbsps cold water
- 5 cups frozen sweet cherries
- ⅓ cup sugar
- ¼ cup cornstarch
- 4 tbsp lemon juice
- ⅔ cup water
- 1 egg
- 1 tsp coarse sugar optional
Instructions
- In a bowl, stir together your flour and salt. Using two butter knives, held against each other with one in each hand to form an “X,” cut your butter into your dough, with the knives pulling away from each other and back in, until you have a sand-like consistency.
- Add in your water (I like to put a few ice cubes in a glass before filling it with cold water to make sure it’s extra cold), stir together, and then compress the dough into two even balls. See notes below if you have a food processor!
- Place one of your dough balls between two large pieces of parchment paper, and roll to ⅛” thickness – making sure your dough is an even thickness throughout.
- Gently peel the parchment back from the top layer, lay it back onto the dough, flip all of it over, and repeat with the bottom (now top) layer of parchment.
- Removing one side of the parchment, carefully lay that side face down into a 9-inch pie dish and remove the top layer of parchment
- Carefully shift the dough to ensure it is lying flat within the pan and along the sides. If you have more than an inch excess, use a butter knife to cut away an extra and save for later.
- Tuck under the remaining excess dough around the edges, to form your crust
- Make a peace sign with your pointer and middle fingers on one hand, and place it along the edge of your crust. With the pointer finger of your other hand, pointing toward the center of the peace sign, pull back the dough in the center of your fingers. This will form a crimp. Repeat along the edge of your crust until complete.
- Place your pie dish with the crimped crust in the fridge for 15 minutes
- Roll out your other remaining dough ball – reusing your parchment paper – and place the flat sheet into the fridge to chill
- Preheat your oven to 425°F
- Once your dough in the pie dish is chilled, remove from the fridge and prick the bottom and sides of your crust with a fork to prevent the crust from puffing when you bake. Crinkle a piece of parchment paper and lay it carefully in your dish before pouring in your baking weights.
- Bake your chilled crust for 10 minutes, remove from the oven, and carefully remove the parchment paper and baking weights before returning to the oven to bake an additional 6 minutes, until the inside bottom of your crust is no longer wet looking. Cool completely before adding your filling
- For the cherries, stir together your 2 tbsp of cornstarch with ⅓ cup of water until dissolved. Then, in a medium pot, add your cherries, ⅓ cup of sugar, lemon juice, and your cornstarch slurry, stir, and place over medium-high heat.
- Continue to stir until lightly thickened, about 8-10 minutes. Remove from heat immediately and pour into a heat-safe bowl to cool to room temperature (about 35 minutes). If making in advance, cool at room temperature and then cover and place in the fridge until ready to use
- Once your blind baked crust and your cherry filling have cooled, remove your second sheet of dough from the fridge, peel off one side of the parchment, place it back on the dough, flip, and remove the other side of parchment completely. Using a knife, pizza cutter, or pastry wheel, cut the dough into 1-inch strips
- Pour your cherry filling into the base of your crust, smoothing it out so evenly distributed, and then make your lattice. Vertically place 4-5 strips of your cut dough on top of your filling, leaving an inch of space in between each strip. Turn your pie 90 degrees and then lay one strip along the far left edge in an over-under technique, laying the strip over the first strip of perpendicular dough, lifting the next strip and laying it under it, over the next, etc until you reach the end. Repeat, leaving an inch of space in between each new strip, with your remaining dough, next time starting under the first row so you are constantly alternating your over-under from row to row. You will have some strips left over, save them for later!
- Use a butter knife to cut off any excess pieces of dough from your lattice
- In a small bowl, beat together your egg with a splash of milk (or water) until there are no gloops of egg whites. Brush it gently over your lattice crust and sprinkle with turbinado sugar. Place in the fridge for 10 minutes
- Preheat oven to 400°F
- Bake your cherry pie for 20 minutes and then drop to your oven temperature to 375°F. Briefly remove your pie from the oven and cover the edges of your crust (not the lattice!) with foil, to protect it from burning. Return to the oven, placing a baking tray on the rack below to catch any potential drips, and bake for an additional 20-30 minutes, until your lattice is nicely golden in color
- Remove and cool for at least 30 minutes before slicing
- Enjoy!

Flaky in a great way. Really liked the tartness of the cherries too!
Thank you Jaime!