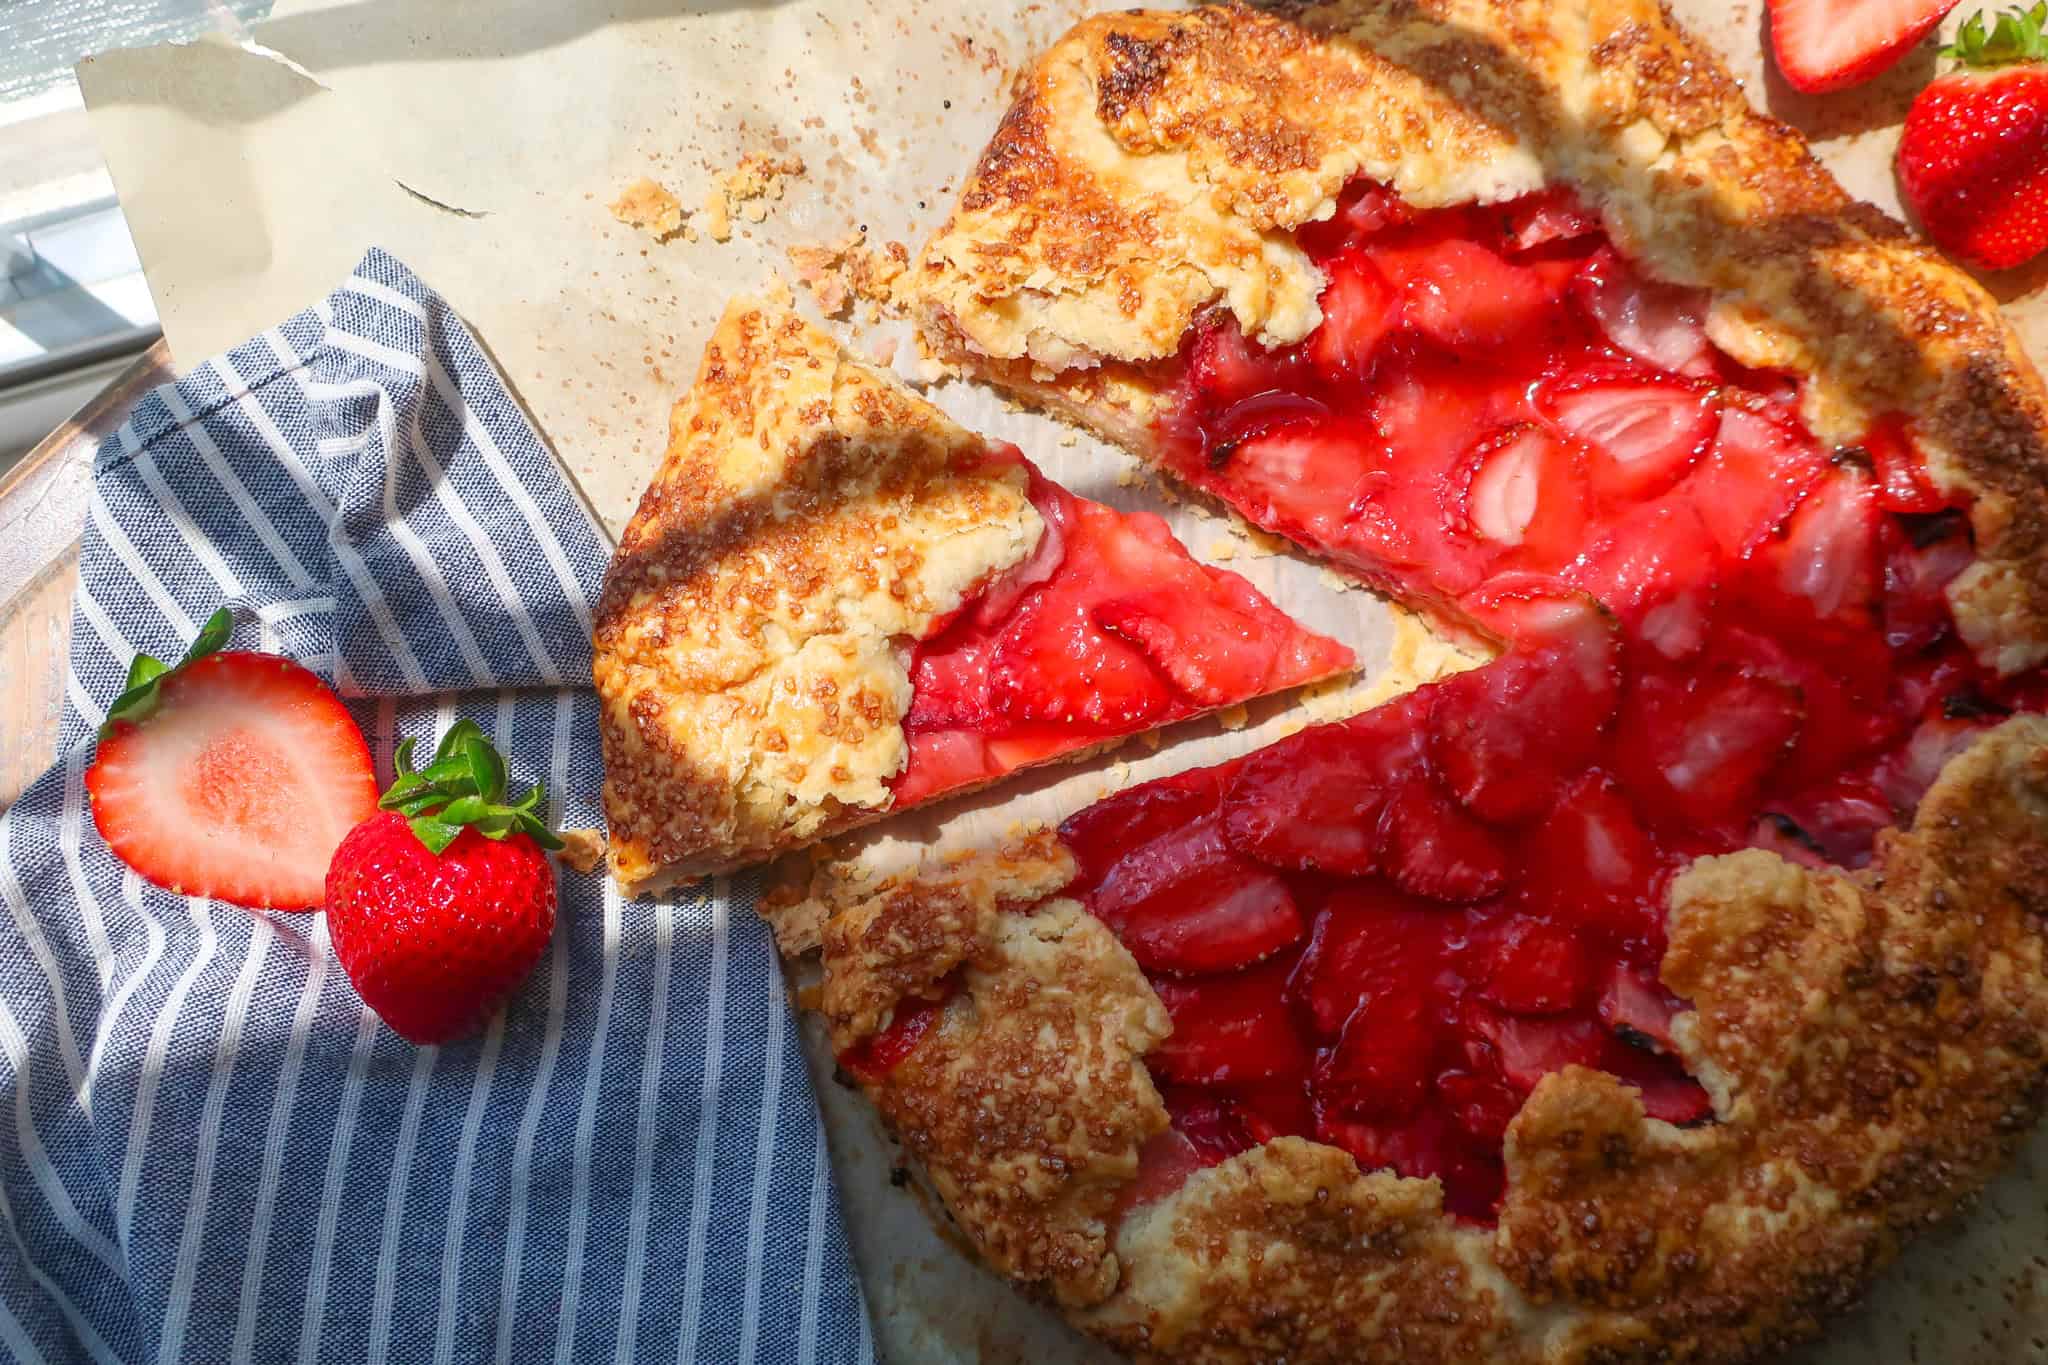
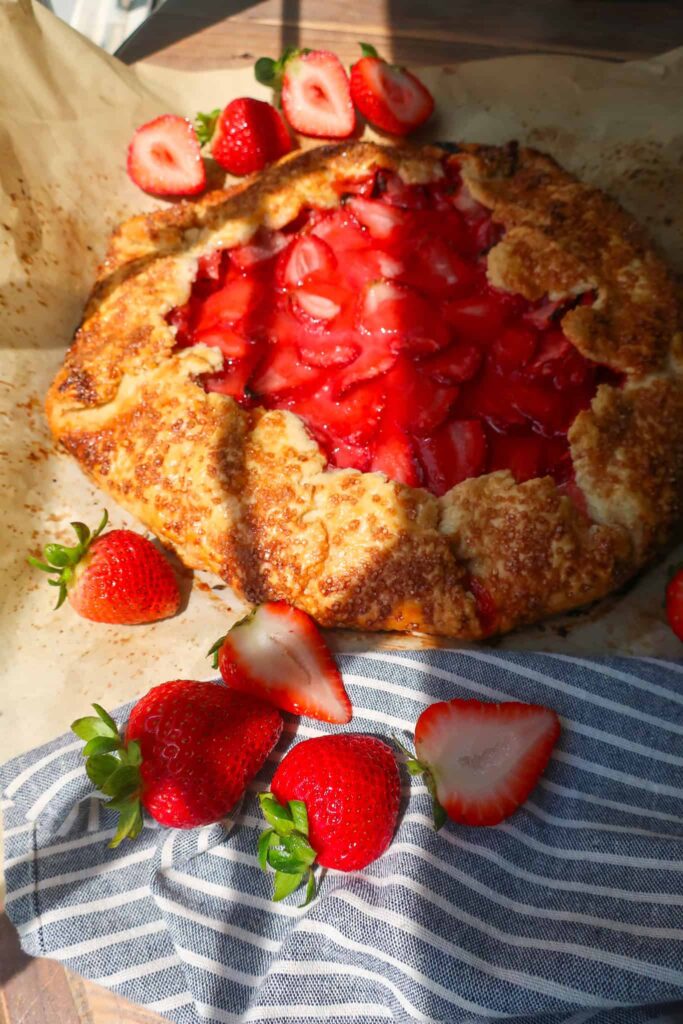
Strawberry Goat Cheese Galette
We’re taking the fresh flavors of the season and baking them up extra delicious in this strawberry goat cheese galette.
Do you love pie? Yes! Do you sometimes not love making pie sexy? Yes! Welcome to the galette. The unsexy, flat pie.
The funny thing about a galette? Even though it’s more rough and ready… she’s still a beauty. You don’t have to dress her up in a fancy dish, her ingredients speak for themselves.
Where life advice and baking truths meet. Right here, folks.
If you love this recipe, please rate and review it below and tag @accentgolden in your posts on social!
This website uses affiliate links, which may earn commission for purchases made at no additional cost to you.
STRAWBERRY GOAT CHEESE GALETTE
I do love a rustic vibe, and that’s exactly the mood of this galette. Buttery crust wrapped around a thin layer of sweetened vanilla goat cheese, topped with fresh strawberries.
Bonus: As the flavors sit and cool, they just get better!
How do you prevent your galette from leaking? Make sure to strain your strawberries well before layering them over the goat cheese, reducing any extra liquid. Also, as you fold your dough over the edge, make sure to slightly overlap each fold to prevent any cracks!
INGREDIENTS
- Flour: Forms the structure of the galette crust and provides a tender, flaky base
- Cold butter: Creates flakiness and richness in the pastry
- Salt: Enhances flavor and balances sweetness in both crust and filling
- Egg: For that golden crust finish
- Cold water: Helps bring the dough together if needed without overworking it
- Strawberries: Provide the sweet, juicy fruit filling that is the star of the galette
- Sugar: Sweetens the fruit and enhances the overall flavor
- Lemon: Balances sweetness and adds fresh flavor to the fruit filling
- Cornstarch: Thickens the strawberry juices to prevent a runny filling
- Goat cheese: Adds creamy, tangy richness to contrast the sweet fruit
- Vanilla: For warm flavor to balance the tang of the goat cheese
- Powdered sugar: Sweetens the cheese base to balance the tartness of the strawberries
- Coarse sugar: Sprinkled on top for crunch and a golden finish
Why strawberry and goat cheese work so well together… The balance between the sweet and sharp strawberries and the creamy but tangy goat cheese makes for a delicious bite every time!
HOW TO MAKE A STRAWBERRY GOAT CHEESE GALETTE
Make the filling for this strawberry goat cheese galette…
Wash and slice the strawberries into ¼-inch thick pieces and place them in a large bowl. Toss the strawberries with sugar, fresh lemon zest, and lemon juice, then let the mixture sit for at least 30 minutes so the berries release an extra liquid.
While the strawberries macerate, stir together the powdered sugar, goat cheese, and vanilla extract until smooth and spreadable. This tangy, sweet layer balances the juicy strawberries perfectly!
For the homemade galette crust…
Whisk together the flour and salt in a bowl before rubbing in the cold butter until the mixture resembles coarse, chunky sand. Add the cold water and mix until the dough starts coming together, then gently press it into a ball.
Place the dough between two sheets of parchment paper and roll it into an even ⅛-inch thick circle. Be careful not to roll the crust too thin, as a thicker pastry helps prevent the strawberry goat cheese galette from bursting or leaking during baking.
Peel back the top layer of parchment paper, place it back over the dough, then flip everything over and repeat with the second sheet to loosen both sides. Cover the dough again and chill it in the refrigerator for 15 minutes to firm up the butter for a flaky crust.
While the crust chills…
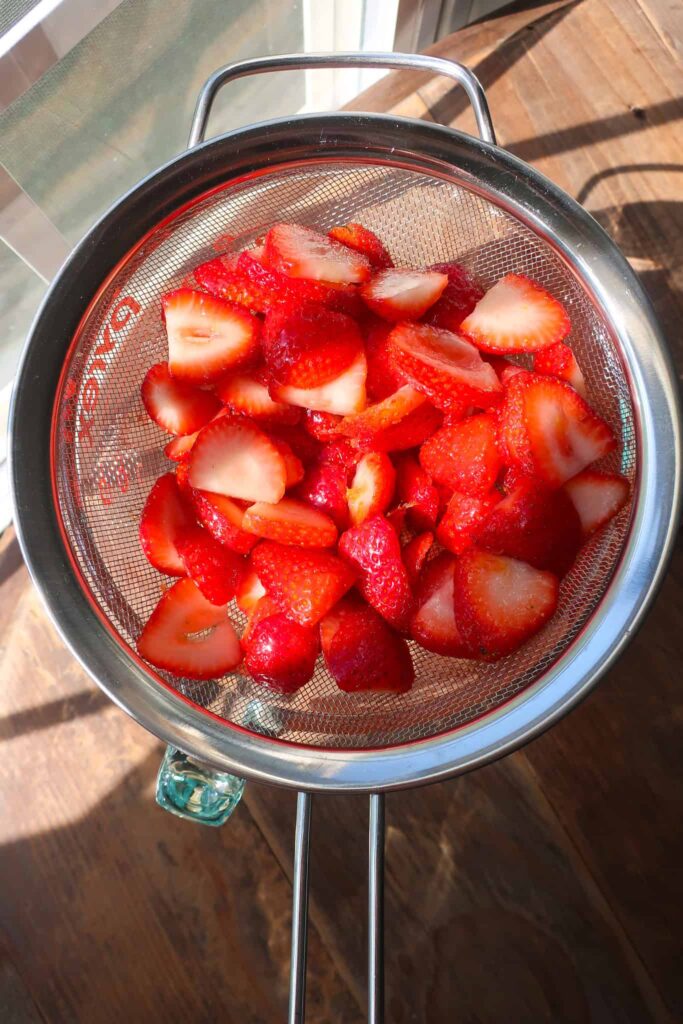
Place a strainer over a pot and drain the strawberries to remove excess juice. Reducing the liquid at this stage helps prevent a soggy crust and keeps the strawberry galette crisp and beautifully golden.
Transfer the strained strawberries back to a bowl and toss them with cornstarch until fully coated. The cornstarch will help thicken the filling as the galette bakes.
Assemble your fresh fruit galette…
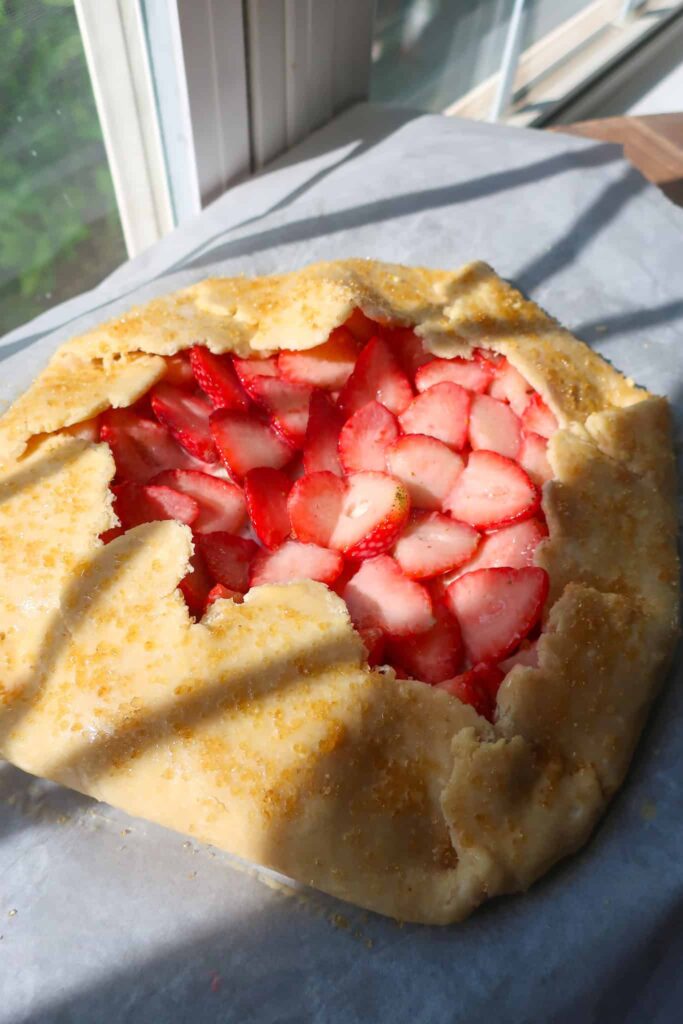
Remove the chilled dough from the refrigerator and place it onto an upside-down baking sheet lined with parchment paper. Spread the goat cheese mixture evenly over the center of the dough, leaving a 1 to 1½-inch border around the edges.
Arrange the strawberries in a circle, overlapping slightly, on top of the goat cheese mixture. Fold the edges of the crust over the filling, overlapping sections as you work around the galette to avoid gaps and seal in the juices.
Place the assembled strawberry goat cheese galette back into the refrigerator for another 15 minutes while you preheat the oven to 400°F. Chilling the galette before baking helps the crust hold its shape and creates extra flaky layers.
Bake your homemade galette…
Whisk together the egg with a splash of milk or cream to create an egg wash, then brush it generously over the crust and sprinkle with coarse sugar. Bake the galette for 43–45 minutes, or until the crust is deeply golden brown and crisp.
As the galette bakes, simmer the leftover strawberry liquid over medium heat, stirring frequently until reduced by half into a glossy strawberry syrup.
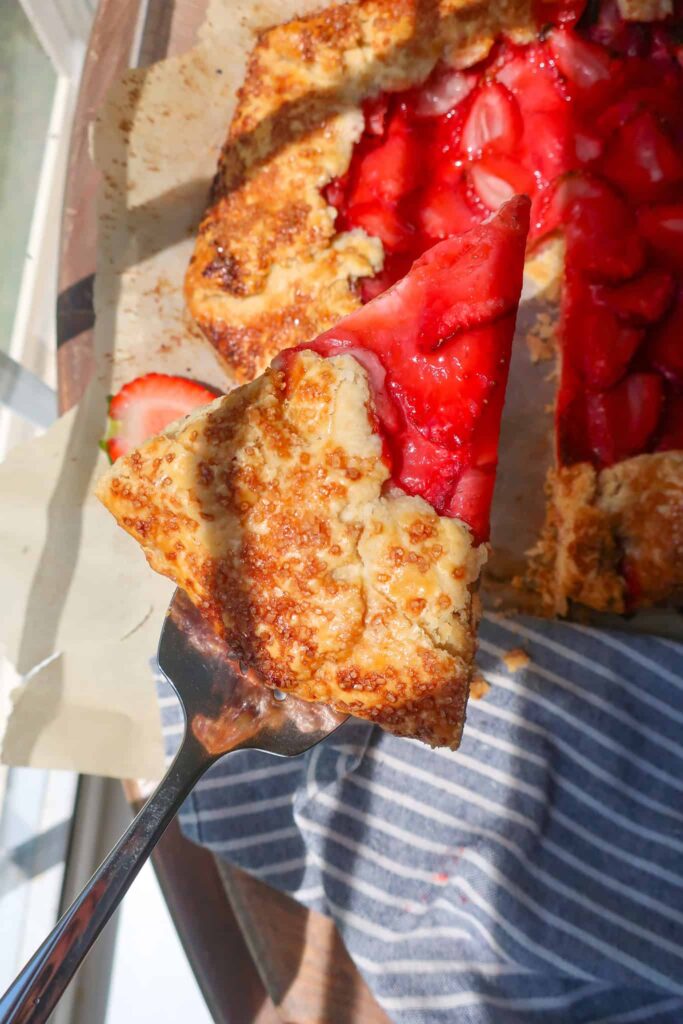
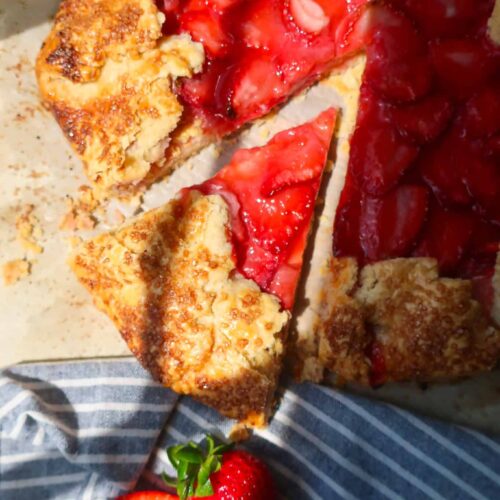
Allow the galette to rest on the baking sheet for 15 minutes before transferring it, along with the parchment paper, to a wire rack to cool completely. Letting the galette cool down to room temperature gives the filling time to thicken for cleaner slices.
Before serving, gently brush the exposed strawberries with the homemade strawberry syrup for a glossy finish. Slice and enjoy!
3 reasons you’ll love this strawberry goat cheese galette
TIPS & VARIATIONS
- Do not roll the crust past ⅛” thick otherwise, it will be too thin and fragile and will likely crack as you try to fold it
- Make sure to give your strawberries enough time to macerate with the sugar and lemon. You want to pull a lot of that liquid out before baking, otherwise your galette will be too wet.
- Be careful to slightly overlap the dough as you fold it to prevent cracks. Cracks = leaks, which means burned pans and likely no galette.
- When you check your crust as it bakes, if it’s lightly golden, keep it in! You want a deep golden to ensure the bottom of the crust is fully baked and won’t be soggy.
- Chill times matter! This will help firm the butter in your dough so it can create a strong barrier when baking the strawberry filling.
- Your galette might leak a little, don’t panic. Strawberries are very water-heavy, so even with straining out some of that liquid, plenty will release as it bakes.
- Enjoy your strawberry goat cheese galette as is, topped with homemade rosemary frozen yogurt, drizzled with the remaining strawberry simple syrup, or sprinkle with some fresh thyme leaves!
MAKING AHEAD & STORING
Your dough can be made in advance. Simply wrap airtight and store in the fridge for up to 3 days or in the freezer for 2-3 months. If frozen, thaw overnight in the fridge before rolling.
Once assembled and baked, store your strawberry goat cheese galette in the fridge in an airtight container. It will keep for 3-4 days.
MORE STRAWBERRY RECIPES
- Strawberry Basil Tart
- Strawberry Cheesecake Focaccia Bread
- Strawberry Shortcake for One
- Chocolate Strawberry Puppy Chow
- One Pie with Four Flavors: Strawberry, Blueberry, Apple, and Cherry
- Strawberry Choux au Craquelin
EQUIPMENT YOU’LL NEED
Equipment
- Mixing Bowls
- Parchment Paper
- Rolling Pin
- Pot
- Spoons
- Baking Tray
- Measuring Spoons
- Measuring Cups
- Strainer
- Pastry Brush
Ingredients
- 3 cups strawberries
- ½ cup sugar
- 1 lemon zested
- 1 tbsp lemon juiced approx. one small lemon
- 2 tbsp cornstarch
- 1 ½ tbsp powdered sugar
- 2 oz goat cheese room temperature
- ½ tsp vanilla
- 2 tbsp coarse sugar
- 2 cups flour
- ¾ tsp salt
- ¾ cup cold butter cubed
- 4 tbsp cold water
- 1 egg for egg wash
Instructions
FILLING
- Wash and slice strawberries (about ¼” thick), and place them in a bowl
- Add sugar, lemon zest, and juice
- Stir and set aside to macerate for at least 30 minutes
- In a separate bowl, stir together powdered sugar, goat cheese, and vanilla extract
CRUST
- In a bowl, stir together your flour and salt. Rub your cold butter into your flour until you have a chunky, sand-like consistency
- Add in your water, mix together, and then compress the dough into a ball. The dough will seem dry at first, but as you press it, it will start to come together.
- Place your dough ball between two large pieces of parchment paper and roll it to a ⅛” thick circle, making sure your dough is an even thickness throughout. Don’t roll it any thinner, or it will likely burst from the strawberry liquid when baking!
- Gently peel the parchment back from the top layer, lay it back onto the dough, flip all of it over, and repeat with the bottom (now top) layer of parchment.
- Cover your dough with the other piece of parchment paper and place your flat crust in the fridge for 15 minutes
BAKING
- While your dough chills, place a strainer over a pot and drain your strawberries. You want to lose some of that liquid to prevent your galette from leaking when baking
- Remove the dough from the fridge and lay it on top of an upside-down baking sheet. Peel the top piece of parchment paper off the dough
- Add your strained strawberries to a bowl and toss with cornstarch. Stirring until completely covered, and you no longer see any powdery dry spots (it should just look kind of milky)
- Smear the goat cheese mixture evenly in the center of the dough, leaving a 1-1.5” border
- Lay the strawberries in a circle over the goat cheese, stacking one slightly over the other, in a spiral towards the center
- Carefully fold your crust over the edge of your strawberries, leaving the middle open. As you fold it in, work in a circle to fold one section over the next so you don’t have any gaps. If your dough cracks a little, just pinch or smear it together
- Place your prepped strawberry galette into the fridge to chill for 15 minutes
- Preheat your oven to 400°F
- In a bowl, whisk together your egg with a splash of milk or cream until combined. Remove your galette from the fridge, brush the crust with your egg wash, and sprinkle with coarse sugar
- Bake for 43-45 minutes until the crust is a deep golden brown
- While the galette bakes, bring the reserved strawberry liquid in the pot to a simmer. Stirring often, reduce the liquid by half to create a nice syrup. Pour into a bowl and set aside for later
- Remove the galette from the oven and let it rest on the baking sheet for 15 minutes. Transfer the galette, with the parchment paper, to a wire rack to cool completely. You want the galette close to room temperature to give any liquid inside enough time to thicken before slicing
- Gently brush the exposed fruit with the strawberry syrup, slice, and enjoy!


Delicious!!