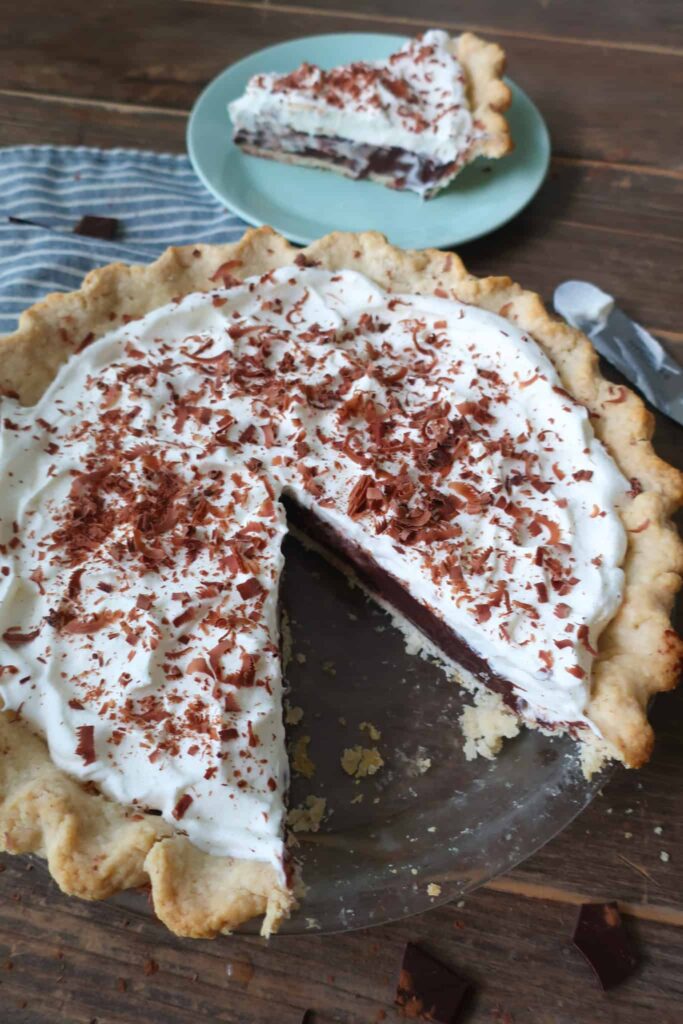
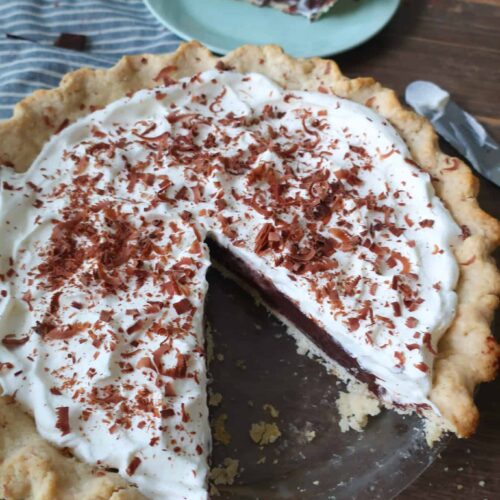
Chocolate Pudding Pie
Every year for Thanksgiving, my family has a variety of pies on the dessert table. Two must be served: a classic cherry pie and this chocolate pudding pie.
To break any stereotypes up front, pudding is not just for kids. It is too perfect to be left behind in childhood.
Now, I’m gonna be really honest with you, up until conquering this pudding recipe, I was a JELLO Cook & Serve chocolate pudding gal all of my life. Those days are over, my friends.
This pudding recipe is perfect. It’s a smidge richer than the previously mentioned packaged chocolate pudding mixture, but it balances so perfectly with the buttery pie crust and whipped cream.
If you love this recipe, please rate and review it below and tag @accentgolden in your posts on social!
This website uses affiliate links, which may earn commission for purchases made at no additional cost to you.
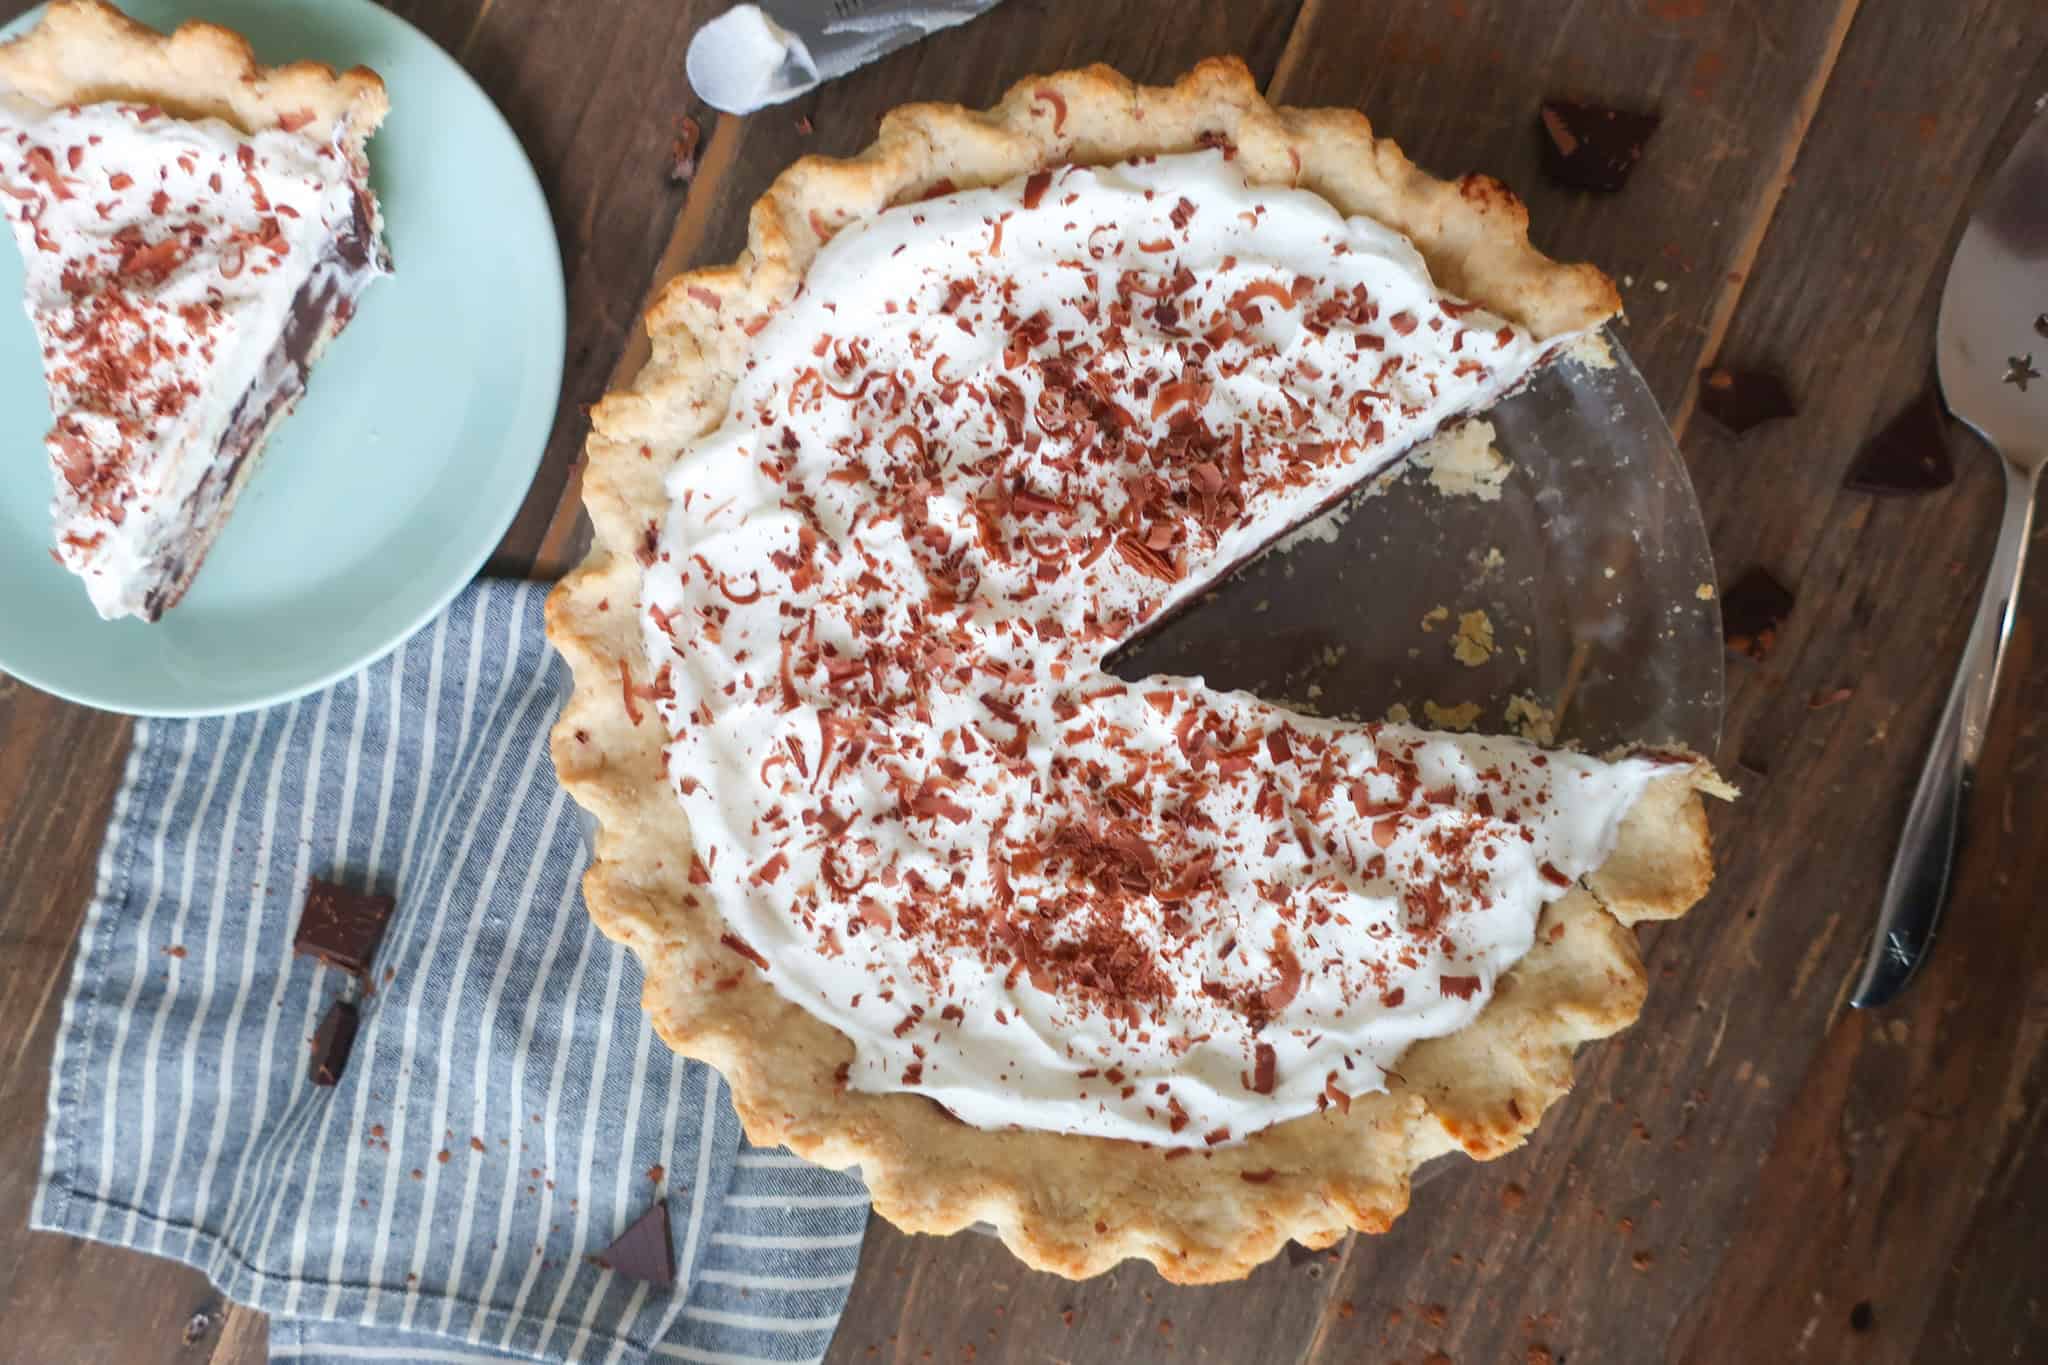
HOMEMADE CHOCOLATE PUDDING PIE
Whether you call it chocolate pudding pie or chocolate cream pie, it blends a buttery pie crust with a creamy chocolate pudding center, topped with fresh whipped cream. Each bite delivers all the chocolatey-creamy-pie goodness you could dream about.
There isn’t a chocolate craving that this pie won’t solve or a holiday dessert table that leaves this pie unfinished. This pudding pie will leave everyone asking for the recipe.
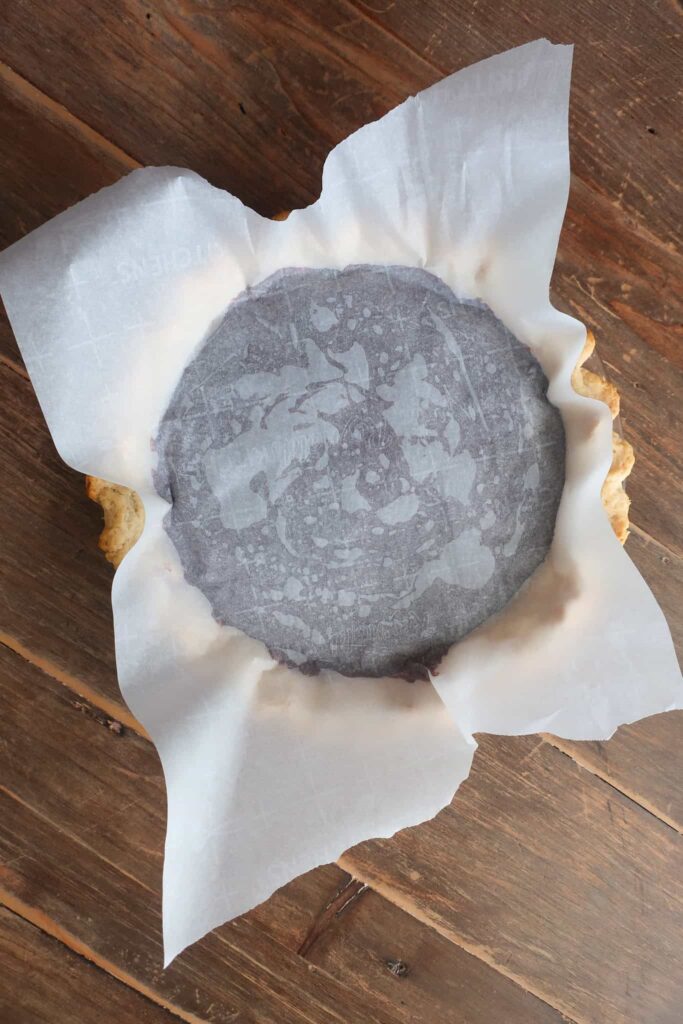
How do you stop your pudding from forming a thick skin? Once your pudding has been cooked and added to your baked crust, you need to cover it with a piece of wax or parchment paper before it sets. Just peel it off before topping with whipped cream!

INGREDIENTS
- Flour: forms the structure of the flaky pie crust
- Salt: enhances the flavor of both the crust and filling
- Unsalted butter: creates a buttery, flaky crust
- Cold water: brings the pie dough together without overworking it
- Granulated sugar: sweetens the chocolate pudding filling
- Unsweetened cocoa powder: gives the pie its deep chocolate flavor
- Cornstarch: thickens the pudding so it sets smooth but sliceable
- Whole milk: for a creamy pudding base
- Heavy cream: whips into a light, fluffy topping
- Powdered sugar: sweetens and stabilizes the whipped cream
Can I use a store-bought crust instead? I’m always team homemade pie crust, but if time is tight, store-bought crust is fine.
HOW TO MAKE CHOCOLATE PUDDING PIE
To make a homemade pie dough…
Stir together the flour and salt in a large bowl. Rub the cold butter into the flour mixture until it resembles coarse sand.
Add the ice-cold water and stir until the dough begins to come together, then compress it into a ball. It will seem dry at first, but avoid adding any extra water. The dough will come together as you press it!
Place the pie dough between two large sheets of parchment paper and roll it out to an even ¼-inch to ⅛-inch thickness. Peel back the top layer of parchment, place it back down, flip the dough over, and repeat with the other side to prevent sticking.
Shape and bake your flaky pie crust…
Remove one sheet of parchment and carefully transfer the dough into a 9-inch pie dish. Gently press the dough into the bottom and sides of the pan.
Trim any excess dough, leaving about 1 inch around the edges, and save scraps for patching if needed. Tuck the remaining excess dough underneath itself to create a thicker border for the crust.
Crimp the edges of the homemade pie crust using your fingers or your preferred method. Once shaped, place the pie crust in the refrigerator to chill for 15 minutes.
Preheat your oven to 425°F while the crust chills. Once cold, prick the bottom and sides of the crust with a fork to prevent puffing during baking.
Line the chilled crust with crinkled parchment paper and fill it with pie weights. Blind bake the pie crust for 12 minutes, then carefully remove the parchment and weights before baking for an additional 8 minutes, or until golden.
Allow the baked pie crust to cool completely before adding the chocolate pudding filling. Cooling the crust helps keep it crisp and flaky.
To make the homemade chocolate pudding filling…
Sift together the sugar, cocoa powder, cornstarch, and salt in a medium pot. Whisk the dry ingredients until combined.
Gradually pour the milk into the cocoa mixture while whisking constantly to prevent lumps from forming. Continue whisking until the mixture is completely smooth.
Place the pot over medium heat and cook, whisking constantly, until the chocolate pudding thickens and just begins to boil. This usually takes about 5 to 7 minutes.
As soon as the pudding reaches a boil, remove it from the heat and pour it into the cooled pie crust. Spread the filling evenly as needed.
Chill and serve your homemade chocolate pudding pie…
Press parchment paper or wax paper directly onto the surface of the chocolate pudding pie filling to prevent a skin from forming. Refrigerate the pie for at least 2 to 3 hours, or until fully set.
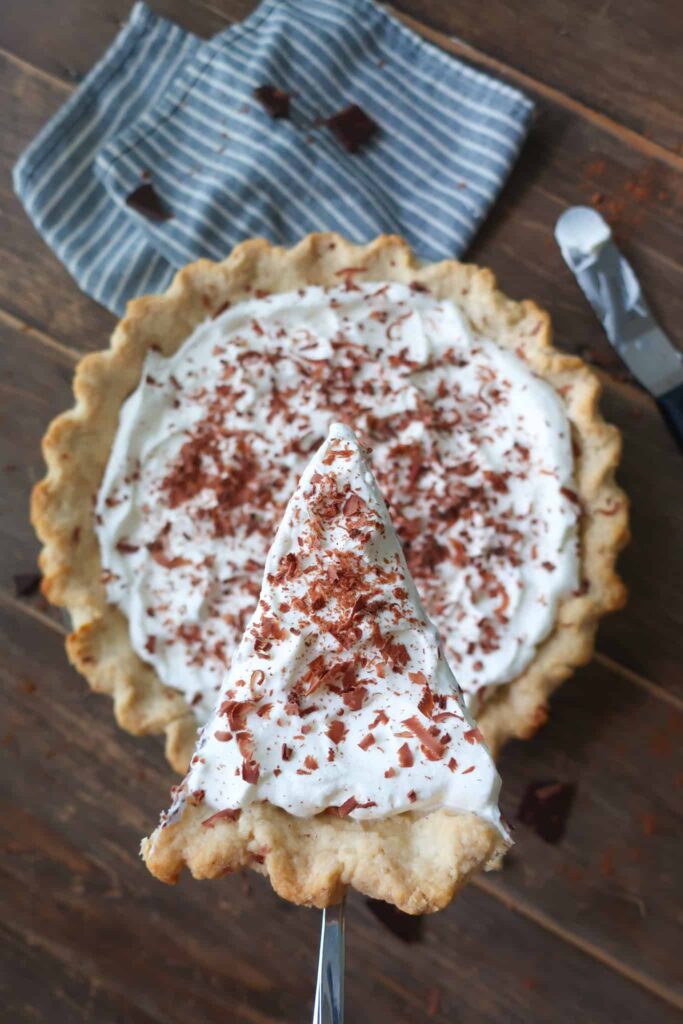
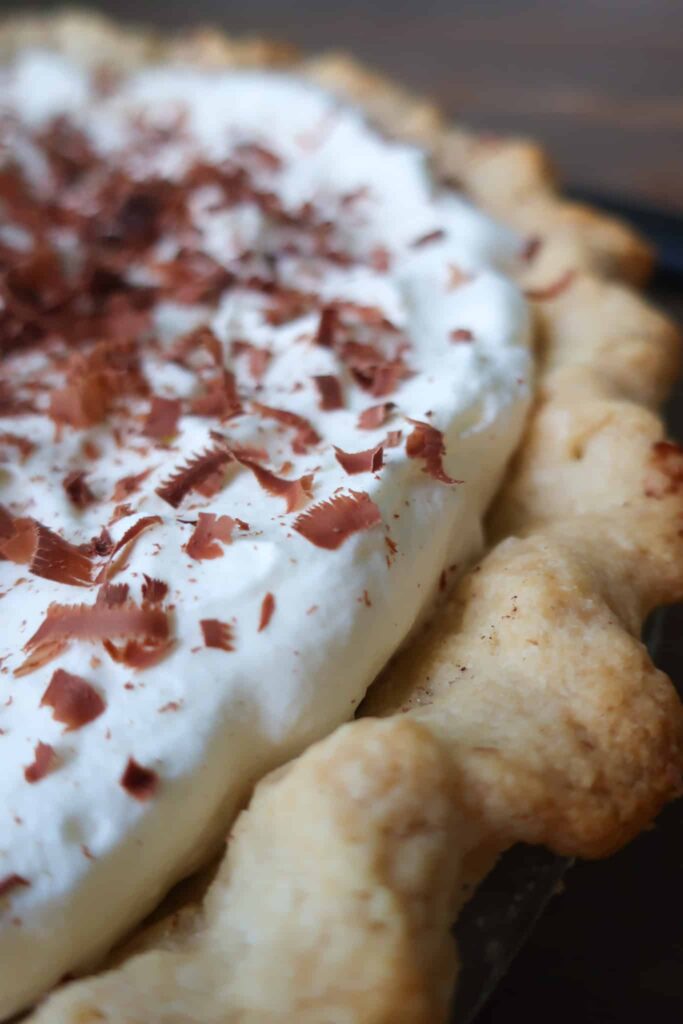
Once chilled, whip the heavy cream and powdered sugar together until light and fluffy. Spread the whipped cream evenly over the chocolate pudding pie before serving.
Shave dark chocolate over the whipped cream if desired, then slice and enjoy this rich and creamy homemade chocolate pudding pie.
3 reasons you’ll love this from scratch chocolate pudding pie
TIPS & VARIATIONS
- Since the chocolate pudding filling is made on the stove, we’re completely baking our pie crust ahead of time. Bake until golden (since it won’t hit the oven again) and cool it completely before filling.
- The chocolate pudding will take a few minutes to heat but as soon as you see it boil, remove it from the stove! At that point it’s thickened enough and shouldn’t be cooked longer.
- You need to constantly whisk your pudding while it cooks. It feels tedious but the bottom will cook faster and if not stirred, your pudding will be a gloopy, lumpy mess.
- Don’t forget to add a piece of parchment paper or wax paper to the top of your pudding once you spread it into your pie shell. This will prevent a thick skin from forming on the pudding as it chills.
- Customize your toppings as you like! Keep it simple with some chocolate shavings, top with homemade toffee sauce, or serve alongside a simple cranberry compote.
MAKING AHEAD & STORING
This is a cold pie, so it needs to be kept covered in the fridge. It will keep for up to four days (but I doubt it’ll last that long)!
MORE COLD DESSERT RECIPES
- Chocolate Chip Cookie Dough Frozen Yogurt
- Strawberry Cream Puffs
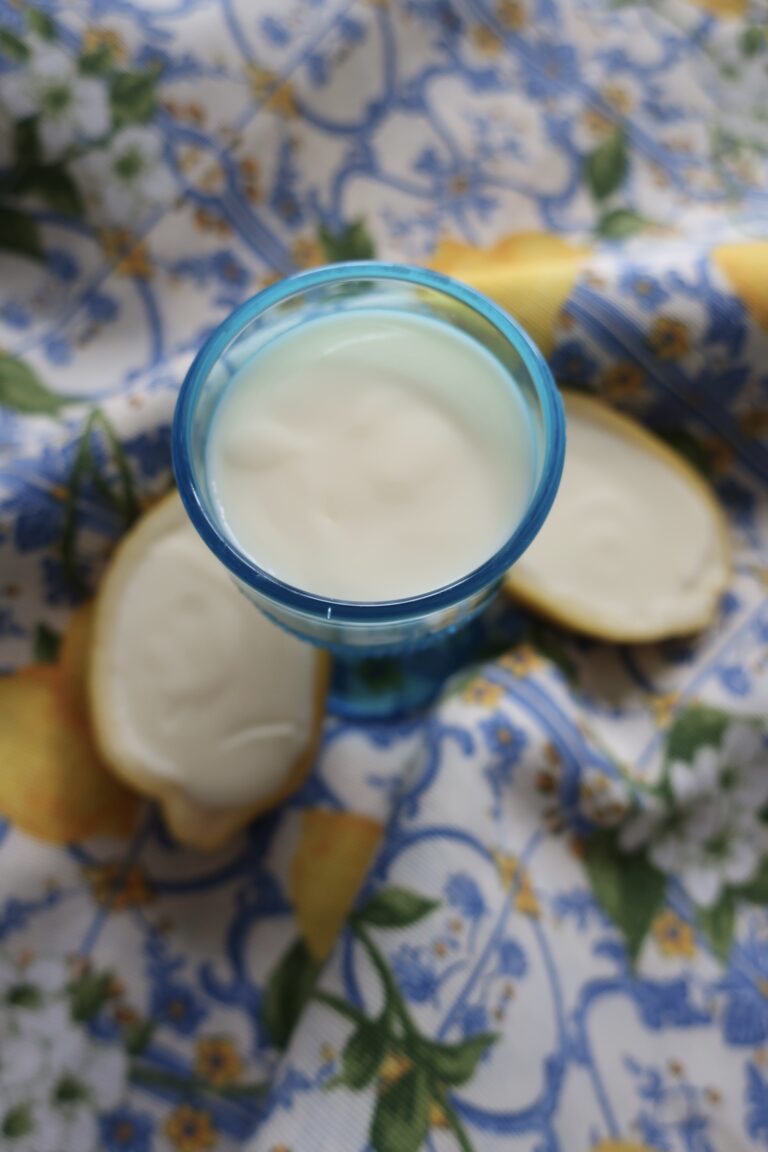
- 3-Ingredient Lemon Posset
- Mixed Berry Tiramisu
- Easy Oreo Dirt Dip
EQUIPMENT YOU’LL NEED
Equipment
- 9" Pie Dish
- Rolling Pin
- Parchment Paper
- Baking weights I use uncooked rice and beans
- Pot
- Whisk
- Spatula
- Measuring Cups
- Measuring Spoons
Ingredients
- 2 cups flour
- ¾ tsp salt
- ¾ cup unsalted butter cold and cubed
- 4 tbsp cold water
- ¾ cup granulated sugar
- 9 tbsp unsweetened cocoa powder
- 6 tbsp cornstarch
- ¼ teaspoon salt
- 3 cups whole milk
- 1 cup heavy cream
- 1 ½ tbsp powdered sugar sifted
Instructions
- In a bowl, stir together your flour and salt. Rub your butter into your flour mixture until you have a sand-like consistency.
- Add in your water (I like to put a few ice cubes in a glass before filling it with cold water to make sure it’s extra cold), stir together, and then compress the dough into a ball. See notes below if you have a food processor!
- Place your dough between two large pieces of parchment paper, and roll to ¼”- ⅛” thickness – making sure your dough is an even thickness throughout.
- Gently peel the parchment back from the top layer, lay it back onto the dough, flip all of it over, and repeat with the bottom (now top) layer of parchment.
- Removing one side of the parchment, carefully lay that side face down into a 9-inch pie dish and remove the top layer of parchment
- Carefully shift the dough to ensure it is laying flat within the pan and along the sides. If you have more than an inch excess, use a butter knife to cut away an extra and save for later.
- Tuck under the remaining excess dough around the edges to form your crust.
- Make a peace sign with your pointer and middle fingers on one hand, place along the edge of your crust. With the pointer finger of your other hand, pointing toward the center of the peace sign, pull back the dough in the center of your fingers. This will form a crimp. Repeat along the edge of your crust until complete.
- Place your pie dish with the crimped crust in the fridge for 15 minutes.
- Preheat your oven to 425°F
- Once chilled, remove your pie dish from the fridge and prick the bottom and sides of your crust with a fork to prevent the crust from puffing when you bake. Crinkle a piece of parchment paper and lay it carefully in your dish before pouring in your baking weights.
- Bake your chilled crust for 12 minutes, then remove from the oven briefly. Carefully lift out your parchment paper and baking weights before returning to the oven and baking for an additional 8 minutes or until golden. Cool completely
- In a medium pot, sift together the sugar, cocoa powder, cornstarch, and salt and whisk until well combined
- Gradually pour the milk into the dry mixture while whisking to avoid lumps. Continue to whisk until smooth.
- Place the pot over medium heat. Cook the mixture, whisking constantly, until it begins to thicken. As soon as it boils – this usually takes about 5-7 minutes – remove from the heat and pour the mixture into your cooled crust, spreading evenly
- Cover the top of the pudding with parchment or wax paper, to prevent a skin from forming, and refrigerate for at least 2-3 hours, or until set.
- Once set, whip your heavy cream and powdered sugar in a bowl until fluffy and spread evenly on top of your pie. You can use a peeler to shave some dark chocolate over the whipped cream for additional topping!
- Slice and enjoy!

Delicious, not too sweet choclate heaven!
Thank you Jaime! So glad you loved it