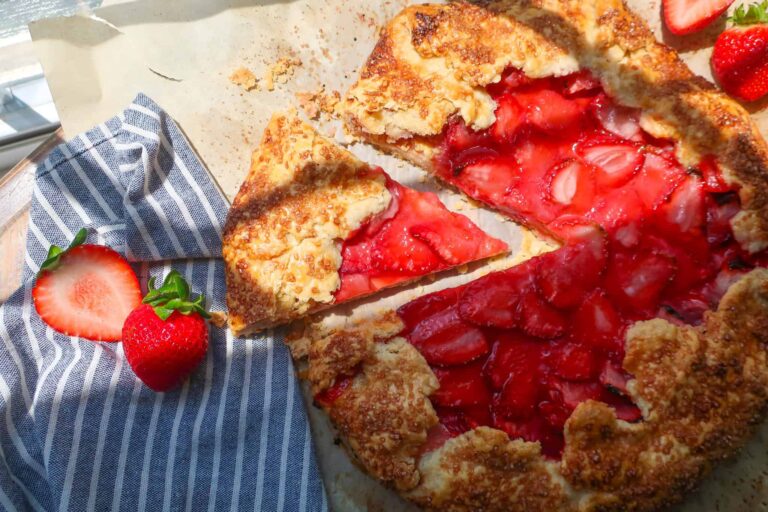
The Perfect Blueberry Tart Recipe
I love a tart or a pie, whichever one is inside the pastry case, really. This, in my humble opinion, is the perfect blueberry tart recipe.
While I love a cherry filling or strawberry-rhubarb situation (cause I love me some sour), my mom’s grabbing a slice of blueberry every time. This tart highlights the sweetness of the blueberries and lets that flavor shine, while balancing with a subtle sharpness and flaky crust.
If you want to get a little bit fancier and spruce up your pie delivery, this tart recipe is the one for you.
If you love this recipe, please rate and review it below and tag @accentgolden in your posts on social!
This website uses affiliate links, which may earn commission for purchases made at no additional cost to you.

BLUEBERRY TART RECIPE
When it comes to a tart in particular, there’s something about it that makes you feel just a smidge fancier than a pie, ya know?
This blueberry tart is made up of a sweet blueberry center, with just a smidge more tang (I need it, ok). It also sets perfectly, so there isn’t any slop all over your plate – I mean, I love that, but this is not the occasion.
This also makes it the best handheld slice situation. Pizza who?
How do you remove excess dough from the edge of a tart pan? A rolling pin! Once your dough is pressed evenly into your pan, just run your rolling pin along the rim, and peel away any extra dough.

INGREDIENTS
- Powdered sugar: Sweetens and tenderizes the crust.
- Salt: Enhances flavor and balances sweetness.
- All-purpose flour: Forms the structure of the crust and thickens the filling slightly.
- Unsalted butter: Adds flakiness, richness, and flavor to the crust.
- Eggs: Bind the crust, enrich the texture, and give a golden finish
- Turbinado sugar: For an optional crunchy texture and subtle sweetness on top.
- Sugar: Sweetens the blueberries and balances tartness.
- Cinnamon: Adds warm spice and depth of flavor to the filling.
- Blueberries: The main fruit component, providing flavor, color, and juiciness.
- Lemon juice: Enhances flavor and brightens the sweetness of the berries.
How thin should I roll my tart dough? I like to roll my dough between 1/8″ and 1/4″ thick, so there’s enough structure to hold the filling, without overtaking it.
HOW TO MAKE BLUEBERRY TART
To make the perfect tart crust, first combine the flour, powdered sugar, and salt in a bowl, then cut in the butter until the mixture is sandy. Stir in the egg yolks and gently form the dough.
Roll the dough between parchment paper to an even thickness and carefully press it into the tart pan, trimming any excess edges. Dock the bottom with a fork, chill briefly, then blind bake with pie weights until lightly golden and set.
For the filling, mix the thawed blueberries with sugar, flour, cinnamon, and fresh lemon juice until evenly coated. Pour the berry mixture into the cooled tart shell, letting it sit for a few minutes to release natural juices.
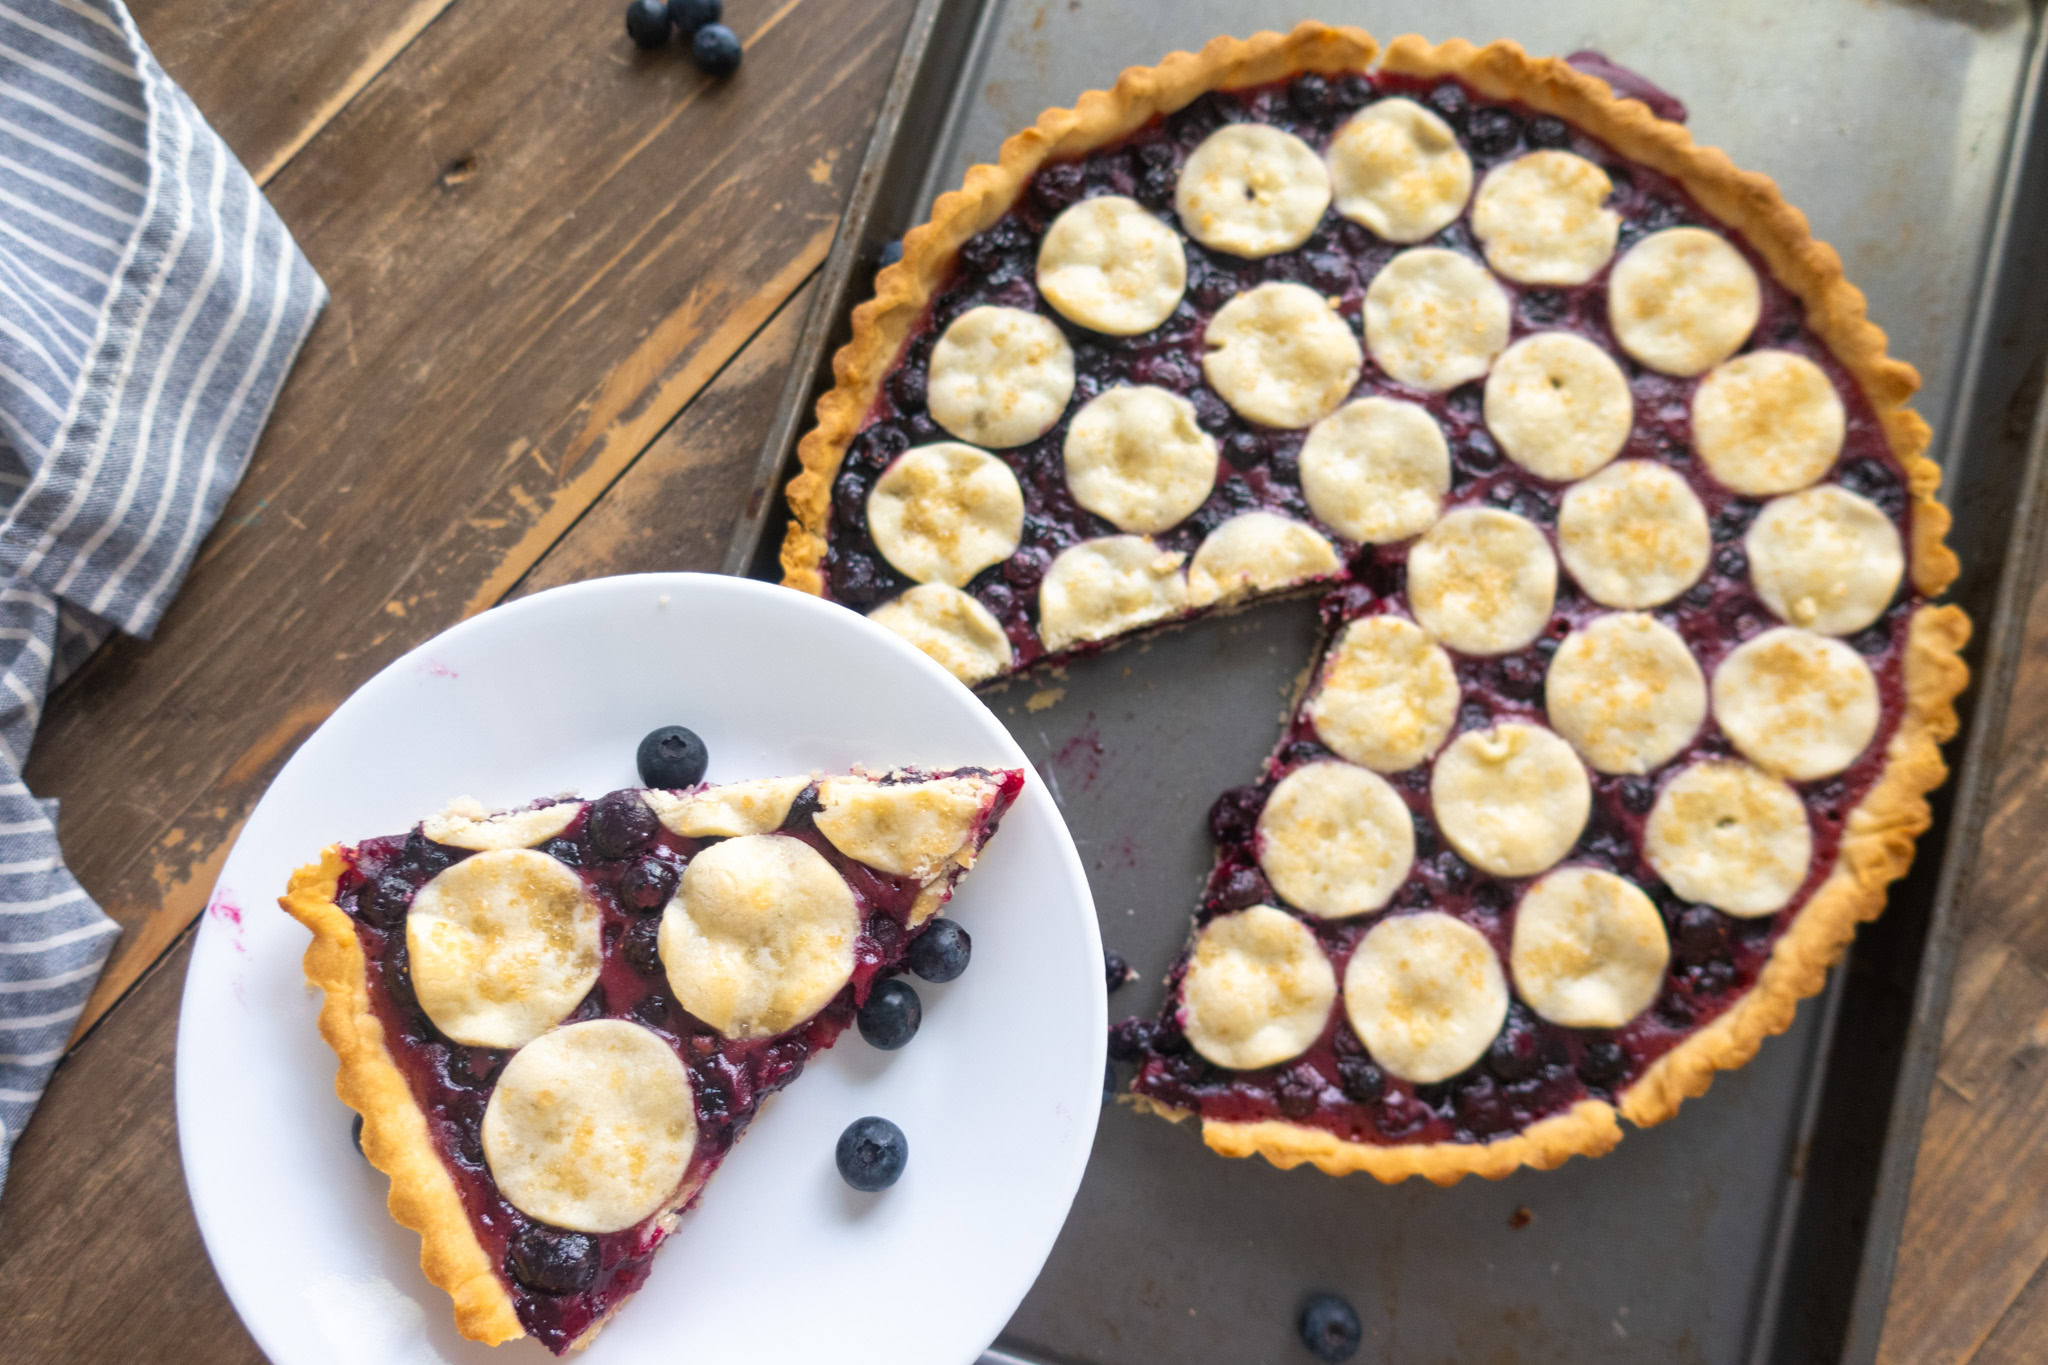
If desired, cut small circles from leftover dough to create a decorative top or lattice, then brush with egg wash and sprinkle with turbinado sugar. Bake the filled tart until the crust is golden and the filling is bubbling, then cool completely before serving to set the flavors.

3 reasons you’ll love this blueberry tart recipe
TIPS & VARIATIONS
- It’s important to hydrate your dough without overworking it, so it doesn’t become dense. Once it’s combined, stop mixing!
- While you can buy baking beans, I keep a jar of dried beans and uncooked rice in my pantry. Once you’ve used them and they’ve cooled, just add them back to the jar when you’re ready to use next time!
- Your crust needs to be completely cool before adding your filling, so the structure sets. You can make it a day in advance if desired!
- Allow the blueberry filling to dry before topping with the raw crust, to prevent the top crust from getting soggy once it bakes up in the oven.
- This blueberry tart recipe needs to cool completely before slicing, otherwise the filling won’t have time to set. Otherwise, you’ll have blueberry lava when you go to slice it.
MAKING AHEAD & STORING
You can make your tart dough the day before you’re ready to bake with the filling. Either pressing it into the pan and covering it, unbaked, tightly with plastic wrap before storing in the fridge, or baking and cooling completely.
Once fully baked, store your blueberry tart in an airtight container at room temperature for 2-3 days or in the fridge for up to 5 days.
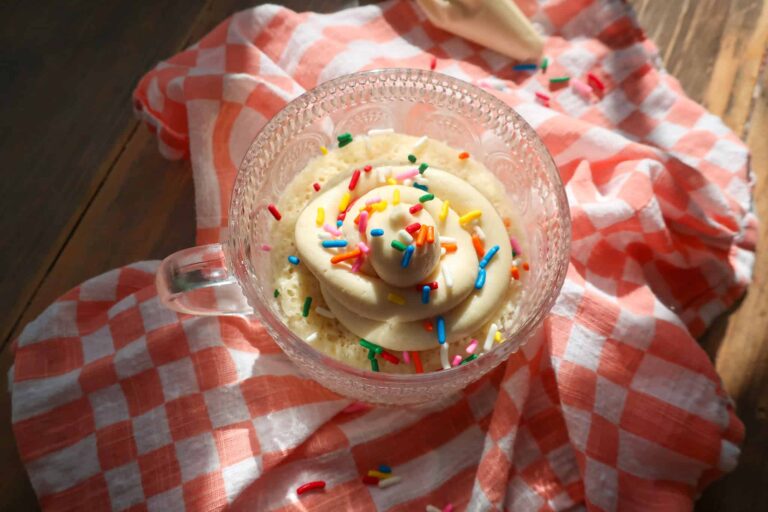
MORE BLUEBERRY RECIPES
- Blueberry Muffin Bread
- Ryan’s Classic Blueberry Pie
- Sweet Potato Blueberry Scones
- Individual Blueberry Galette
- Blueberry Chai Muffins
EQUIPMENT YOU’LL NEED

Equipment
- Dough Scraper
- Fork
- Parchment Paper
- Baking Sheet
- Rolling Pin
- 11-inch tart pan
- Pie weights or baking beans/rice*
- Measuring Cups
- Measuring Spoons
- Spatula
- Pastry Brush
- Mixing Bowl
Ingredients
- ⅔ cup powdered sugar
- 1 tsp salt
- 2 ½ cups all-purpose flour
- 16 tbsp unsalted butter cubed
- 2 large egg yolks beaten
- 1 egg beaten for brushing crust, optional
- Turbinado sugar for top crust sprinkling optional
- ¾ cup sugar
- ¾ cup flour
- 1 ¼ tsp heaping cinnamon
- 3 ¾ cups frozen blueberries thawed
- 2 lemons juiced
Instructions
CRUST
- Grease and flour your tart pan
- Place all dry ingredients – powdered sugar, salt, and flour – in a bowl and give them a quick stir to combine. You can use a food processor for this as well
- Add butter*, gently stir to coat, and rub into the dry ingredients until you get a fine, sand-like consistency. If using a food processor, pulse butter with dry ingredients.
- Add beaten egg yolks and cut through the mixture with a dough scraper. If using a food processor, pour in the yolks and pulse to combine.
- Gently compress dough with a dough scraper to begin to bring it together into a ball, then dump the dough and any “dust” onto your work surface.
- Using a smearing technique, gently smear out a few sections with a dough scraper* – pushing section out – and then scrape them back together, towards the dough ball. Keep an eye on your dough, once there are no more dry spots stop mixing.
- Gently form your dough into a ball of sorts and cut it in half. Place one half between a folded piece of parchment paper (roughly 12-13 inches wide when folded) and roll it into an 11-inch* circle. Repeat with the other half of the dough.
- Carefully peel back the parchment paper on one side of the dough, place it back on the dough, flip, and repeat with the other side.
- Refrigerate dough for 20 minutes, making sure to keep it flat.
- Place your tart pan on a baking sheet
- Remove one of the rolled-out dough circles of parchment paper from the fridge and remove the parchment paper from one side of your refrigerated dough, gently lay it centered into your tart pan
- Lightly loosen the edges of the dough so it fits into the dish. Remove the other side of the parchment paper. Use a bit of excess dough with a little bit of flour to gently press dough into the edges, making sure the dough is a consistent thickness throughout.
- Use a rolling pin to roll off any excess dough along the rim of the tart pan. Press excess dough back into the tart in any spots that need a little more.
- Fork dough at the bottom of the tin and place back in the fridge for another 10 minutes.
- Preheat your oven to 320°F CONVECT
- Once the temperature is reached, remove the tart from the fridge. Crinkle a bit of parchment paper, and lay it into the pie dish, then fill with rice/baking beans and gently smooth the top
- Place the pie crust into the oven and blind bake for 13-15 minutes, until the edges just begin to brown
- Gently to avoid tearing, remove weights/beans/rice and return to the oven for another 6 minutes
- Allow your crust to cool for 15 minutes before removing it from the tart pan. Gently place the pan on a cup and lightly push the rim of the pan down. Then use a small knife to remove the bottom of the pan from the bottom of your crust.
- Cool completely on a wire rack before adding the filling.
FILLING
- In a bowl, stir together sugar, cinnamon, salt, and flour. Add blueberries and any juices, and stir to coat.
- Add lemon juice, and stir to coat.
- Preheat oven to 320°F CONVECT
- Place your tart shell back onto a baking sheet
- Pour the berry mix into the cooled par-baked pastry shell.
- Let the mix “dry” in the crust on the counter for 10 minutes
- Remove the remaining parchment paper with dough from the fridge. Cut into small circles.
- Top the blueberry mix in your tart crust with the raw pastry crust cut into small circles.
- Beat an egg with a splash of water to make an egg wash. Brush the raw crust lightly with the egg wash and sprinkle with coarse sugar
- Place in the fridge for 8 minutes
- Bake for 25-30 minutes, rotating halfway, until the top crust is golden in color. If crust edges start to brown too quickly, remove it from the oven and cover the rim with foil before returning to the oven for the remainder of the bake.
- Cool for at least 30 minutes before serving
- Enjoy!