Small Batch Pumpkin Scones
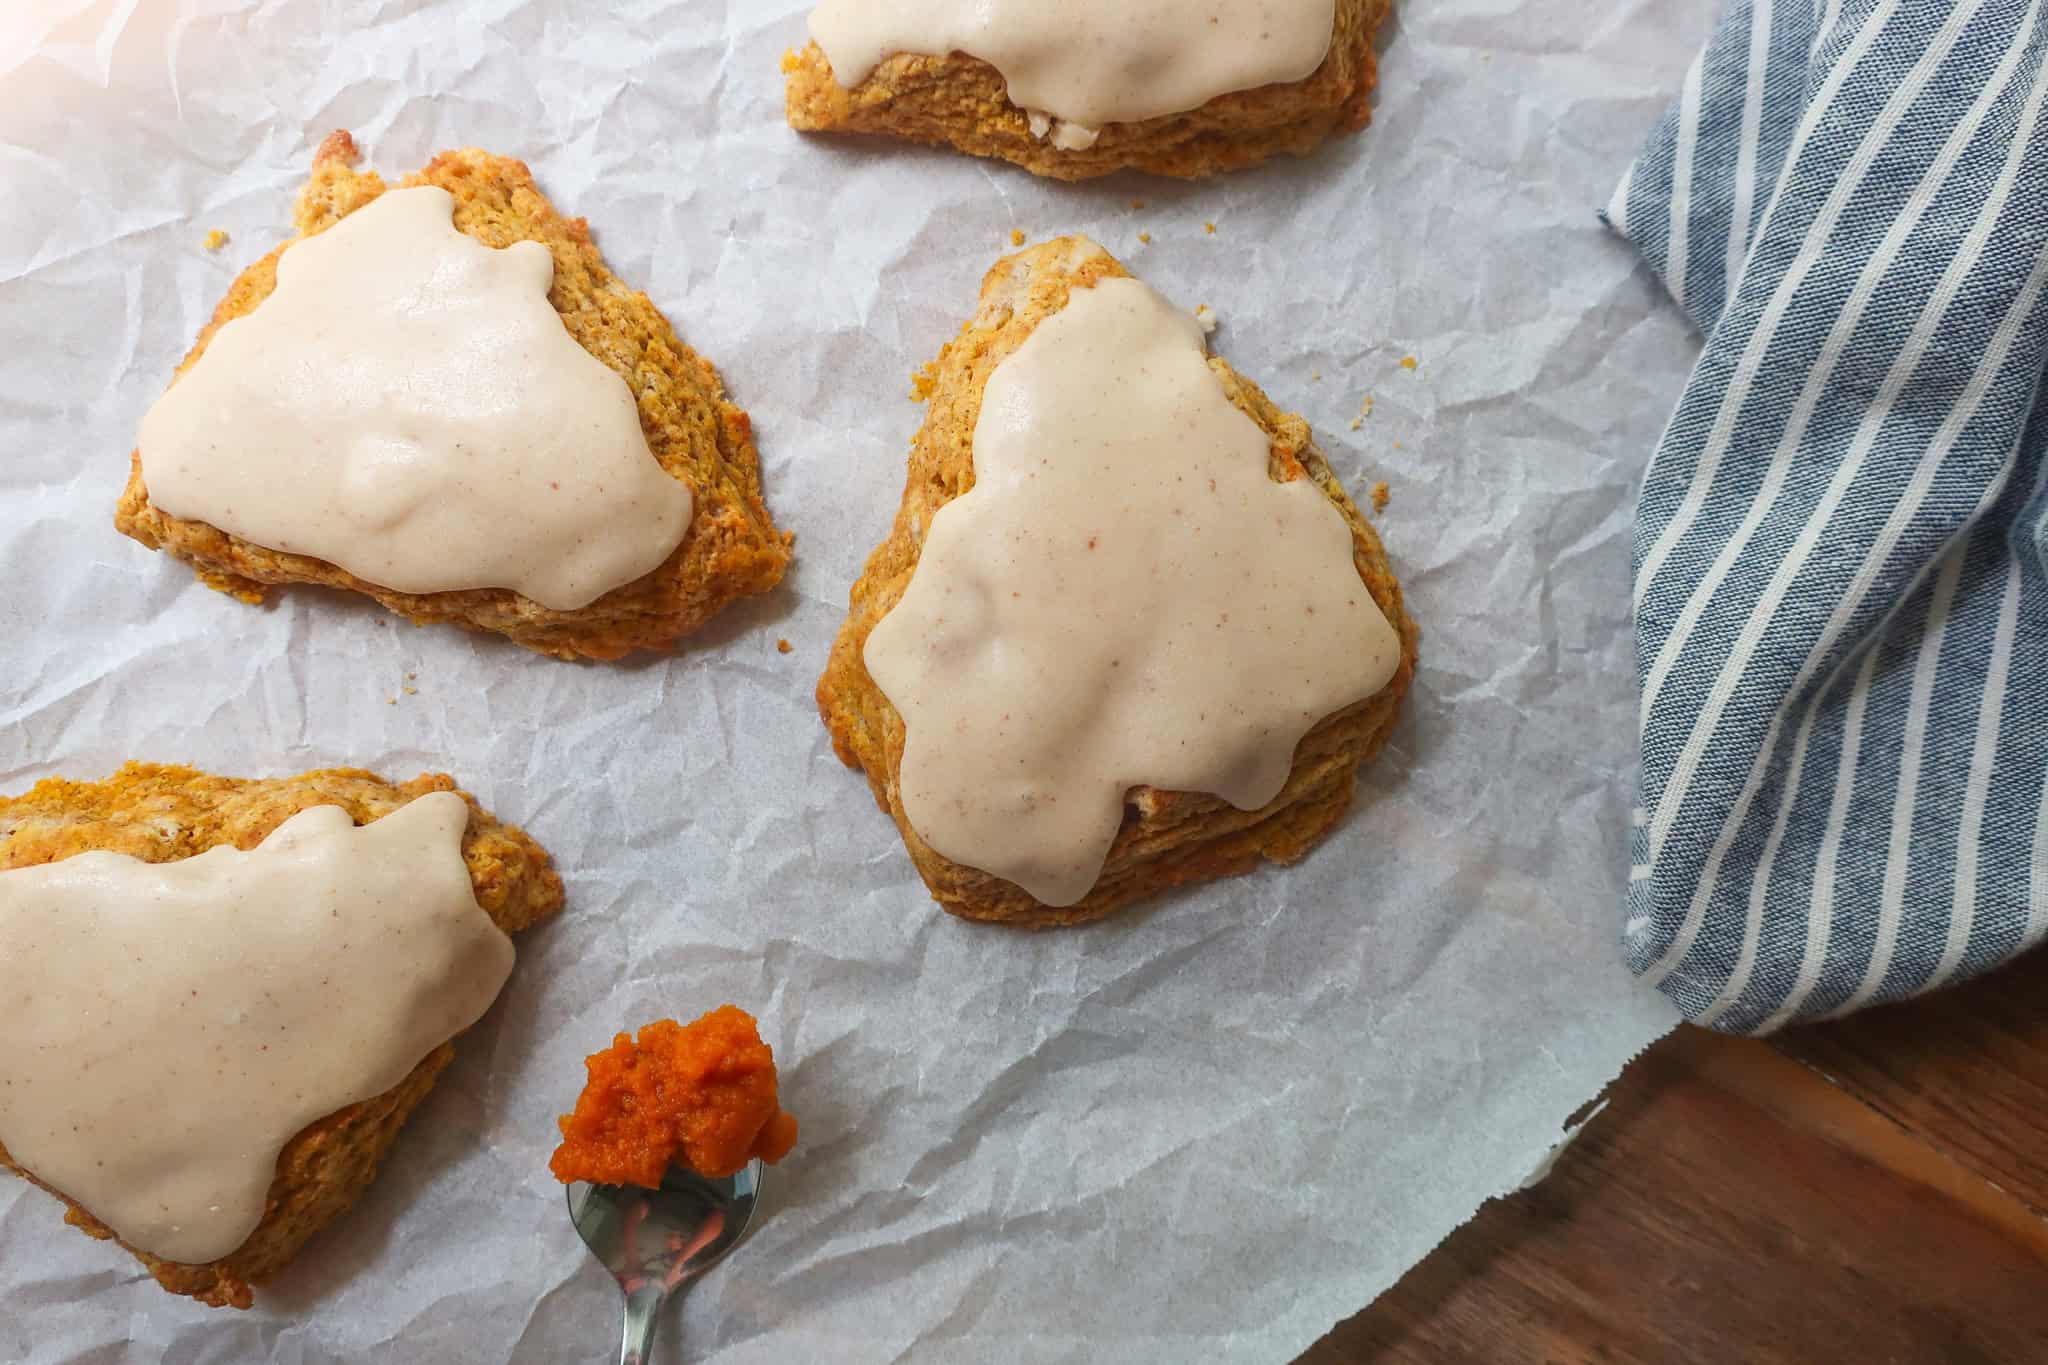
For some people, apple is a flavor they associate with fall vibes. For me, it’s pumpkin. These small batch pumpkin scones are the perfect dip into cozy autumn flavors.
Bonus: as a former small-space dweller during my years spent in the Upper West Side, you can make them right in a toaster oven if you please!
To be clear… I did have a full-sized oven, but humble yourself with some NYC rental listings, and you’ll realize that’s not always the case.
If you happen to hate pumpkin (not sure how you ended up here) or know someone who does, check out these 20 delicious fall recipes with ZERO pumpkin!
If you love this recipe, please rate and review it below and tag @accentgolden in your posts on social!
This website uses affiliate links, which may earn commission for purchases made at no additional cost to you.
SMALL BATCH PUMPKIN SCONES
My beef with many scone recipes is that they’re too dry. I don’t want to need jam or clotted cream. That should just be a bonus in my opinion.
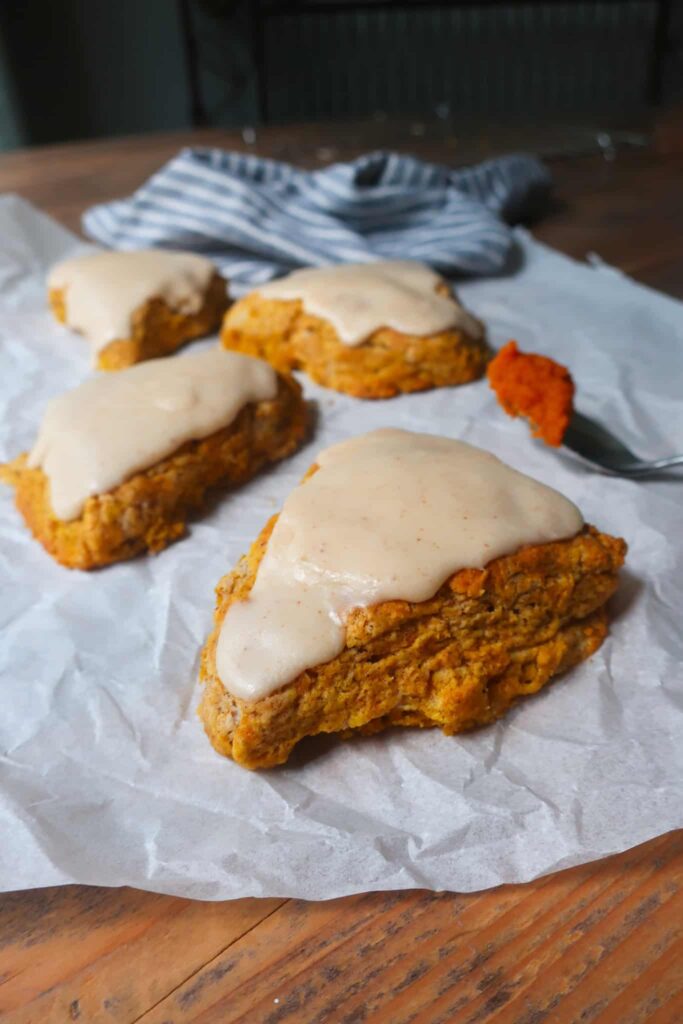
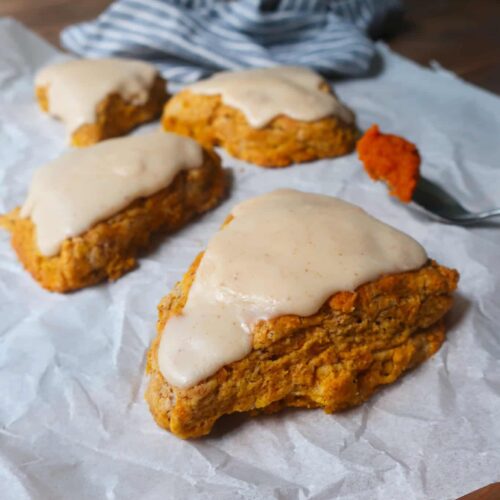
This pumpkin scone recipe is tendahhh and packed with just the right balance of spice to make all the flavors pop. Plus, it has one of my favorite glazes spooned over top – brown butter vanilla glaze – for added texture and an almost toffee-like flavor.
Best toppings or spreads for pumpkin scones? Besides the brown butter vanilla glaze, you could make a simple powdered sugar glaze, a salted vanilla glaze, or leave them plain and serve with homemade apple butter!
INGREDIENTS
- Pumpkin puree: Adds pumpkin flavor, moisture, and tenderness to the scones.
- Milk: Adds moisture and helps create a soft, tender bite.
- Plain Greek yogurt or sour cream: Adds richness, moisture, and acidity for a tender texture.
- Vanilla extract: Adds warmth and enhances the flavors throughout the recipe.
- All-purpose flour: Provides structure for the scones.
- Baking powder: Provides a light, tall rise.
- Baking soda: Reacts with the acidity of the yogurt to help the scones rise and brown.
- Salt: Balances the sweetness and enhances the other flavors.
- Granulated sugar: Sweetens the scones and helps create a tender texture.
- Ground cinnamon: Adds warm, aromatic spice.
- Ground nutmeg: Adds earthy, slightly sweet spice.
- Ground ginger: Adds a warm, lightly peppery note.
- Cold unsalted butter: Creates flaky layers and adds rich, buttery flavor.
- Powdered sugar: Forms the base of the sweet, smooth glaze.
Can I cut these into mini scones? Yes! After cutting into four scones, cut each scone in half to make 8 mini scones. This would be perfect for serving with lots of small bites or even with afternoon tea!
HOW TO MAKE SMALL BATCH PUMPKIN SCONES
Prep your wet and dry ingredients…
Start by whisking together the pumpkin puree, milk, Greek yogurt, and vanilla extract until smooth. Place the pumpkin mixture in the refrigerator to keep it cold while you prepare the dry ingredients.
In a large bowl, whisk together the all-purpose flour, baking powder, baking soda, salt, granulated sugar, cinnamon, nutmeg, and ginger. Add the cold cubed butter and toss to coat, then gently press a few pieces between your fingers until the mixture resembles coarse crumbs with a few larger, bean-sized pieces of butter remaining.
Form your soft pumpkin scones…
Pour the chilled pumpkin mixture into the dry ingredients and gently stir with a spoon until a shaggy dough forms. Be careful not to overmix, as working the dough too much can result in dense, tough pumpkin scones.
When there is still a little dry flour remaining in the bowl, transfer the dough onto a lightly floured surface and gently pat it into a rectangle about 1 inch thick.
Cut the dough into three horizontal sections, stack them on top of one another, rotate the stack 90 degrees, and gently pat it back to 1 inch thick. Repeat this process one more time to create flaky layers.
Chill, shape, and bake your homemade scones…
Wrap the dough tightly and place it in the freezer for 10 minutes, and preheat your oven to 400°F.
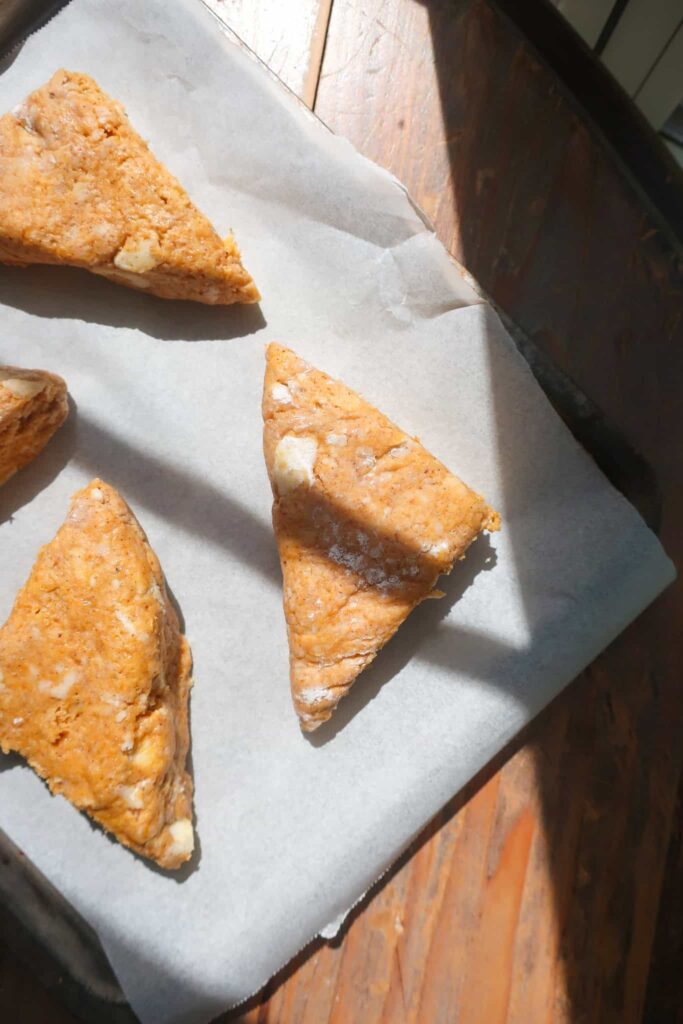
Remove the chilled dough from the freezer and lightly dust the top with flour if needed. Roll or gently pat the dough into a 1-inch-thick square, then cut it into 4 triangles.
Place the pumpkin scones on a parchment-lined baking tray with roughly 1 inch of space between each one. Bake for 16–18 minutes, or until a digital thermometer inserted into the center from the side reads 200°F.
Let the scones cool on the baking tray for 5 minutes before transferring them to a wire rack to cool completely.
Prepare the brown butter vanilla glaze…
Add the butter to a small pot and place it over medium-high heat. Swirl the pan every few seconds as the butter melts, watching as the milk solids separate, sink to the bottom, and gradually turn golden brown.
Stir the butter occasionally and keep a close eye on it to prevent burning. Once the butter reaches a deep golden brown, remove it from the heat and transfer it to a bowl to cool for about 5 minutes.
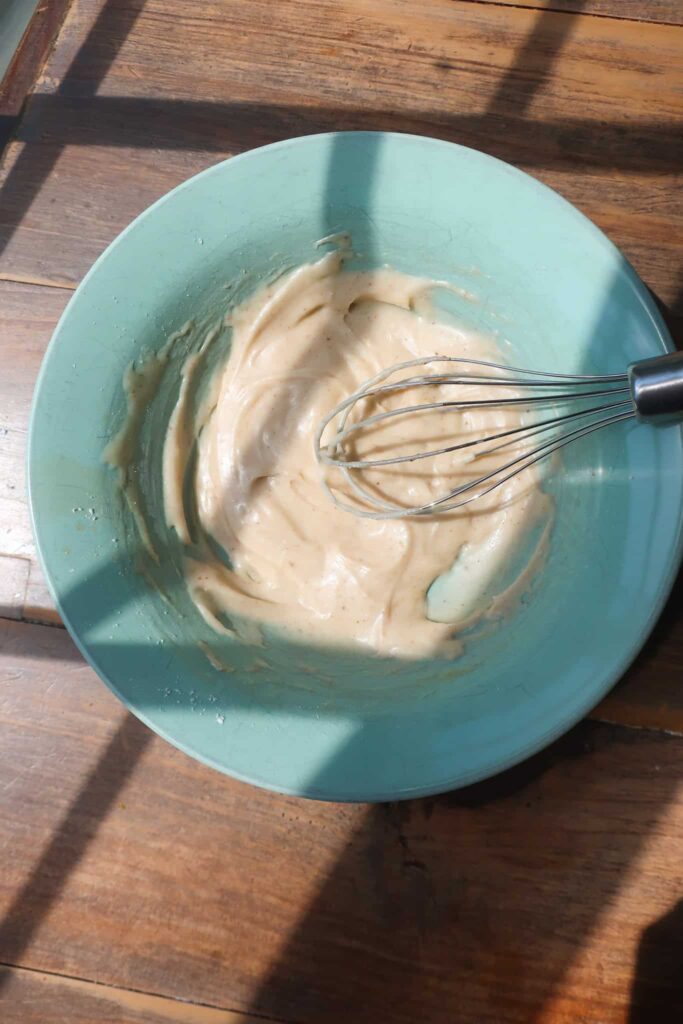
Add the milk and vanilla extract to a bowl, then sift in the powdered sugar and whisk until smooth. Pour in the cooled but still-melted brown butter and whisk until the brown butter vanilla glaze is completely smooth.
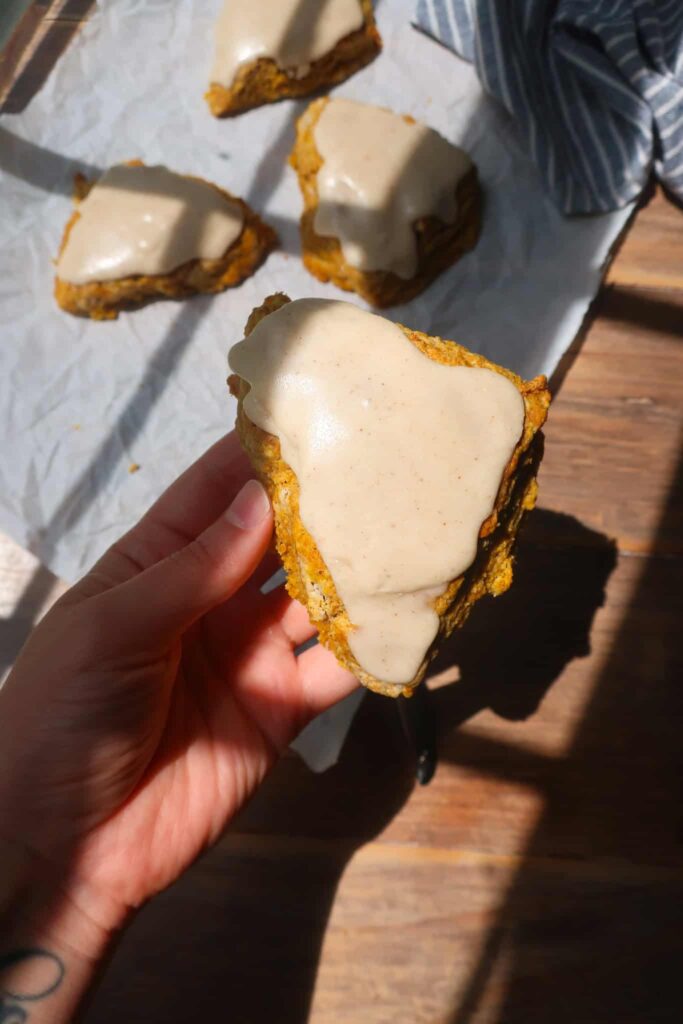
Spoon the glaze over the cooled pumpkin scones and let it set for about 30 minutes, or until the glaze is no longer sticky to the touch. Serve and enjoy these soft, spiced small batch pumpkin scones with brown butter glaze!
3 reasons you’ll love these small batch pumpkin scones
TIPS & VARIATIONS
- It’s important not to overwork your pumpkin scone dough once you’ve combined the wet and dry ingredients. Gently mix until your dough is shaggy before pressing together. It’s ok if their is still some loose flour bits when you transfer to the counter, since it will all get combined as you shape the scones.
- Your scone done should be nicely chilled before baking! If you’re working in a sunny spot, and your dough seems on the soft side, keep it in the freezer for a few extra minutes to get that butter firmed up. Otherwise, it will leak more as you bake, and result in flatter scones.
- If you want mini scones, simply cut the four scones in half to make eight before baking!
- Whether you’re baking these on a small toaster oven tray or on a full-sized baking tray, you still want to place the scones close to each other ahead of baking. This will help encourage the dough to bake upward versus spreading
MAKING AHEAD & STORING
You can prep your spiced pumpkin scones in advance by making the dough, cutting into shapes, and freezing. The dough will keep in the freezer for up to a month. I’d recommend freezing first on a parchment-lined baking tray or plate until firm, before transferring to an airtight container for longer-term storage.
You can bake them from fully frozen; just add 3- 5 extra minutes of bake time. I highly recommend using a digital thermometer to check the internal temp to ensure the scones are fully baked!
Once baked and glazed, store your scones in an airtight container where they will keep for 1-2 days at room temperature, 5 days in the fridge, or up to 2 months in the freezer.
MORE FALL BAKING RECIPES
- Apple Butter Puff Pastry Twists
- Cinnamon Roll Pie
- Spiced Sweet Potato Bread
- Cinnamon Olive Oil Cake
- The Best Homemade Bagels
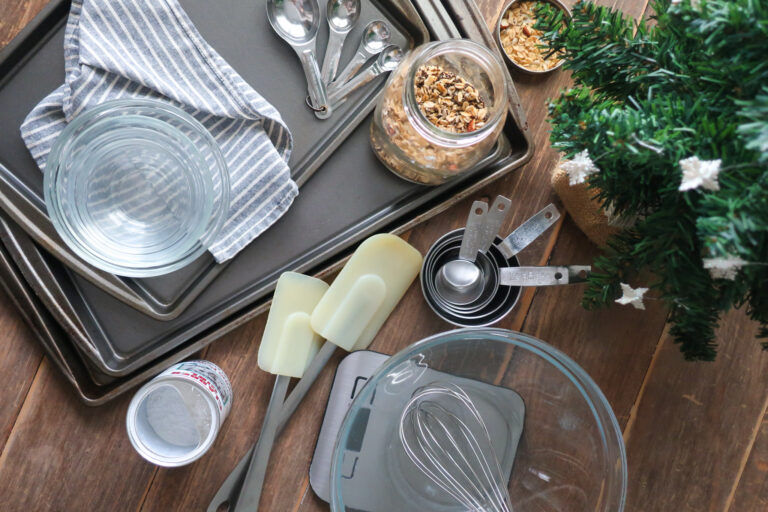
EQUIPMENT YOU’LL NEED
Equipment
- Mixing Bowls
- Measuring Cups
- Measuring Spoons
- Spatulas
- Baking Tray
- Parchment Paper
- Whisk
- Small pot
Ingredients
- ¼ cup pumpkin puree
- 1 tbsp milk
- 1 tbsp plain Greek yogurt or sour cream
- 1 tsp vanilla
- 1 cup all-purpose flour
- 2 tsp baking powder
- ¼ tsp baking soda
- ⅛ tsp salt
- 2 ½ tbsp granulated sugar
- ¾ tsp ground cinnamon
- ⅛ tsp ground nutmeg
- ⅛ tsp ground ginger
- ¼ cup cold unsalted butter cubed
- 1 tbsp butter
- 1 tbsp milk
- ¾ tsp vanilla
- 10 tbsp powdered sugar sifted
Instructions
- Stir together the pumpkin puree, milk, yogurt, and vanilla. Pop in the fridge while you work on the dry ingredients
- Whisk together the flour, baking powder, baking soda, salt, sugar, cinnamon, nutmeg, and ginger
- Toss the cold butter in the flour mixture and press a few pieces lightly between your fingers. It should mostly resemble coarse crumbs with a few bigger, bean-sized pieces
- Pour the pumpkin mix into the dry ingredients and gently mix with a spoon until you have a shaggy dough. Avoid overmixing
- When you still have a little dry ingredient “dust” in your bowl, turn the dough onto a lightly floured surface and pat into a rectangle about 1 inch thick. Cut into three horizontal sections, stack one on top of the other, then rotate 90°, and gently pat back to 1 inch thick. Repeat this process one more time, then wrap tightly and place in the freezer for 10 minutes
- Preheat your oven to 400°F for at least 10 minutes to get it to temp
- Remove the dough from the freezer. Dust the top with a little flour if needed before rolling into an inch-thick square
- Cut the dough into 4 triangles and place on a parchment-lined baking tray with roughly an inch of space between each scone
- Bake for 16–18 minutes. If you have a digital thermometer, you can poke into the center from the side, and it should read 200°F
- Leave on the baking tray for 5 minutes before transferring to a wire rack to cool completely
- To make your glaze, start by browning your butter. Add your butter to a small pot and place over medium-high heat. Swirl the pot every few seconds to evenly melt the butter. You’ll notice the milk solids start to separate and rise to the top. As it cooks, they will fall to the bottom of the pot and brown. Stir occasionally and keep a close eye on it to prevent your butter from burning. Once deep golden brown, remove from the heat and transfer to a bowl to cool for 5 minutes
- Add your milk and vanilla extract to a bowl and sift in your powdered sugar, whisk, and pour in the cooled, but still melted, browned butter. Whisk until smooth
- Spoon the glaze over your scones and leave to set for 30 minutes or until the glaze is no longer sticky to the touch. Enjoy!