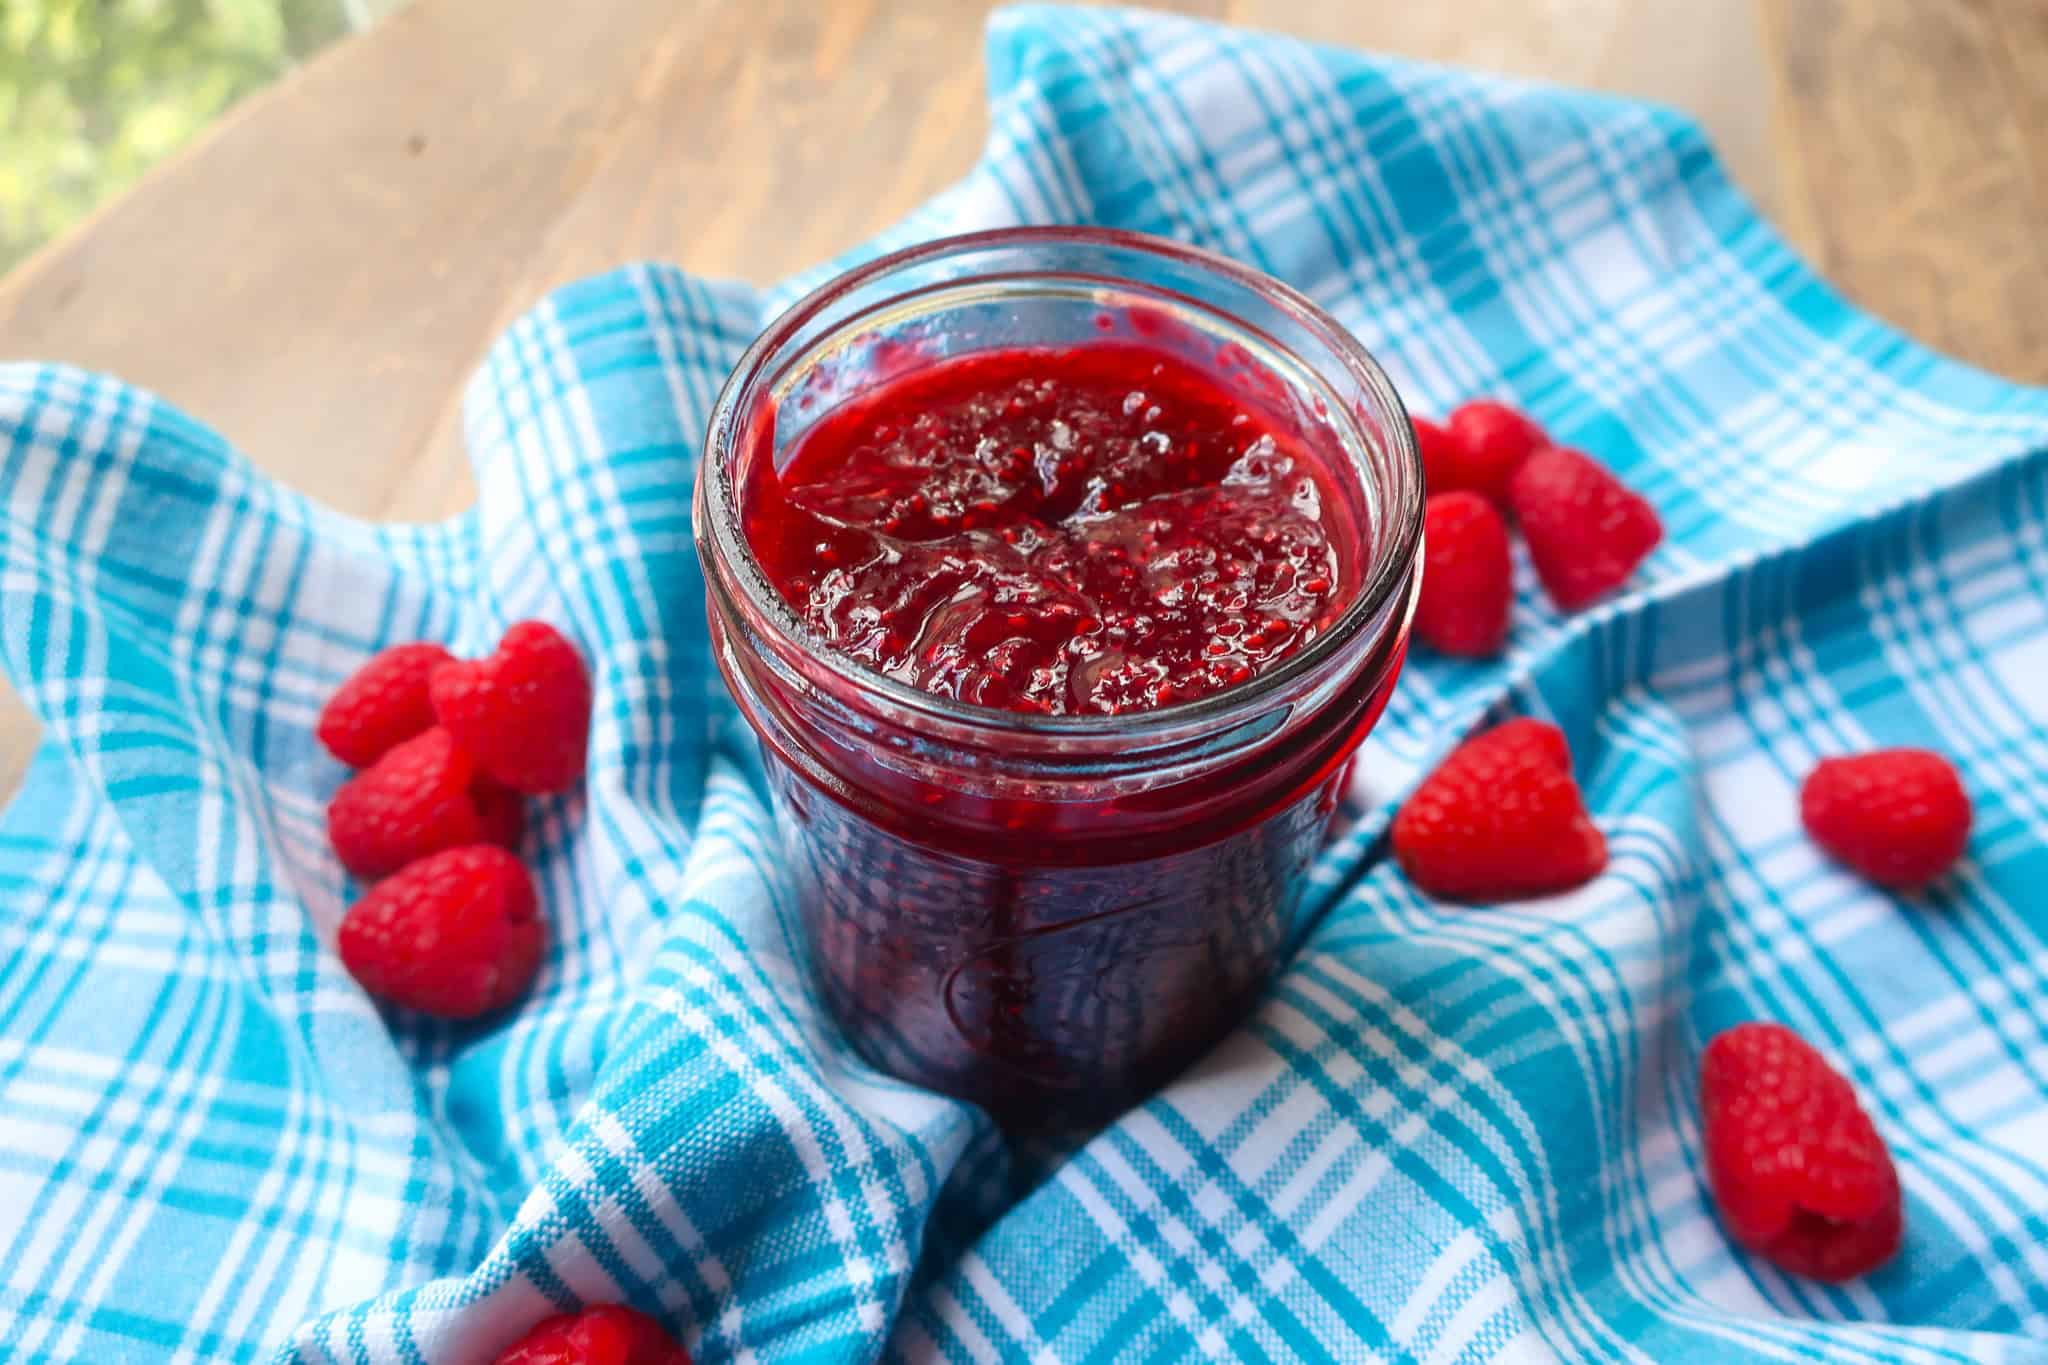
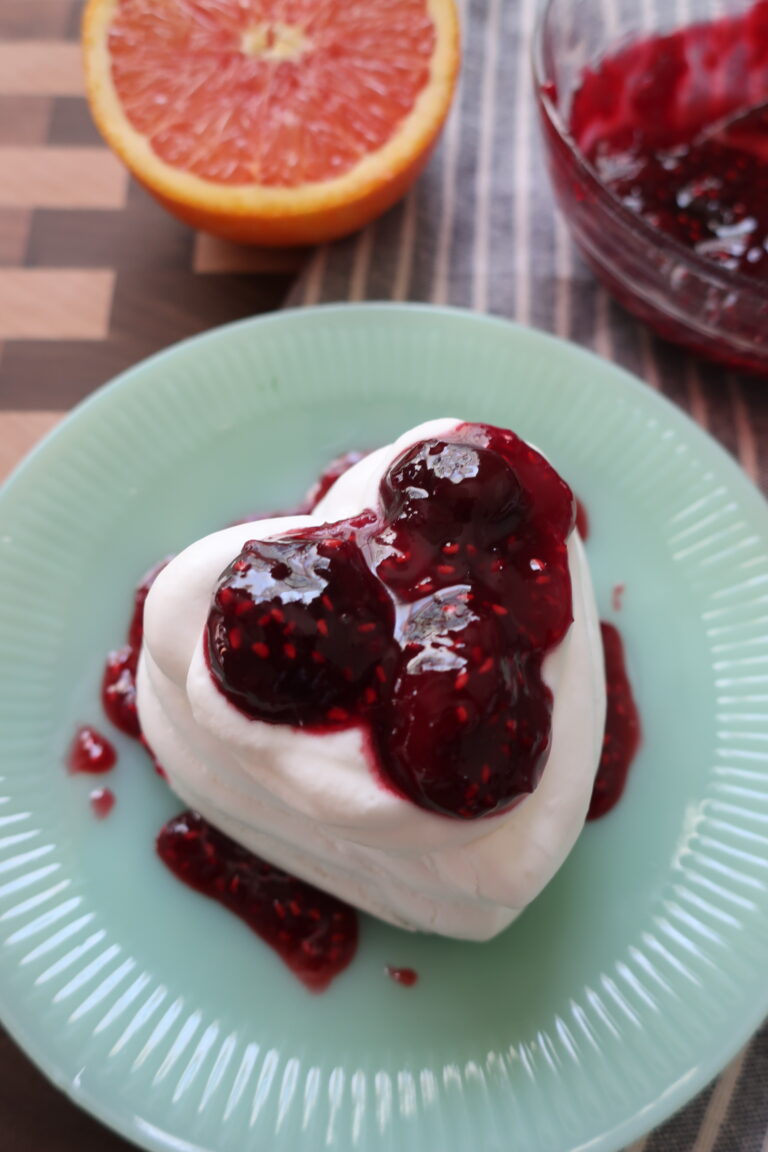
3 Ingredient Raspberry Jam (Easy Homemade Recipe, No Pectin)
I love myself a simple recipe that knocks it out of the park every time. That’s this 3-ingredient raspberry jam for me.
With only a few ingredients – raspberries, sugar, and lemon juice – you can make yourself a tasty treat from scratch. Personally, when I’m feeling the afternoon munchies, I love to spread some on a piece of sourdough toast paired with an afternoon tea.
I first made this recipe in pastry school (shoutout to Chef Ash!) and have been delighted by it ever since.
If you love this recipe, please rate and review it below and tag @accentgolden in your posts on social!
This website uses affiliate links, which may earn commission for purchases made at no additional cost to you.
3 INGREDIENT RASPBERRY JAM
Not only does this jam only require three ingredients, all of which you can easily find at your local store, but it comes together in one pot! And we love a one-pot/bowl/mug recipe.
I know many people like to use fresh fruit for jam, which is cool, but I more often prefer frozen. Firstly, it’s typically more cost-effective, not to mention it allows you jam year-round since the berries are frozen at peak freshness. Secondly, I’d rather pop a fresh berry straight into my mouth.
Can I use fresh raspberries in this jam? Yes! Fresh or frozen raspberries both work, but if using fresh, add 1–2 teaspoons of water to the pot to account for the extra moisture naturally present in frozen berries.

INGREDIENTS
- Raspberries: Provide natural pectin, flavor, and the base texture of the jam.
- Sugar: Sweetens the jam and helps it thicken and preserve properly.
- Lemon juice: Adds brightness and acidity to balance sweetness while helping the jam set.
At what temperature is jam ready? To ensure your 3-ingredient raspberry jam thickens properly as it cools, it needs to reach 220°F before you remove it from the heat.
HOW TO MAKE 3-INGREDIENT RASPBERRY JAM
To make this easy 3-ingredient raspberry jam, combine the frozen raspberries, sugar, and lemon juice in a small pot over medium-low heat, stirring occasionally as the fruit begins to break down. This method allows the raspberries to release their juices and naturally thicken into a homemade raspberry jam without pectin.
Once the mixture reaches a boil, use a food thermometer to monitor the temperature and cook until it reaches 220°F, the setting point for raspberry jam.
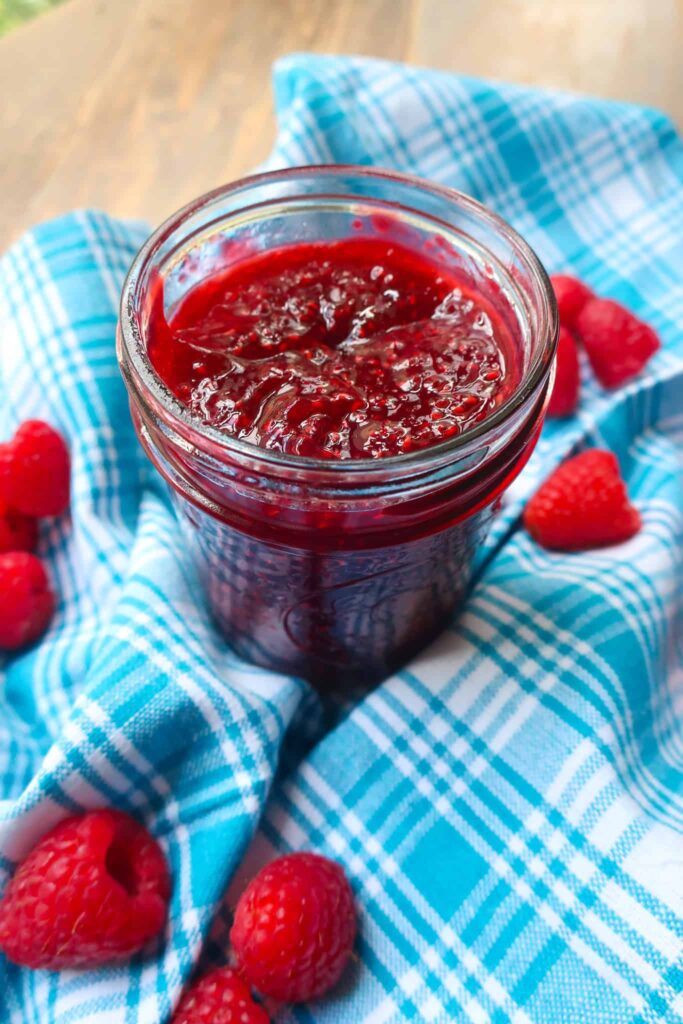
Immediately remove the jam from the heat and pour it into a cool bowl. Don’t worry if it looks runny at first — it will continue to thicken as it cools.
If desired, skim any foam from the surface for a clearer, smoother finish. Let the jam cool completely at room temperature before transferring to an airtight container and storing in the fridge.
3 reasons you’ll love this 3-ingredient raspberry jam
TIPS & VARIATIONS
- While I prefer frozen berries when making jam, you can easily swap for fresh raspberries in this recipe. If you do, add 1-2 teaspoons of water to the pot to make up for the extra moisture that frozen berries add.
- When checking your jam temperature, tilt your pot so a pool of jam sits to one side for the most accurate measurement. If you don’t cook your jam long enough, it will be too runny, but it will become thick and claggy if you overcook it.
- If you want, you can swap the raspberries for another high-pectin fruit like strawberries, blackberries, blueberries, cherries, or plums!
STORING HOMEMADE RASPBERRY JAM
Once cooked and cooled, store your 3-ingredient raspberry jam in a sealed container. It will keep for up to 3 weeks in the fridge or 6 months in the freezer.
RECIPES TO ENJOY with RASPBERRY JAM
- Buttery Linzer Cookies
- Lemon Basil Scones
- The Best Chocolate Cake
- Blueberry Chai Muffins
- Lemon Thumbprint Cookies
EQUIPMENT YOU’LL NEED
Equipment
- Small pot
- Digital Thermometer
- Measuring Cups
- Measuring Spoons
- Spoon
Ingredients
- 2 cups frozen raspberries
- ⅔ cup sugar
- 1 tbsp lemon juice
Instructions
- In a small pan, combine all ingredients and place on the stove over medium-low heat, stirring occasionally
- Once the mixture begins to boil, stir regularly and use a food thermometer to continually check until the jam temperature reaches 220°F
- When the jam hits the temperature, immediately remove it from the heat and pour it into a cool bowl. Don’t worry if you think it looks runny. It will thicken a lot as it cools.
- If desired, skim the foam off the top of the jam for a clearer look
- Allow to cool completely at room temperature before storing in an airtight container in the fridge

Love this!